Leaderboard


Popular Content
Showing content with the highest reputation on 02/04/13 in all areas
-
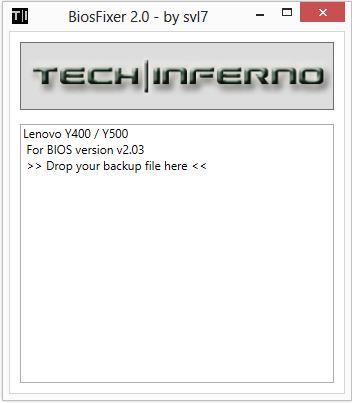
This is continuation of this thread (http://forum.techinferno.com/lenovo-ibm/2690-lenovo-y500-unlocked-bios.html) with all the necessary information in the first post in order to make it easier to find all the stuff. Lenovo Y400 / Y500 - 'unlocked' BIOS / wwan-wlan whitelist removal + modified VBIOS for higher overclocking The Lenovo Y500 comes with a pretty locked down BIOS, and in addition to this with a whitelist which prevents the user from getting 3rd-party wwan/wlan cards to work properly. The modified BIOS versions here will take care of this. Keep in mind that not necessarily all options available in the modified bios will work. Some might not do anything at all, others could possibly leave your system in a state which will prevent it from booting. Use care when changing stuff in the modified bios, don't touch things you're not familiar with. Use all the mods and software posted here on your own risk. Read the instructions carefully. NOTE: This will only flash the bios region. It won't reset the nvars set in the bios. *************** ONLY FLASH A MOD OF THE SAME VERSION AS YOUR CURRENT BIOS VERSION!!! If you're on 2.02 or 2.03 you can safely use the 2.04 update, *************** Attached you'll find modified versions of the Y400 / Y500 BIOS v1.03 and v1.05. Removed as they're outdated. Better updated to v2.02. The bios contains your Windows 8 license, therefore you can't just flash any file, else you'll have issue with your Windows activation. Furthermore the serial numbers, service tags etc. are stored there as well. You don't want to loose them. I wrote a little program that will take care of this issue and personalize the modified bios for you, so that you won't end up with an invalid Windows or no service tags. *************** Preparation to get to BIOS v2.02 (coming from any earlier version): Generally it's a good idea to keep the BIOS up to date. We're luck to have an official BIOS update to v2.02 apparently thanks to a leak on the net. (Lenovo is really bad when it comes to providing firmware updates and fixing issues). The leaked version must be genuine, else it wouldn't flash by using the regular method. If you want to update your system to v2.02 then grab the update here, extract it and flash the bios by executing the included InsydeFlash utility. Once the update is completed you can continue with the instructions below to get a modified version on your system. *************** Instructions for flashing a modified version: As a reminder - the modified BIOS needs to be the same version as you have on your system (2.02 to 2.04 is ok). Prepare an USB stick which can boot DOS. If you don't know how to do this, follow this short guide: Download the flash tool, for flashing you'll need the DOS version, but for creating the backup of your current BIOS the Win64 version will do as well, and it is faster. Get the prr tool as well. Grab the modified BIOS you want to flash, it comes as a tool which will patch the bios for you. Make sure you grab the version that corresponds with your BIOS version. Create a backup of your current BIOS using the flash tool you downloaded (first step) by runing the included backup.bat, or by using the Win or Dos version flash tool with this command: If the .bat doesn't work then open an administrator command prompt in your working directory and run the .bat per command line or type the command written above. In case you get an 'error 104' replace the parts file with the one that can be found in the 'error 104 fix' attachment at the end of the post. And if you still have issues after doing all of the steps above then please leave a reply in the thread and describe your problem. Open the downloaded tool and execute it. Drag and drop your BIOS backup file on it, it will create the mod for you. It will look like this: Put the modified BIOS, the prr.exe tool and the fpt.exe (along with the fparts.txt file) on the root of your prepared DOS bootable USB drive, restart your system and boot from that drive. Execute the prr.exe, if you don't get an error message continue by pressing enter. Then flash the bios by using this command (filename.bin obviously needs to be replaced with the name of the file you want to flash). If you can't remember the name of your file, use the command dir to display all the files on your drive. Flash with this: fpt.exe -f filename.bin -bios NOTE: The name of the BIOS file mustn't exceed eight characters (not counting the extension)! That's a DOS limit, so make sure the name of your file isn't too long. Wait until the process is done. After flashing it will verify the data, in case there's something wrong with the flashed data it will tell you. In that case don't reboot, just flash again. *************** Flashing the ultra bay 650m - only for SLI users with BIOS v2.02: The modified BIOS v2.02 also contains a vbios which will allow you to overclock your 650m past the 135MHz limit. As the ultra bay GPU has it's own vbios module you need to flash it separately. You'll need an USB drive which can boot DOS (just as the one you used for flashing the BIOS). *************** It might look a bit complicated at first, but that's the easiest way I could think of. Let me know if anything is unclear. >> Here's the 'buy me a beer' link in case you like this << Use at your own risk, you are responsible for your system and the changes you make on it. My programs come with absolutely no warranty to the extent permitted by applicable law. Grab file archive here:
 1 point
 -
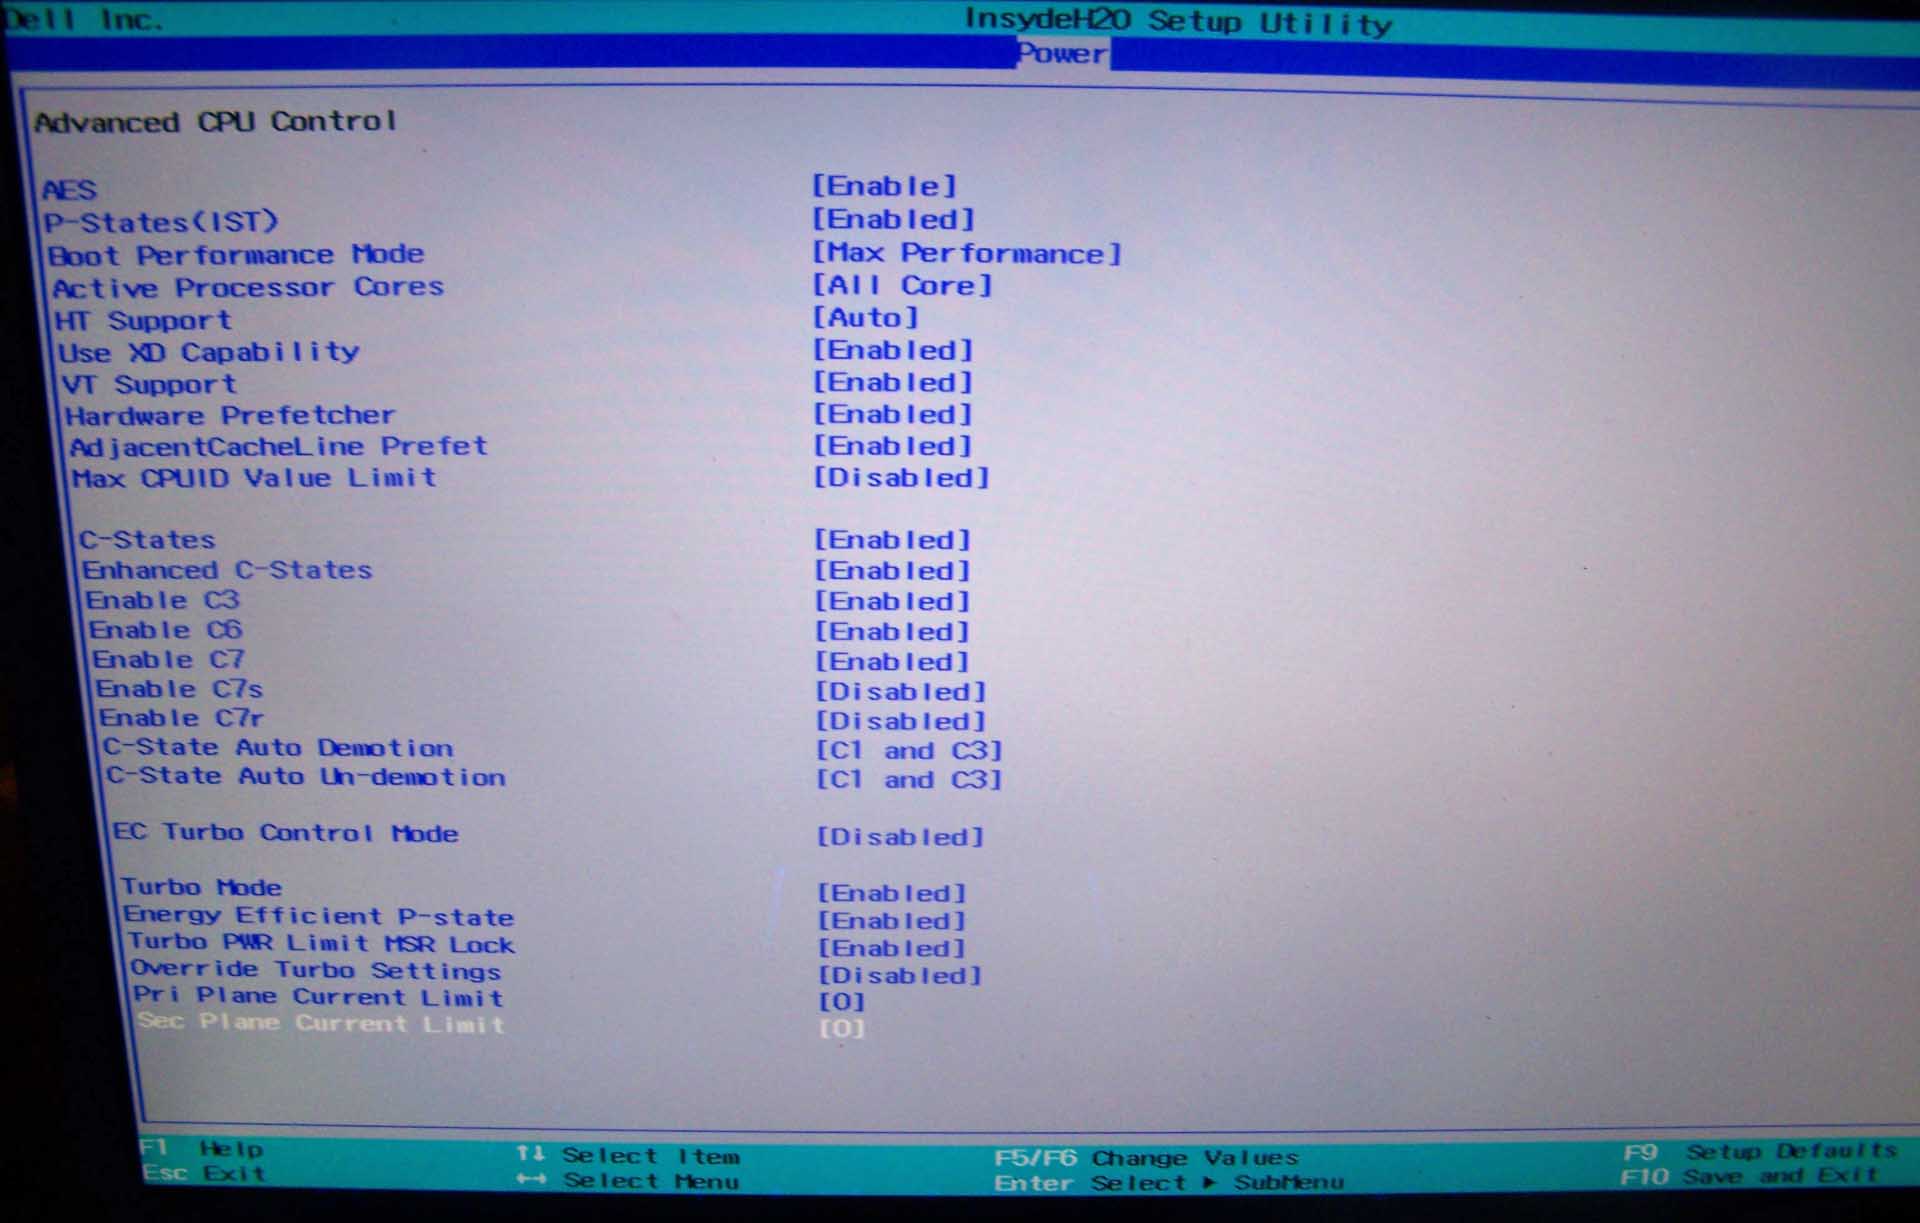
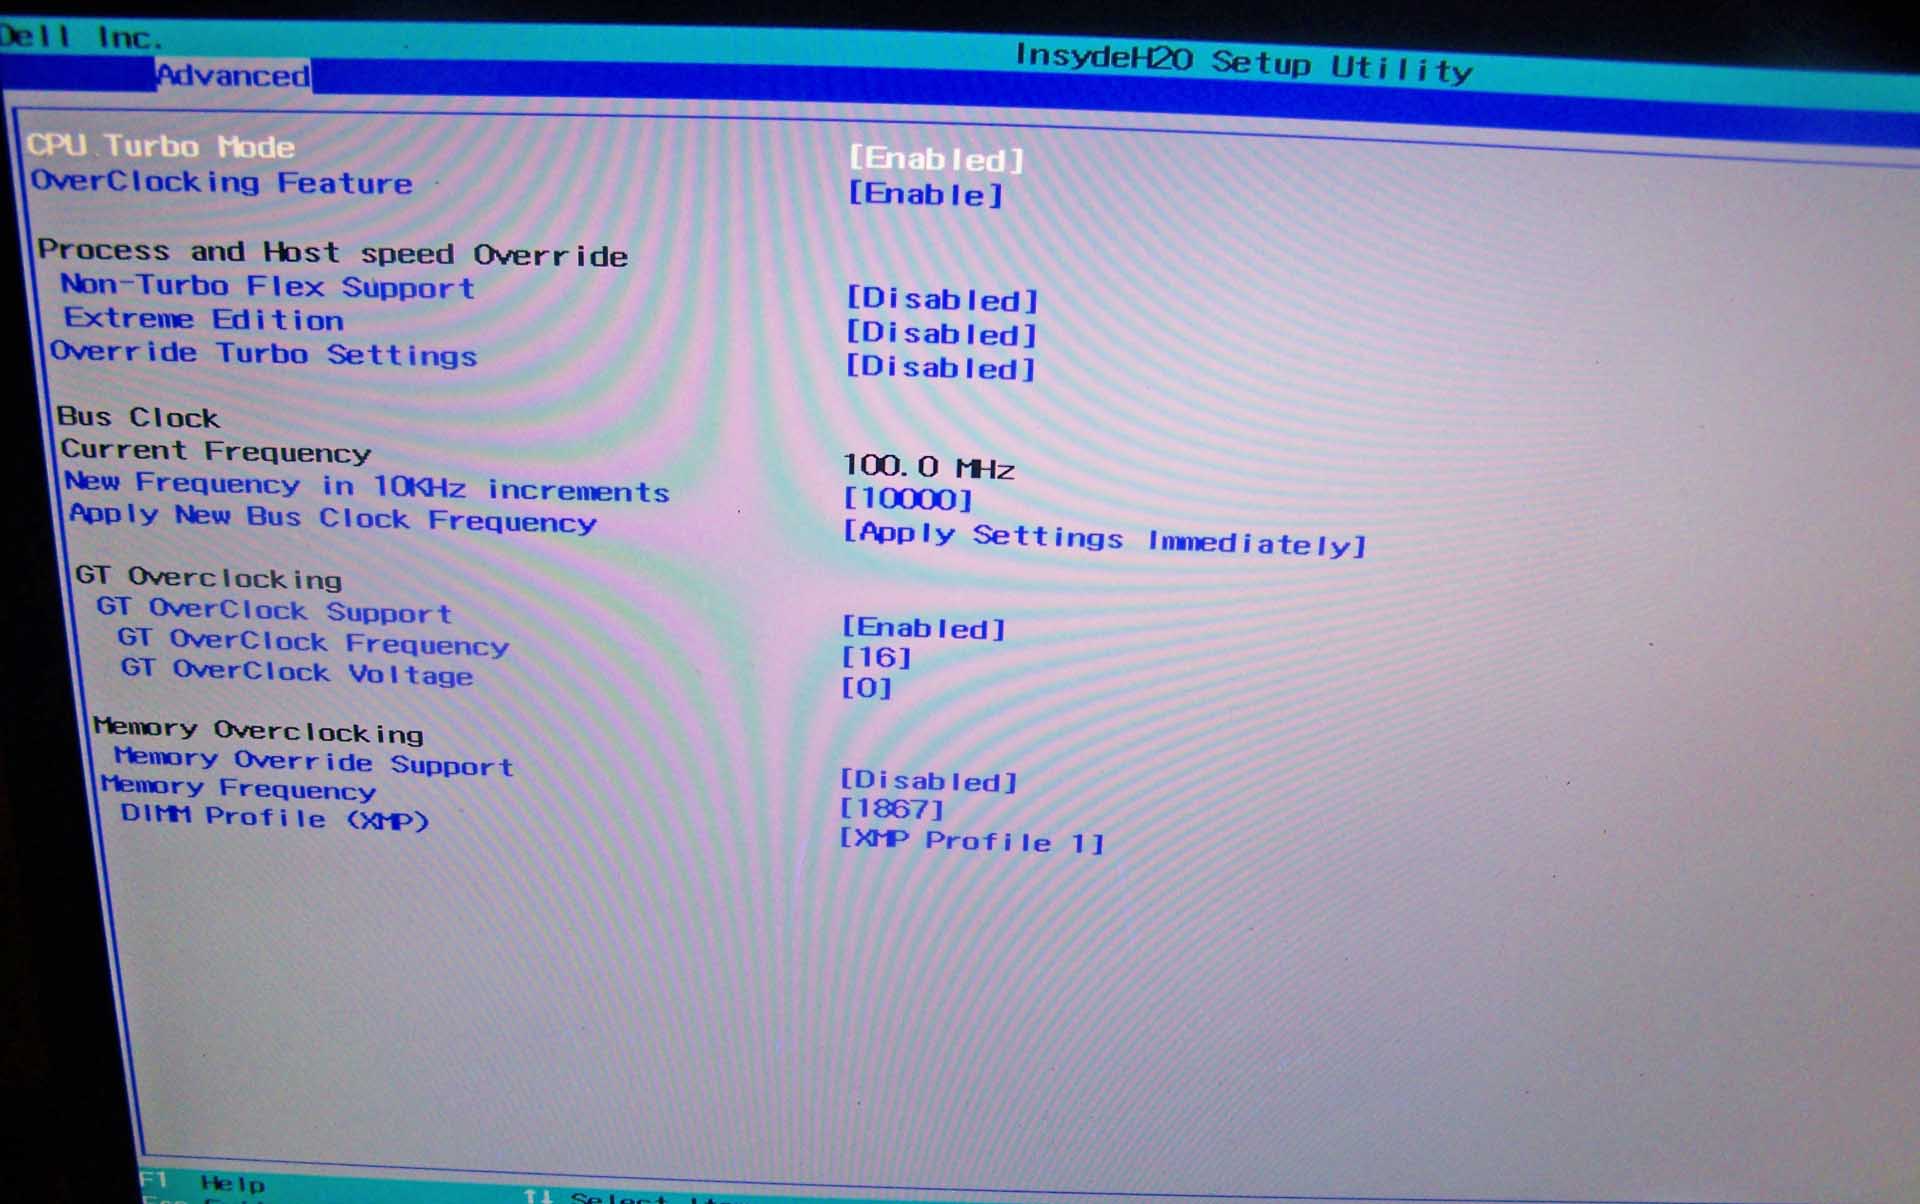
.If you're interested why not all modified BIOS versions can be flashed the 'usual' way with the official tools, read this:http://forum.techinferno.com/alienware/2252-information-about-bios-updates-a07-a08-higher-m14xr2-m17xr4-m18xr2.html M18x R2 - 'unlocked' BIOS versions The following BIOS of the Alienware M18x have been modified so that all hidden menus and options are visible. It will allow you to further tweak your system and optimize its peformance. Most of the options are only meant for advanced users. Don’t change anything you’re not sure about. It's possible that you see options which don’t work for your system, so be careful when changing settings. In case you mess up and your system refuses to boot applying new settings, remove the AC adapter, battery and coin cell battery in order to clear the non-volatile ram of the BIOS. This should fix most issues. *UPDATE*Instructions: There are two ways to flash the modified BIOS: Downgrade to stock A03 by using the USB recover procedure. (Thanks @Scott Matusow for summarizing the procedure). Make sure to closely follow the instructions, and wait until the system is done with the flash. Once you're on A03 flash the modified BIOS using the regular way (using the tools provided by Dell)..This method seems to work very well on the M18x R2, at least as long as you do as instructed. It can be a bit scary though since you can't see what's happening. .. Flash the BIOS from DOS with the FPT tool. This will only flash the BIOS part and leave out the EC and so on. It's a really safe option when done properly and less scary since you see the progress and information on the screen. For the USB recovery method follow the instructions in the link above. Second possibility - flashing from DOS: Prepare an USB drive so that it can boot DOS. If you don't know how to do this, check the instructions in the spoiler. . Grab the DOS version of fpt for flashing, and my 'prr tool' to circumvent write protection.. Download a '[FPT]' labeled version of the unlocked BIOS. Put the DOS version of the flash tool on the root of the prepared USB stick (fpt.exe and fparts.txt), along with the prr.exe and the file you want to flash (plus the included flash.bat). . Restart the system and boot from your USB stick. Run prr.exe, then flash the bios by executing the flash.bat file. Wait until the tool completes the flash. If the verification is okay, reboot, else flash again.. Go to the bios, load the default settings and reboot. Done. NOTE: If you want to use an unlocked BIOS newer than A03 I highly recommend to first flash the desired version of the unmodified BIOS (grab it at the Dell download site). Once you're on the version you want to unlock, follow the DOS flashing procedure described above. If you want to go A03 or earlier, the best thing to do is using the USB recovery method. Here two pics of the most interesting options: ********** Thanks @Riri-Fifi for the pics and testing! Thanks @johnksss for testing my prr tool! ********* Flash and use at your own risk. I don't take any responsibility for possible damage on your system. ___ The software which I provide here ('prr tool') comes with absolutely no warranty to the extent permitted by applicable law. Download the bios files referened in this post from here:

 1 point
 -
Instructions for flashing the VBIOS of a NVIDIA video card: You'll need: A VBIOS file you want to flash The latest version of NVflash, a DOS utility to flash the VBIOS of Nvidia cards. A USB drive, formatted to boot DOS, in order to use NVflash How to create a bootable USB flash drive: The flashing procedure: Put the NVflash files to the root of your prepared (DOS bootable) USB drive. Do the same with the Vbios you want to flash. NOTE: DOS has a limit of 8 characters per file name (not counting the extension). So make sure to rename your files appropriately before putting them on the USB drive. Make sure the USB drive is plugged into a port which is active at boot, reboot the system and go to the boot manager. Choose to boot from your prepared USB drive. As soon as you see the command line you're ready to go, write dir and hit enter to display all the files on the USB drive. Display all Nvidia adapters in the system: nvflash -a or alternatively the longer version of the command: nvflash --list This command will return you a list with all Nvidia adapters present in your system. Here's an example output of this command run on my M15x with a 680m in it: NVIDIA Firmware Update Utility (Version 5.117) NVIDIA display adapters present in system: <0> N13E-GTX (10DE,11A0,1028,02A2) H:--:NRM B:02,PCI,D:00,F:00 The number in the <> brackets is the index of the corresponding device. SLI users will have more than one entry and flash each card separately. Backup your current VBIOS: Never forget to keep a backup of your original VBIOS before you flash anything non-stock. Use this command to save a copy of the firmware to your USB drive: nvflash -b filename.rom or with nvflash --save filename.rom Flash the VBIOS to your card(s): For a single card it's really straight forward, you don't need to worry about the adapter indices. Just use this command: nvflash -6 vbiosname.rom -6 will allow you to override mismatches of the PCI subsystem ID. In case of a mismatch you'll need to confirm the flash with 'y'. NOTE: Users with a non-US keyboard might need to press 'z' or similar, because the 'y' isn't at the same location for all keyboard layouts. SLI users will need to flash each card separately. The concept stays the same, but you will need to use the corresponding adapter index to flash a card. How to figure out the adapter nr. is described above. Flashing goes like this: nvflash -i[index] -6 vbios.rom [index] represents a number, namely the index you found with the 'nvflash -a' command. So a command example to flash a card which has index 0 is: 'nvflash -i0 -6 vbios.rom' When the flashing starts, just wait until it says that it's done. Then reboot with Ctrl+Alt+Del and remove your USB drive. Pro tip: Let me know if I missed anything important or if you have questions.1 point
-
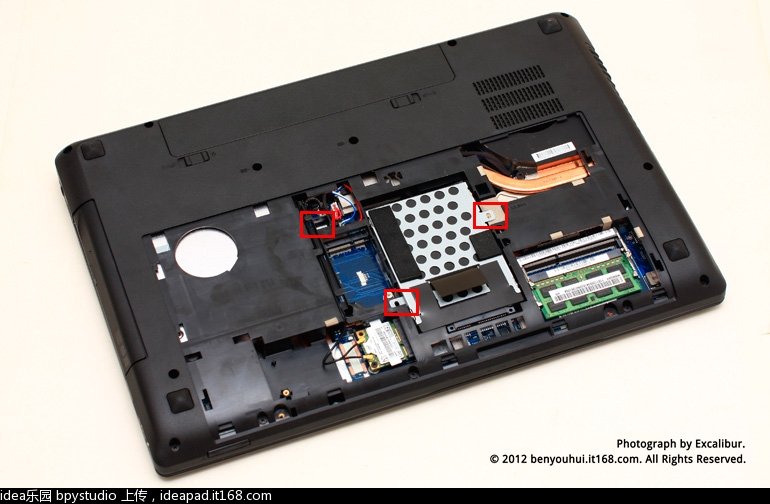
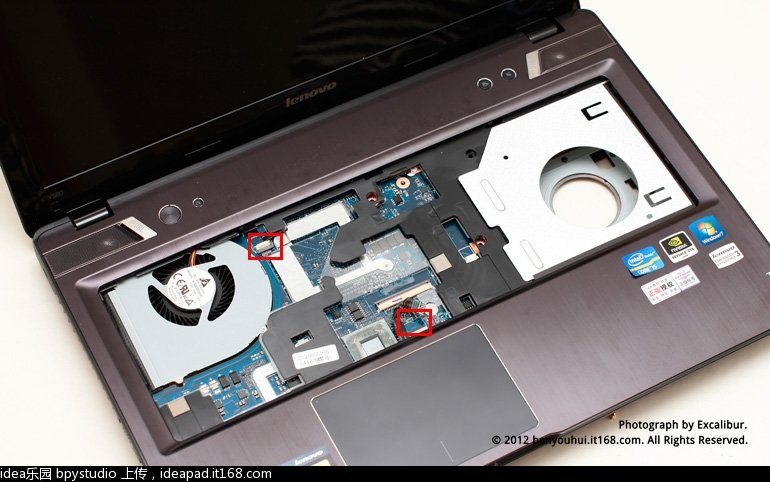
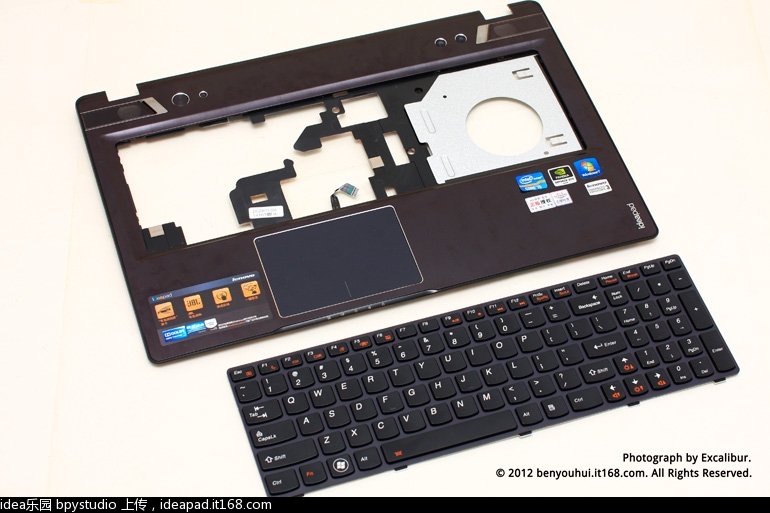
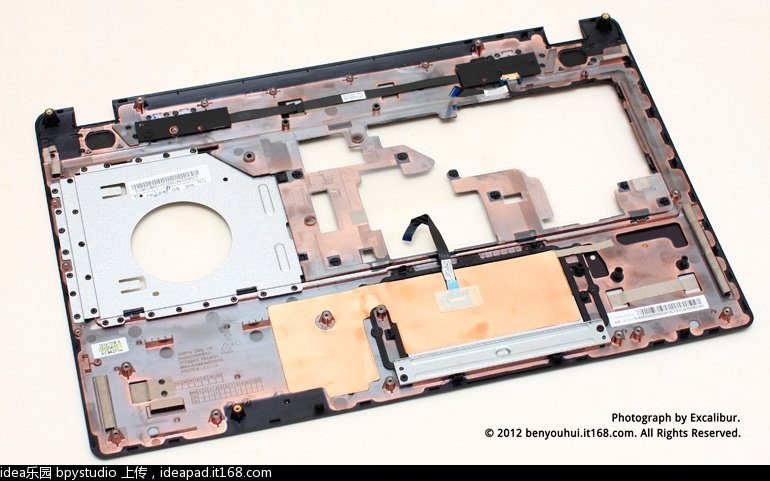
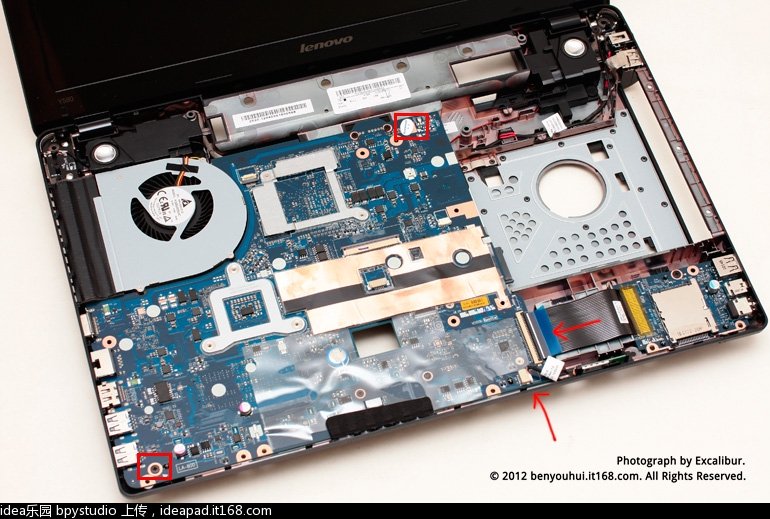
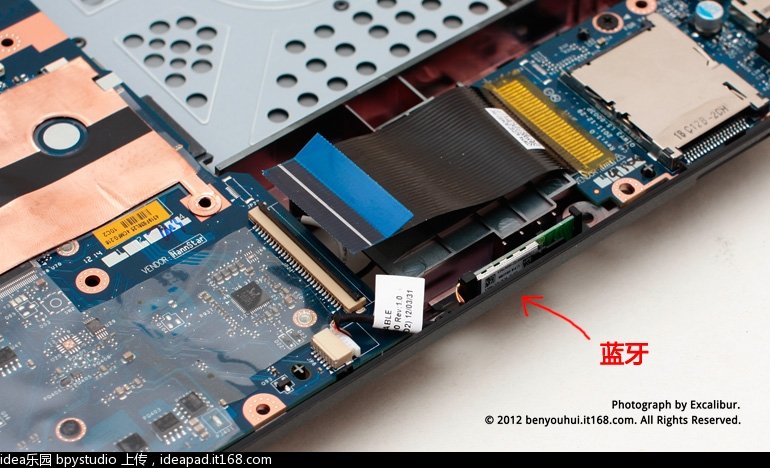
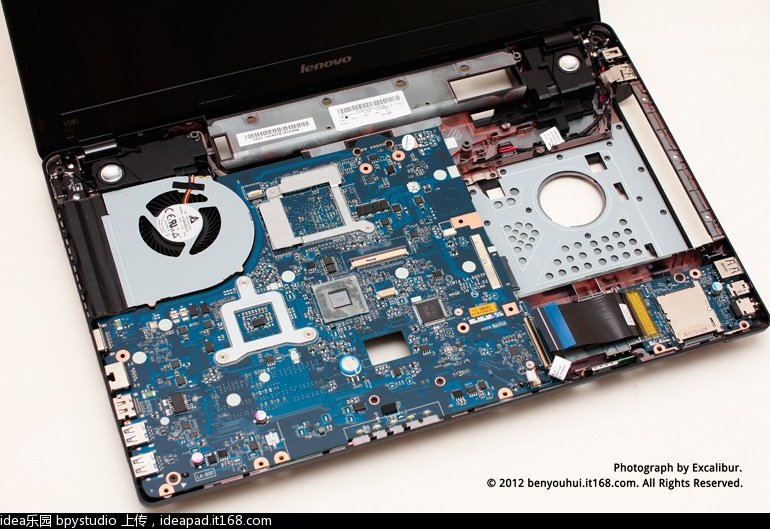
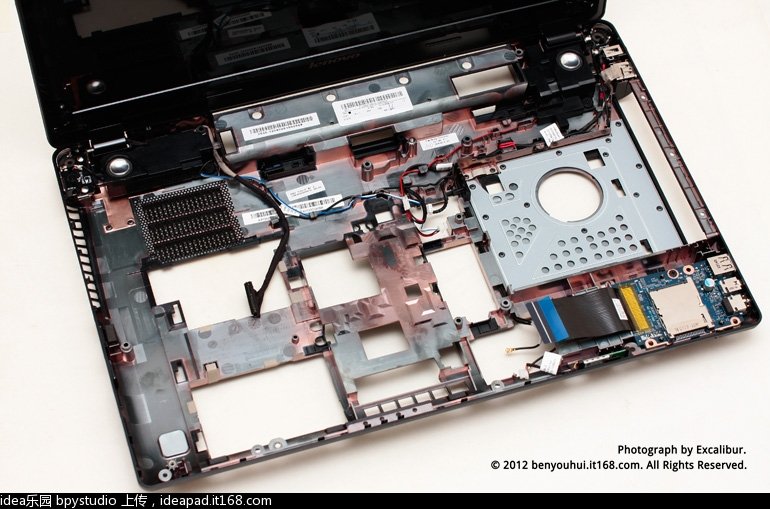
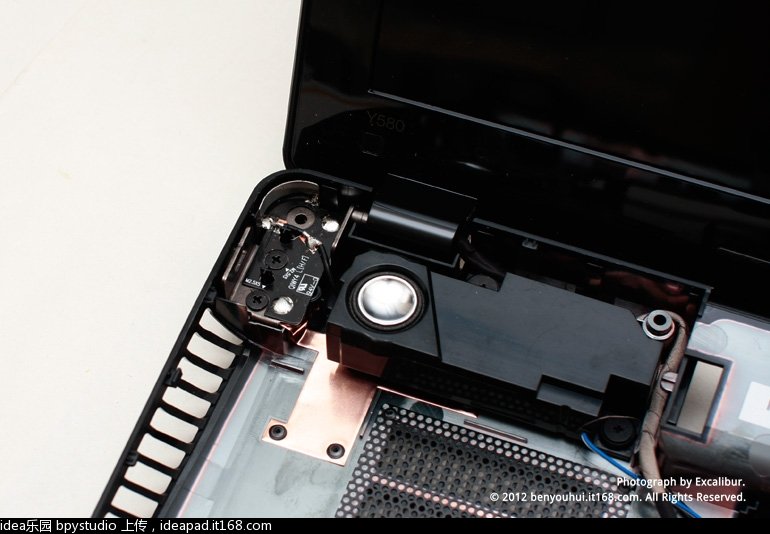
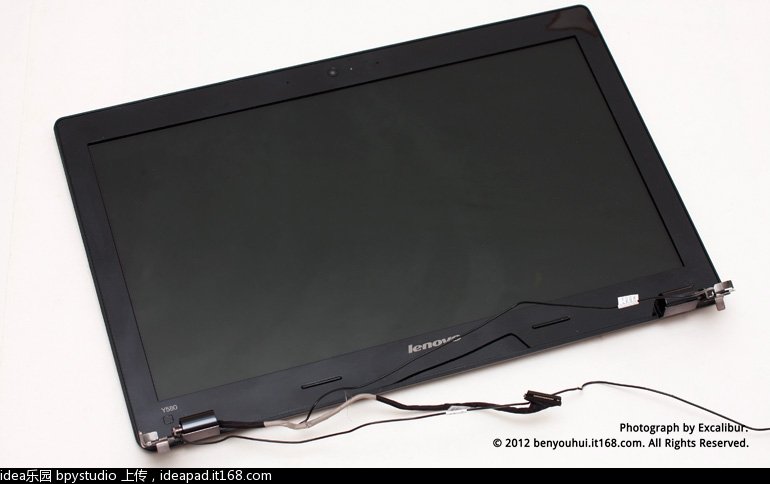
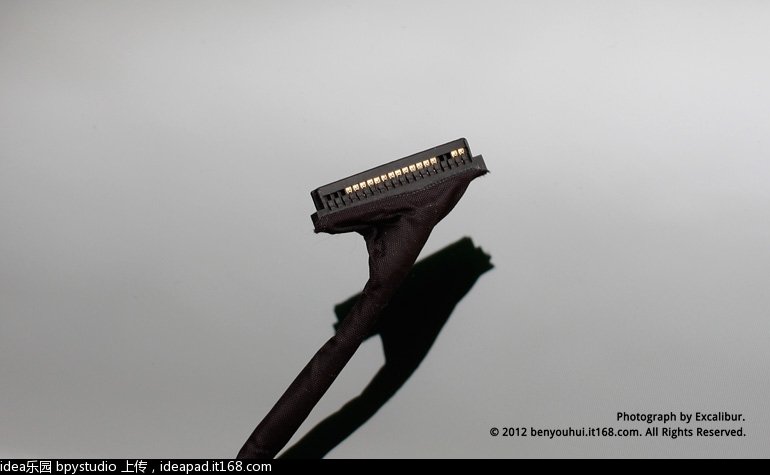
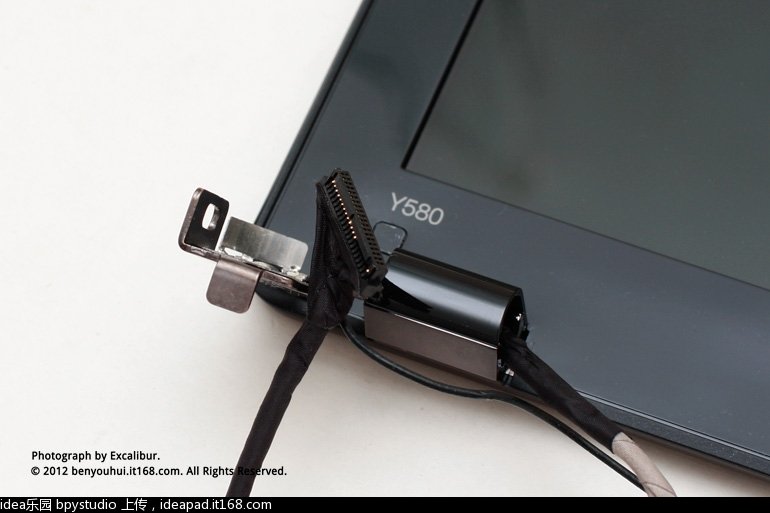
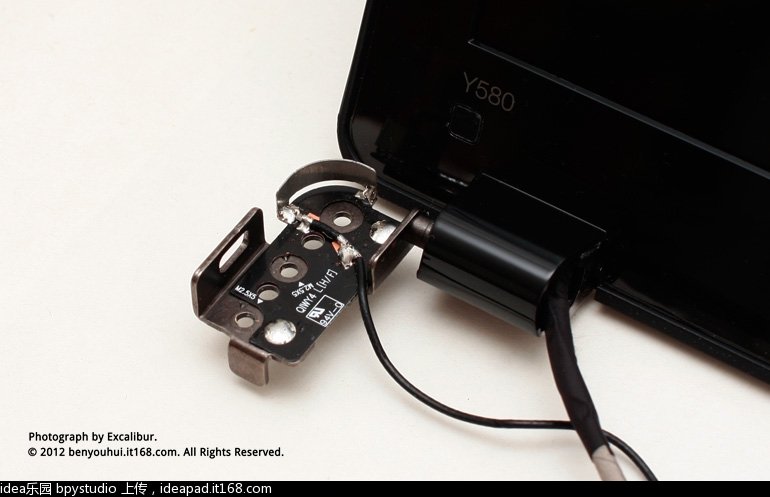
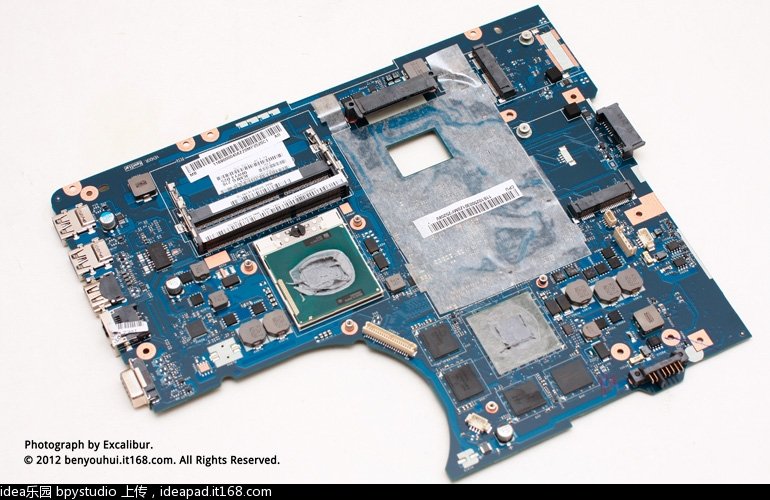
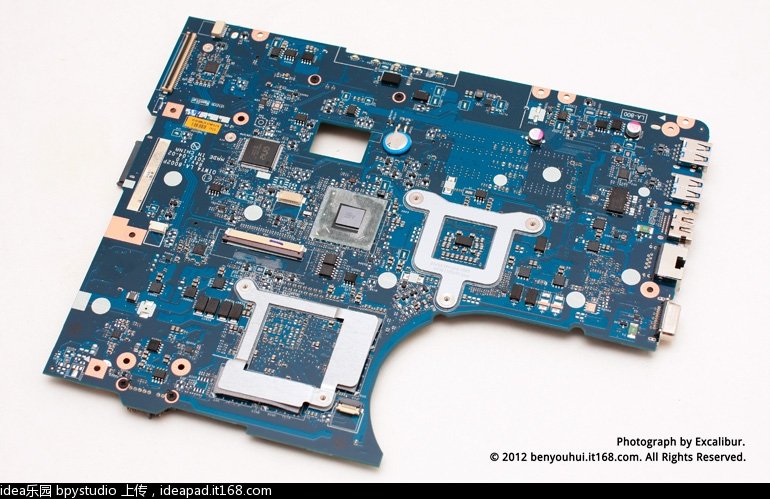
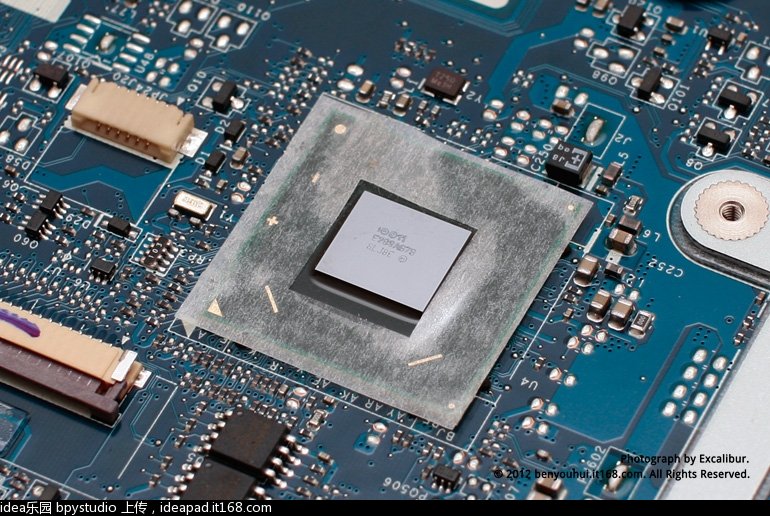
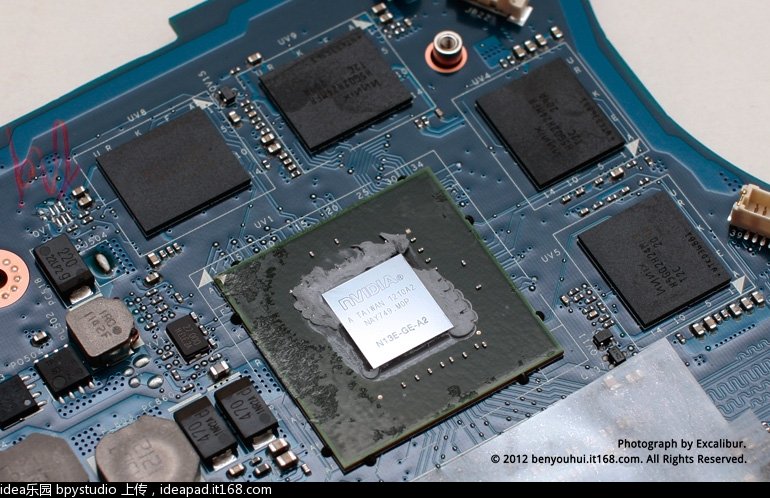
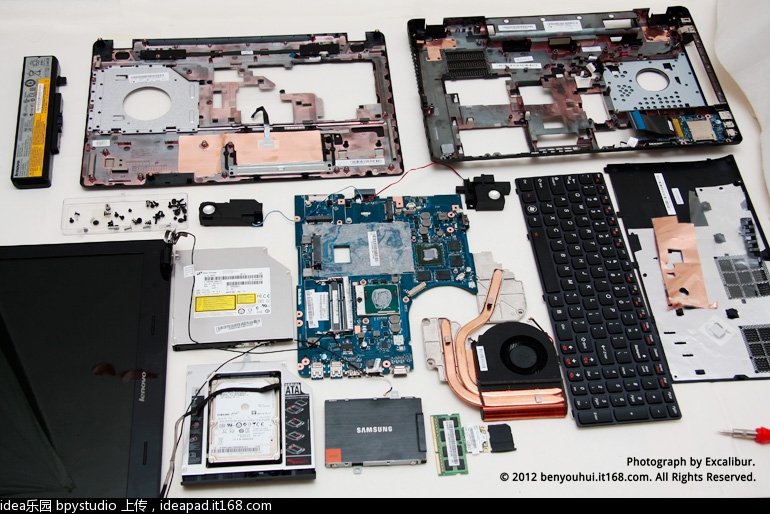
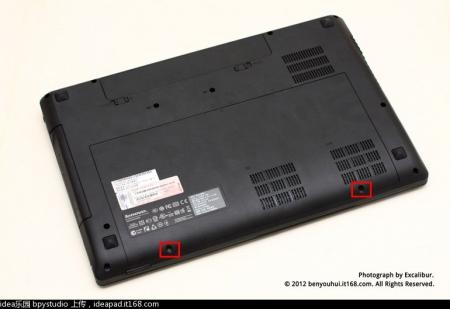
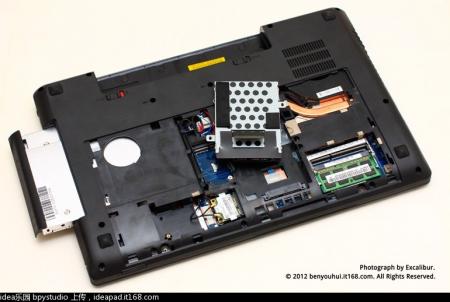
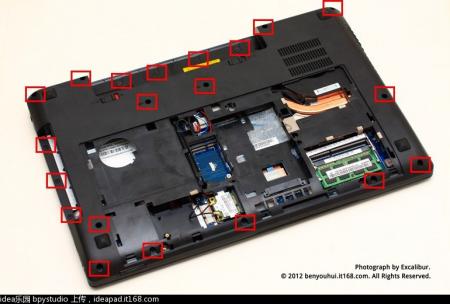
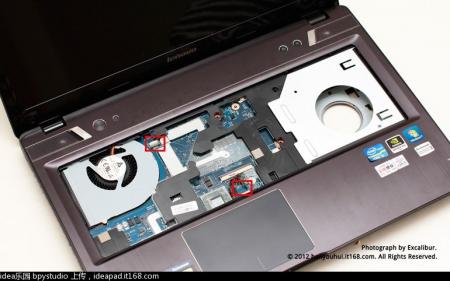
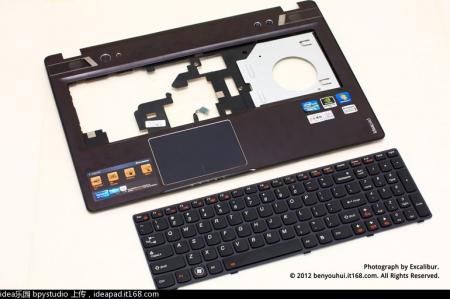
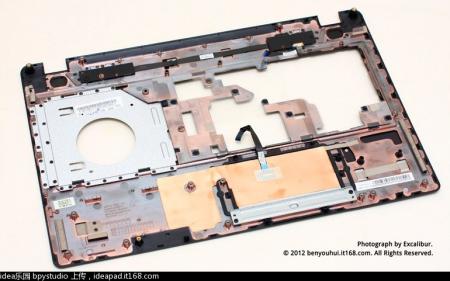
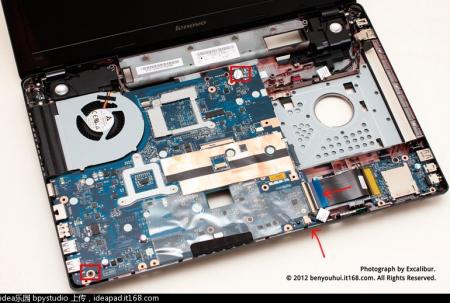
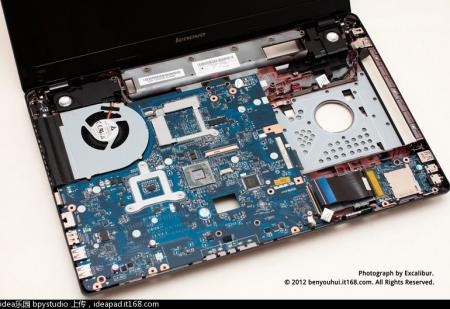
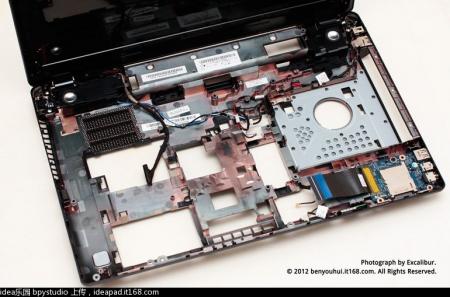
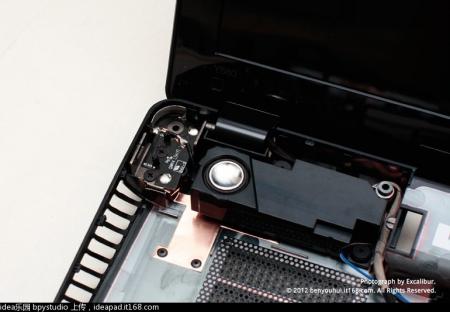
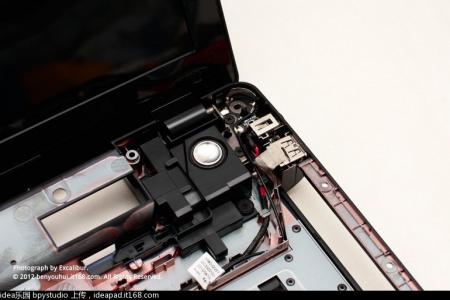
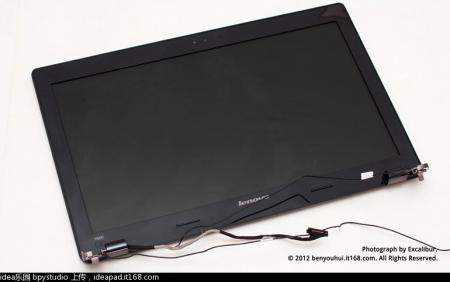
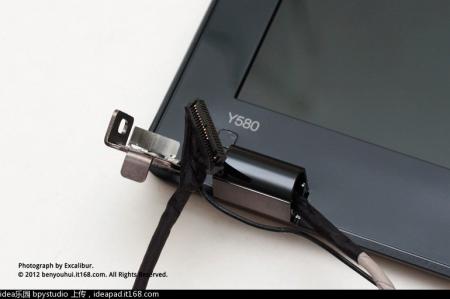
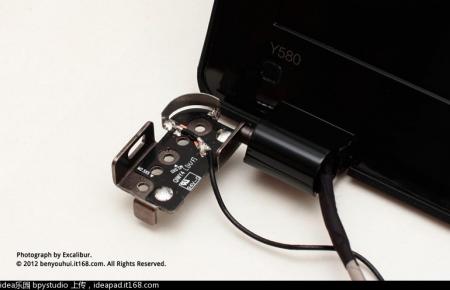
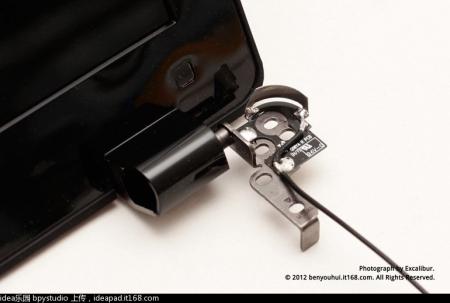
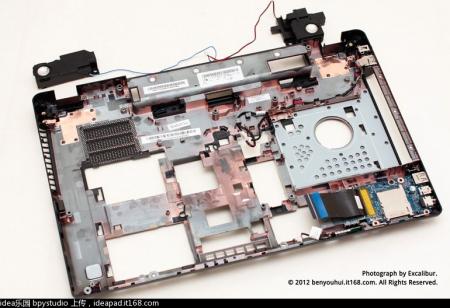
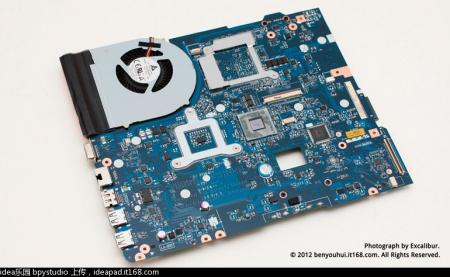
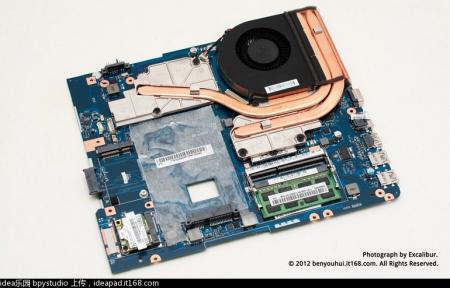
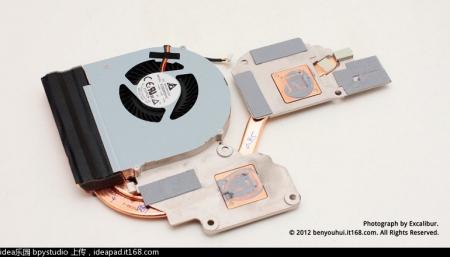
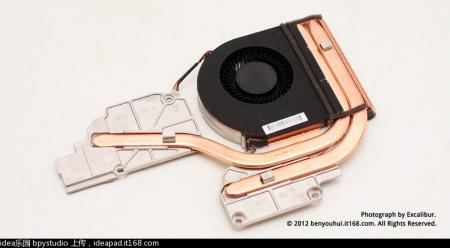
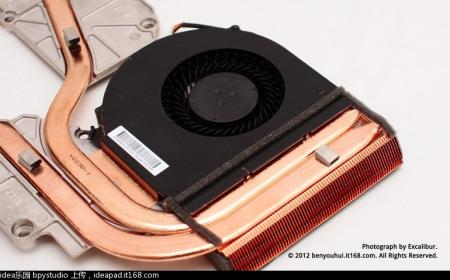
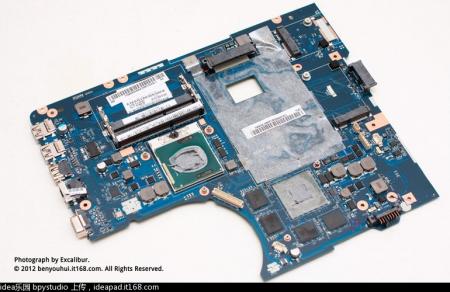
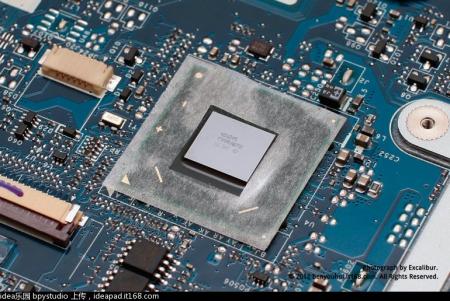
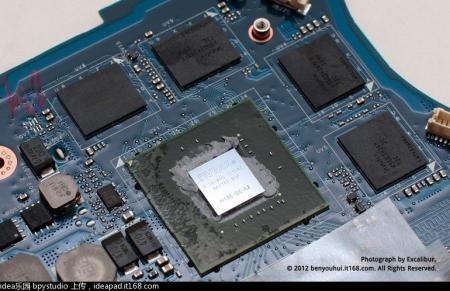
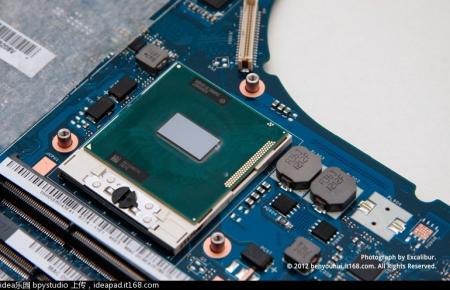
Hi all, http://download.lenovo.com/consumer/mobiles_pub/ideapad_y480_y580_hmm_1st_edition_mar_2012_english.pdf 1. It's not my photos, originally posted at: DIY 2. Last link is to PDF manual created by Lenovo 3. ENJOY


 1 point
 -
Today I installed the Intel wifi card 6300. Although I did not notice any increase in performance or stability, the card works without a problem. Bios did not show any errors. I replaced the card intel 6200 to Intel 6300. So the BIOS in the first post work with both cards.1 point
-
First post revised and updated. Took me a while, but I found a new way of flashing the BIOS without having to blind flash back to A03 with the USB recovery method. It's pretty easy and very safe, just follow the instructions carefully. If you have questions, post them here.1 point
-
Lenovo probably won't approve this bios version, however you can always revert back to your original bios, just keep a copy of your bios backup. -- Alright guys, I found a way which should allow (hopefully all of you) to flash the modified BIOS. I created a new thread with all the instructions and files in the first post, let's continue the discussion there: Lenovo Y500 - 'unlocked' BIOS / wwan-wlan whitelist removal Thanks!1 point
-
IMO the ASUS. vs Precision: The weaker support for the ASUS doesn't mean much since you know your computer stuff. Everything in the laptop is less than the $300+ you saved in the first place. The most expensive should be the motherboard at around $300. If something does fail you can just order a new part right away instead of shipping the system out for over 2 weeks for a refurbished replacement. vs XPS: The 630m is half as powerful as the 650m. That's a lot. vs Lenovo: Mediocre but not terrible battery life. ASUS likely lasts ~60% longer vs Samsung: The samsung has a somewhat stronger GPU, but it's an AMD, so battery life will not be good since not only does enduro hurt FPS, it also can't properly turn of the dGPU to save power. Plus it's so thin it probably has terrible thermals. I don't see a fan in the screenshots posted... You can use the money saved on the ASUS to buy an SSD. Another option is to give her your M18x and buy yourself a new one. You can take the best 680m's for yourself1 point
-
Lenovo Ideapad Y500 actually isn't bad at all. I was worried about the gap in (build) quality between Thinkpad and Ideapad and for the short time I held Y500 it actually seemed like a quite decent laptop. Last time I checked an Ideapad (few years ago) I remember the cheap plasticky feeling which luckily wasn't there on Y500. That said, it does not compete with business grade laptops. Dell Latitude/Precision are really good laptops. It's really unfortunate they can't be configured with IPS RGB LED screens anymore but they are still pretty good nevertheless. HP Elitebooks also similar and they look quite nice IMO, but I don't know much about the workstation models (and their web site is a useless piece of crap so GL finding anything there).1 point
-
I've got a friend who is waiting for the new Samsung series 7 chronos, which I believe fits most of your requirements (not sure about the warranty and ugliness is subjective). Series 7 Chronos 770Z5E Specs & Latest News | Samsung | The Verge1 point
-
Heya all, just tested the clevo bios files on my Metabox P370EM3 SLi lappy. All worked, IE: no video card bricks. Only issue I had with the P370EM3 was a random red screen in SLi mode with ny bios other than the 80.04.67.00.01. That bios worked fine. Just supplying feedback, incase anyone else has a P370EM series and are trying to work out the red screen issue.1 point
-
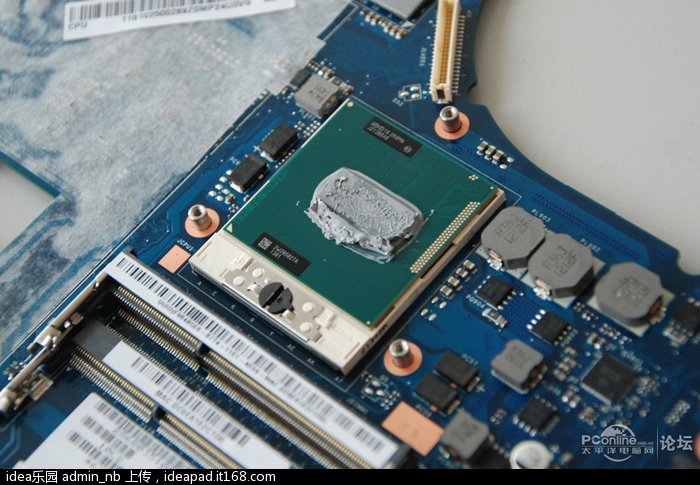
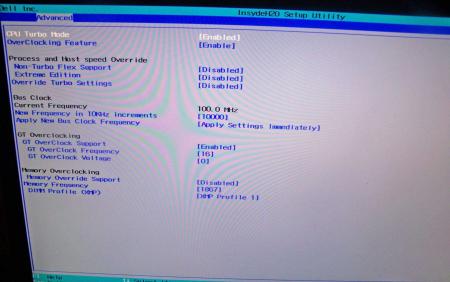
!!!!ATTENTION!!!!!!!!!!!!! For those people who want to unlock their BIOS for the Lenovo Y 500 I'm going to list what I've tried what's works and what didn't work for me 1.Intel HD4000 graphics - Not working -think it's a frame buffer issue 2. Intel WIDI - Not working - No Intel Graphics Support 3. Memory - Overclocking Memory worked via advanced Menu 4. CPU - Overclocking worked via the multiplier - In advanced Menu Please Replace stock thermal paste if you going to attempt (ex IC Diamond) 5. Raid - Not working - In advanced Menu I can switch to Raid Mode but in the config Menu there was still only AHCI and IDE mode only tryed to restart in raid mode Bios would revert Back to AHCI Mode 6.Power Management - Working - you can set C-State via Unlocked Power Menu !!!!!!!!!!!!!!ATTENTION!!!!!!!!!!!!!!!!! Windows 8 (64bit) Standard (preinstalled on all Y 500) And all so a BIG THANKS TO SVL7 for helping me out P.S I have Bios ver. 1.3 with the elan Touch Pad I have to return my laptop touch Pad issues I believe Bios ver. 1.5 users have the Synaptics touch pad which as far as I know has no issues (note) Returning to stock Bios Version 1.3 windows 8 is activated Hope this answer everyone's Questions1 point
-
I agree with what is said above. The P370em is still very heavy. THe P150em you mentioned is indeed a good option as well. It is around the 3kg which makes decent for carrying around. You´d have to sacrifise the dual GPU config tho. But still a P150em with i7 3840Qm or 3940XM, 16gb RAM and a 680m is a very powerfull notebook. It is also pretty well priced at prices at around 2000 usd for the 3840QM, 680m, 95% gamut screen and 16gb of ram.1 point
-
You're right it is too heavy for long distance walks. The clevo is a good option but I'm not sure if 1.5kg lighter will make much of a difference over a long walk. I'd stick with the x220 for school and M18x for lan parties. The AW really is a much better system. Plus if you got the hardware itch, you can put 7970m xfire in it. Sent from my GT-N70001 point
-
Yep, and you can also flash their graphic card with Radeon/GeForce VBIOS if I remember correctly. Also, IPS RGB LED.1 point
-
But Jimbo, my foolish friend... you're just lazy Going from a M18x to a P370em wouldn't make a lot sense if you ask me... rather go 15 inch then. Did you ever consider a Dell Precision series notebook? Very nice design if you ask me, and powerful hardware.1 point
-
Currently, it's always a big tradeoff between portability and power (just look at Razer Blade). I agree 1.5kg is a big difference but 4kg is still fairly heavy IMO. Where do you use M18x right now? (Why not just stick with the desktop and X220?)1 point
-
Wow. Indeed the m18xR2 has an expresscard slot Review Alienware M18x R2 Notebook - NotebookCheck.net Reviews . It and a few Fujitsu are the last remaining consumer notebooks with expresscard slots. 1. Useful only if powering the slot (75W). Generally useless for eGPU purposes since most will want > 150W. Best would be hacking a xbox360 203W PSU to have 2xpci-e power plugs and a floppy molex (12v, 5V) if using a PE4L 2.1b. See Elmopol's xbox360 PSU implementation. 2. You may need the Setup 1.1x software to (1) disable a NVidia dGPU so a NVidia eGPU is granted Optimus functionality if your BIOS hasn't got that function. It means your system will not have TOLUD issues since the eGPU can use the dGPU's 32-bit PCI space. 3. There is no need to remove any RAM as you will not have any TOLUD issues per (2). Your system would be a great one to do a full implementation of as has a powerful dGPU to compare against the DIY eGPU performance. If using DIY eGPU hardware then I'd help you so we could document one of these in our implementation database. If using Villagetronic hardware then it's support/implementation goes via Villagetronic.-1 points