Leaderboard


Popular Content
Showing content with the highest reputation on 05/05/12 in all areas
-
Hi Staff Sargent, What might be going on is that the Logitech software is using a fancy interface that might be using the GPU to render stuff and maybe that's why it doesn't switch back. Can you switch between GPUs if you simply close the Logitech Software? (make sure it's not running through the Task Manager)2 points
-
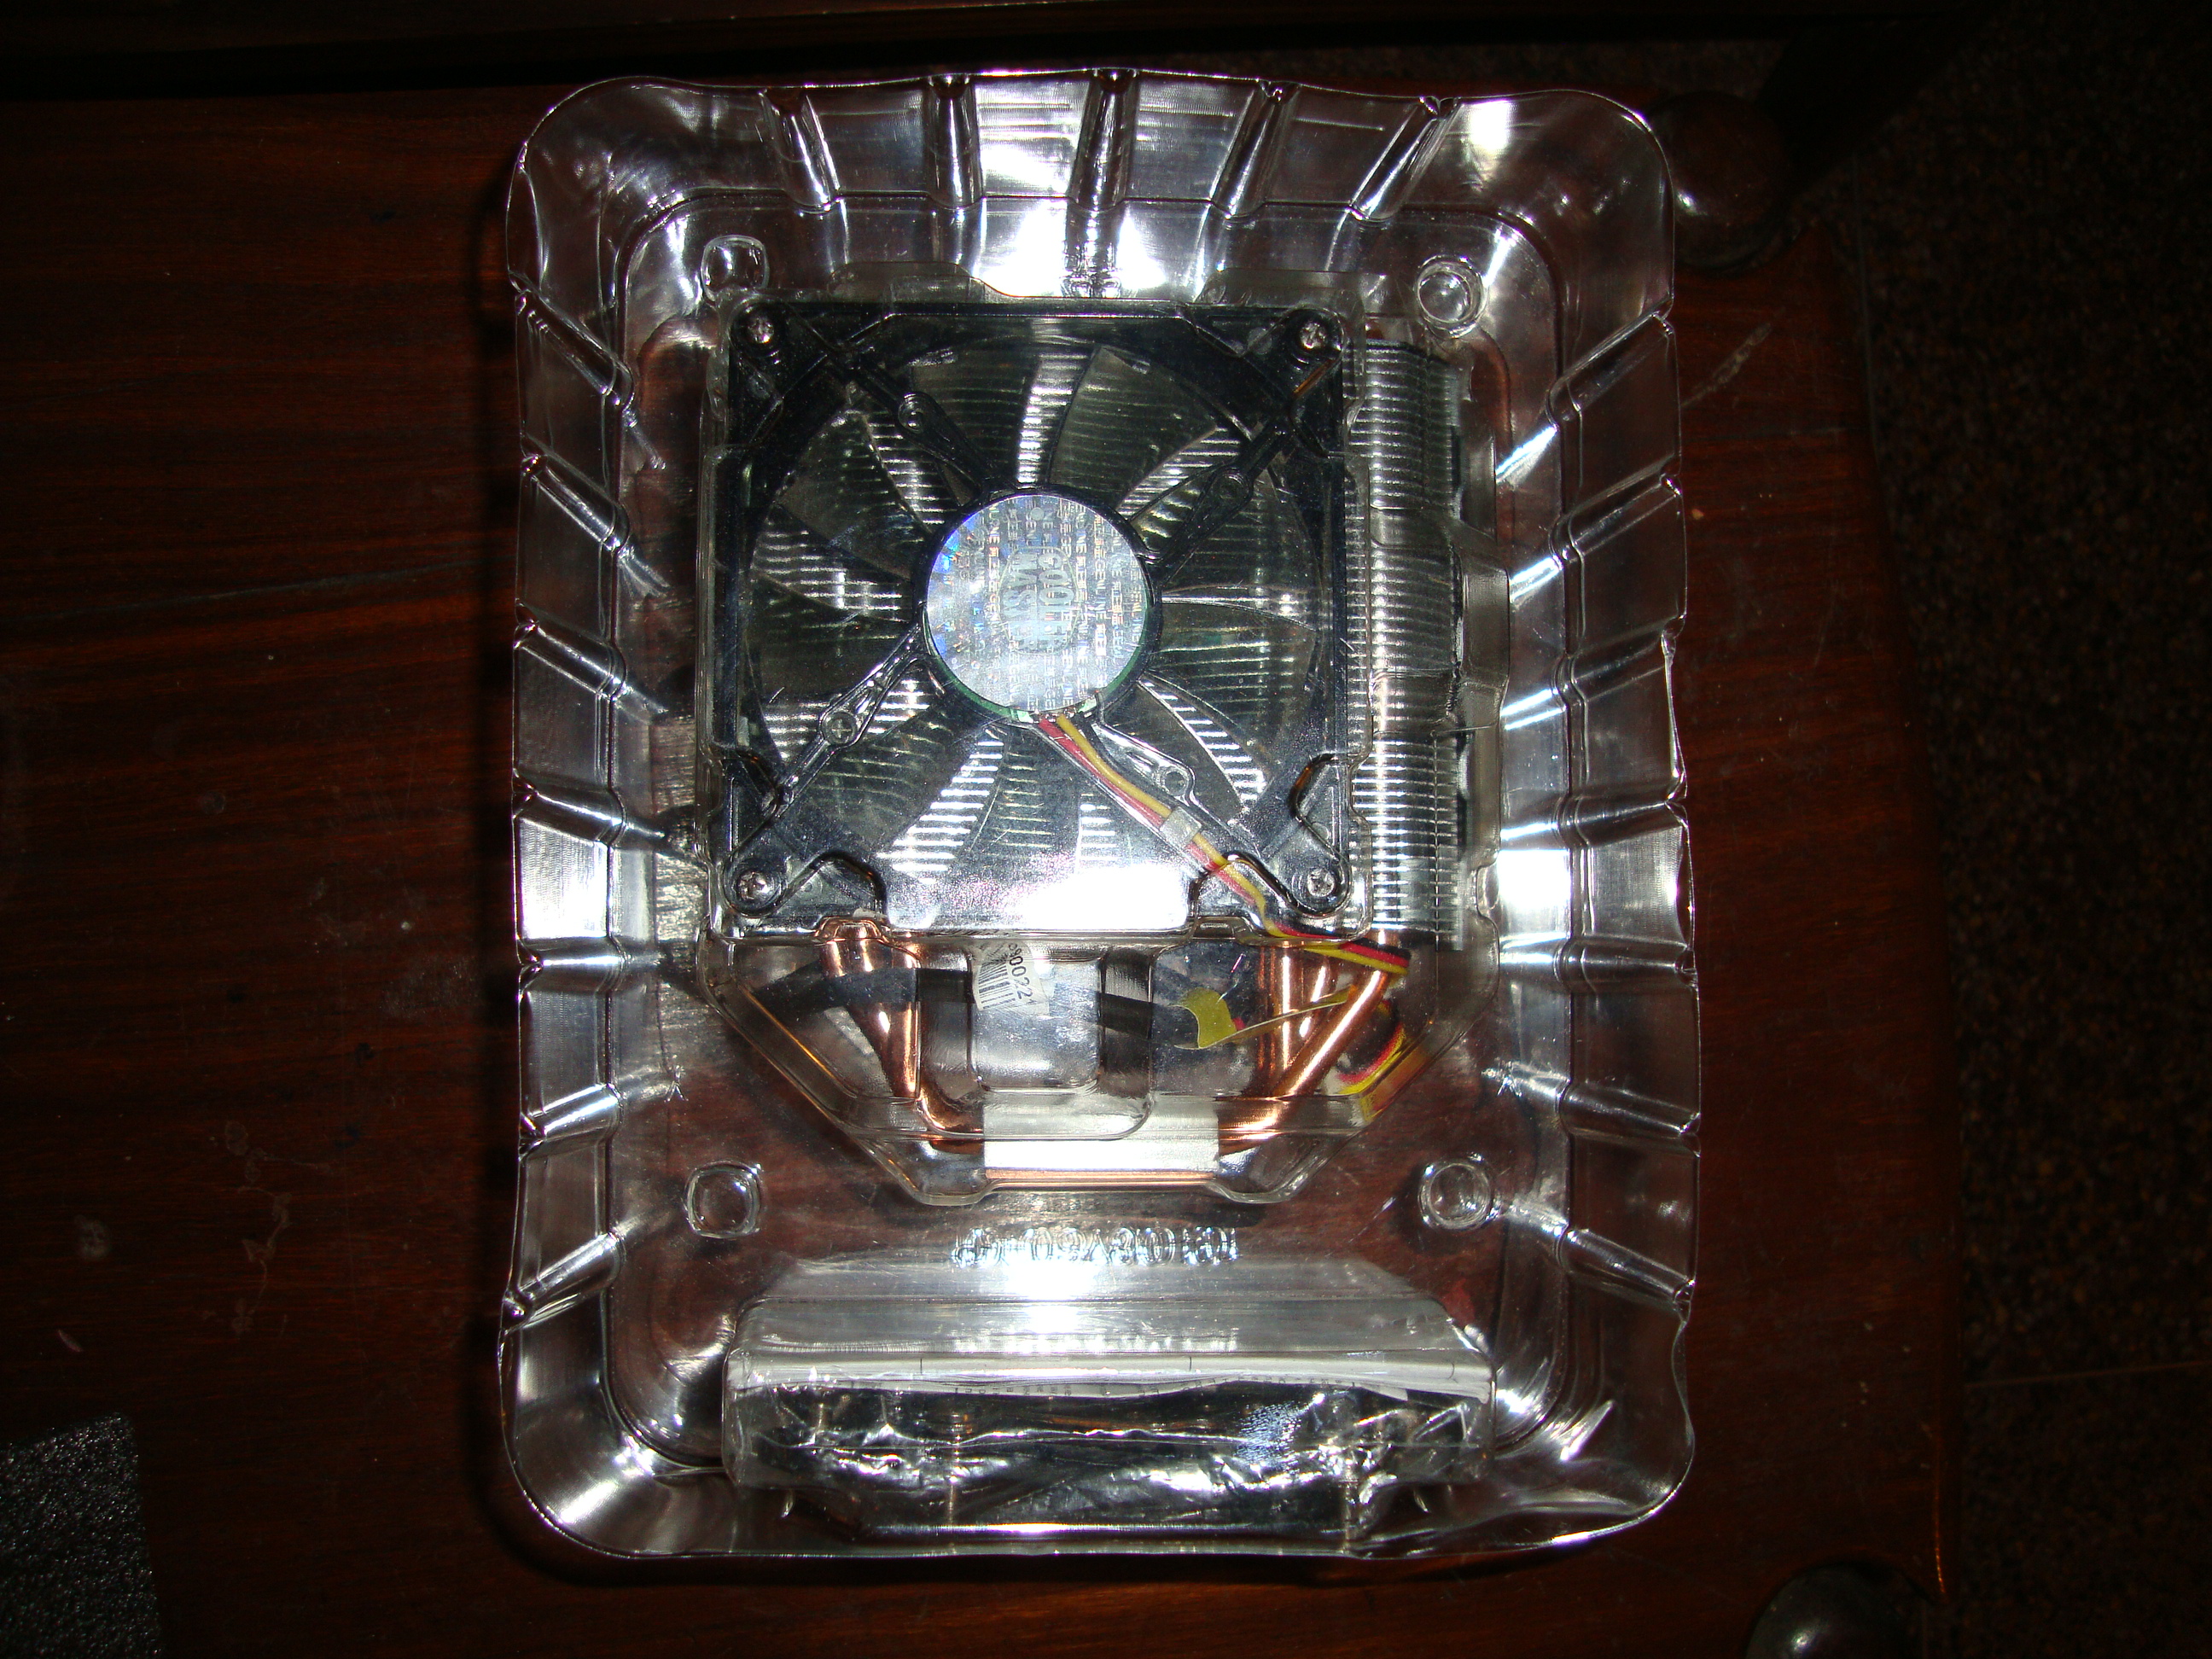
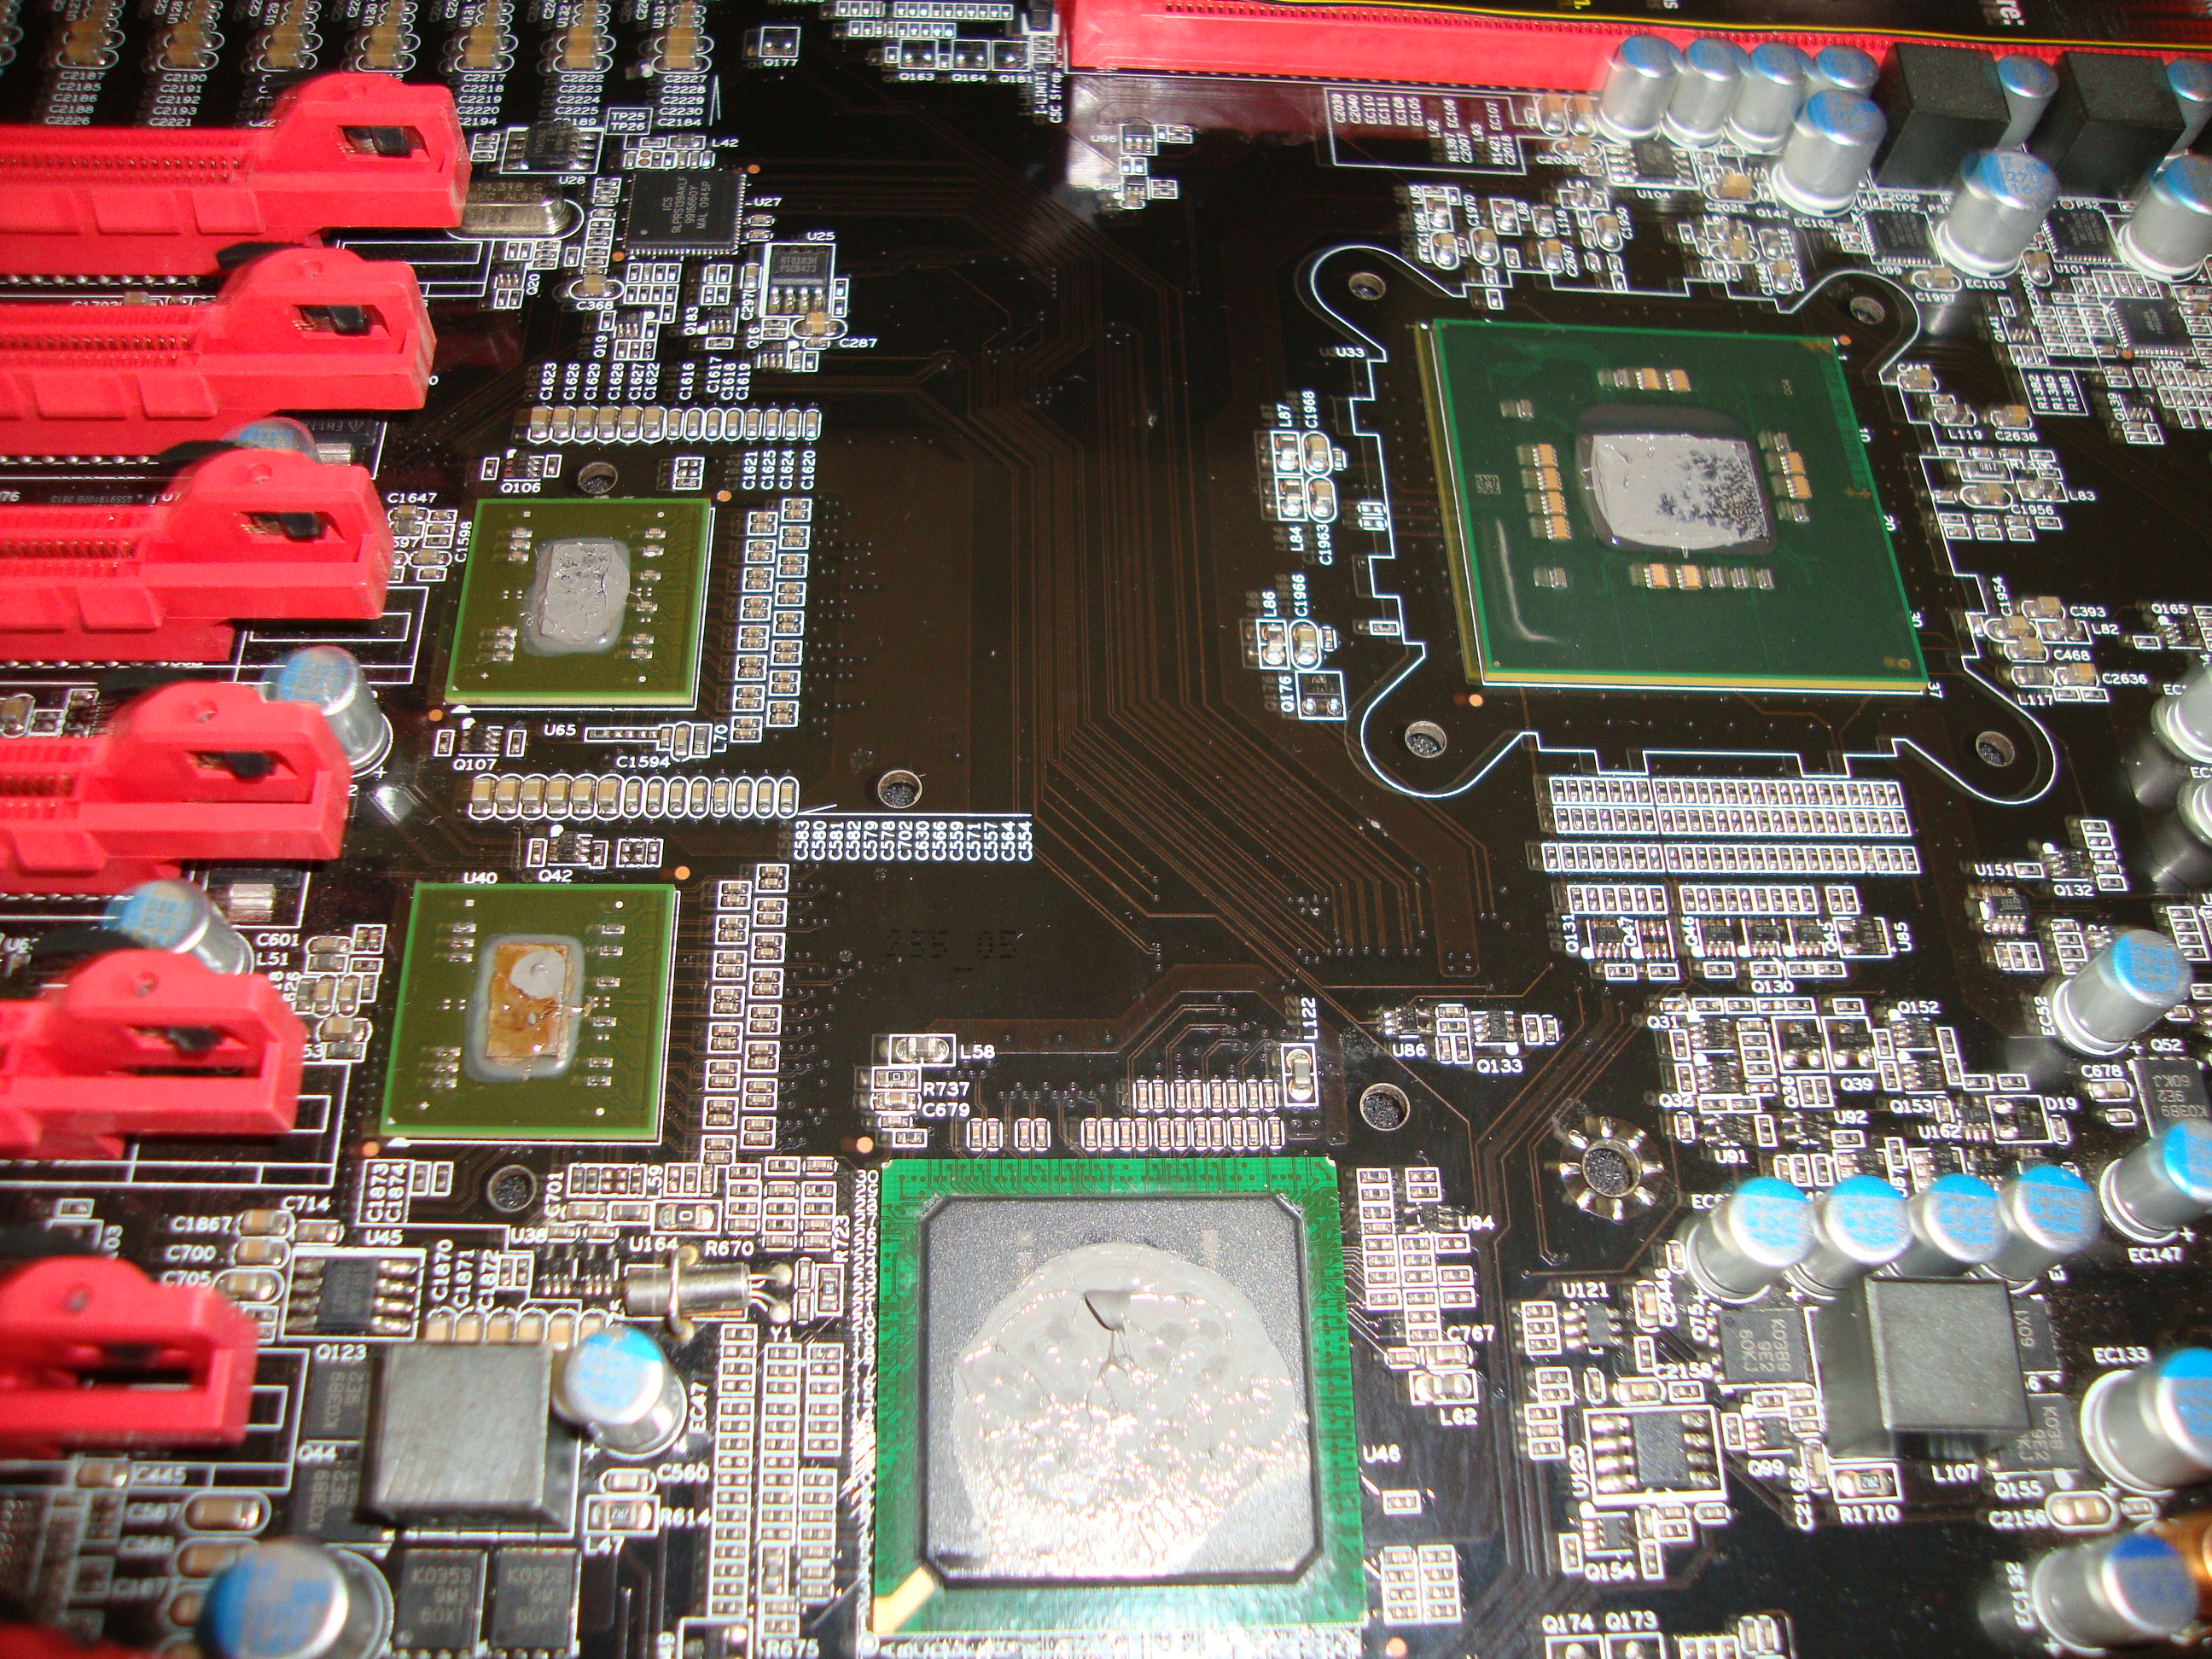
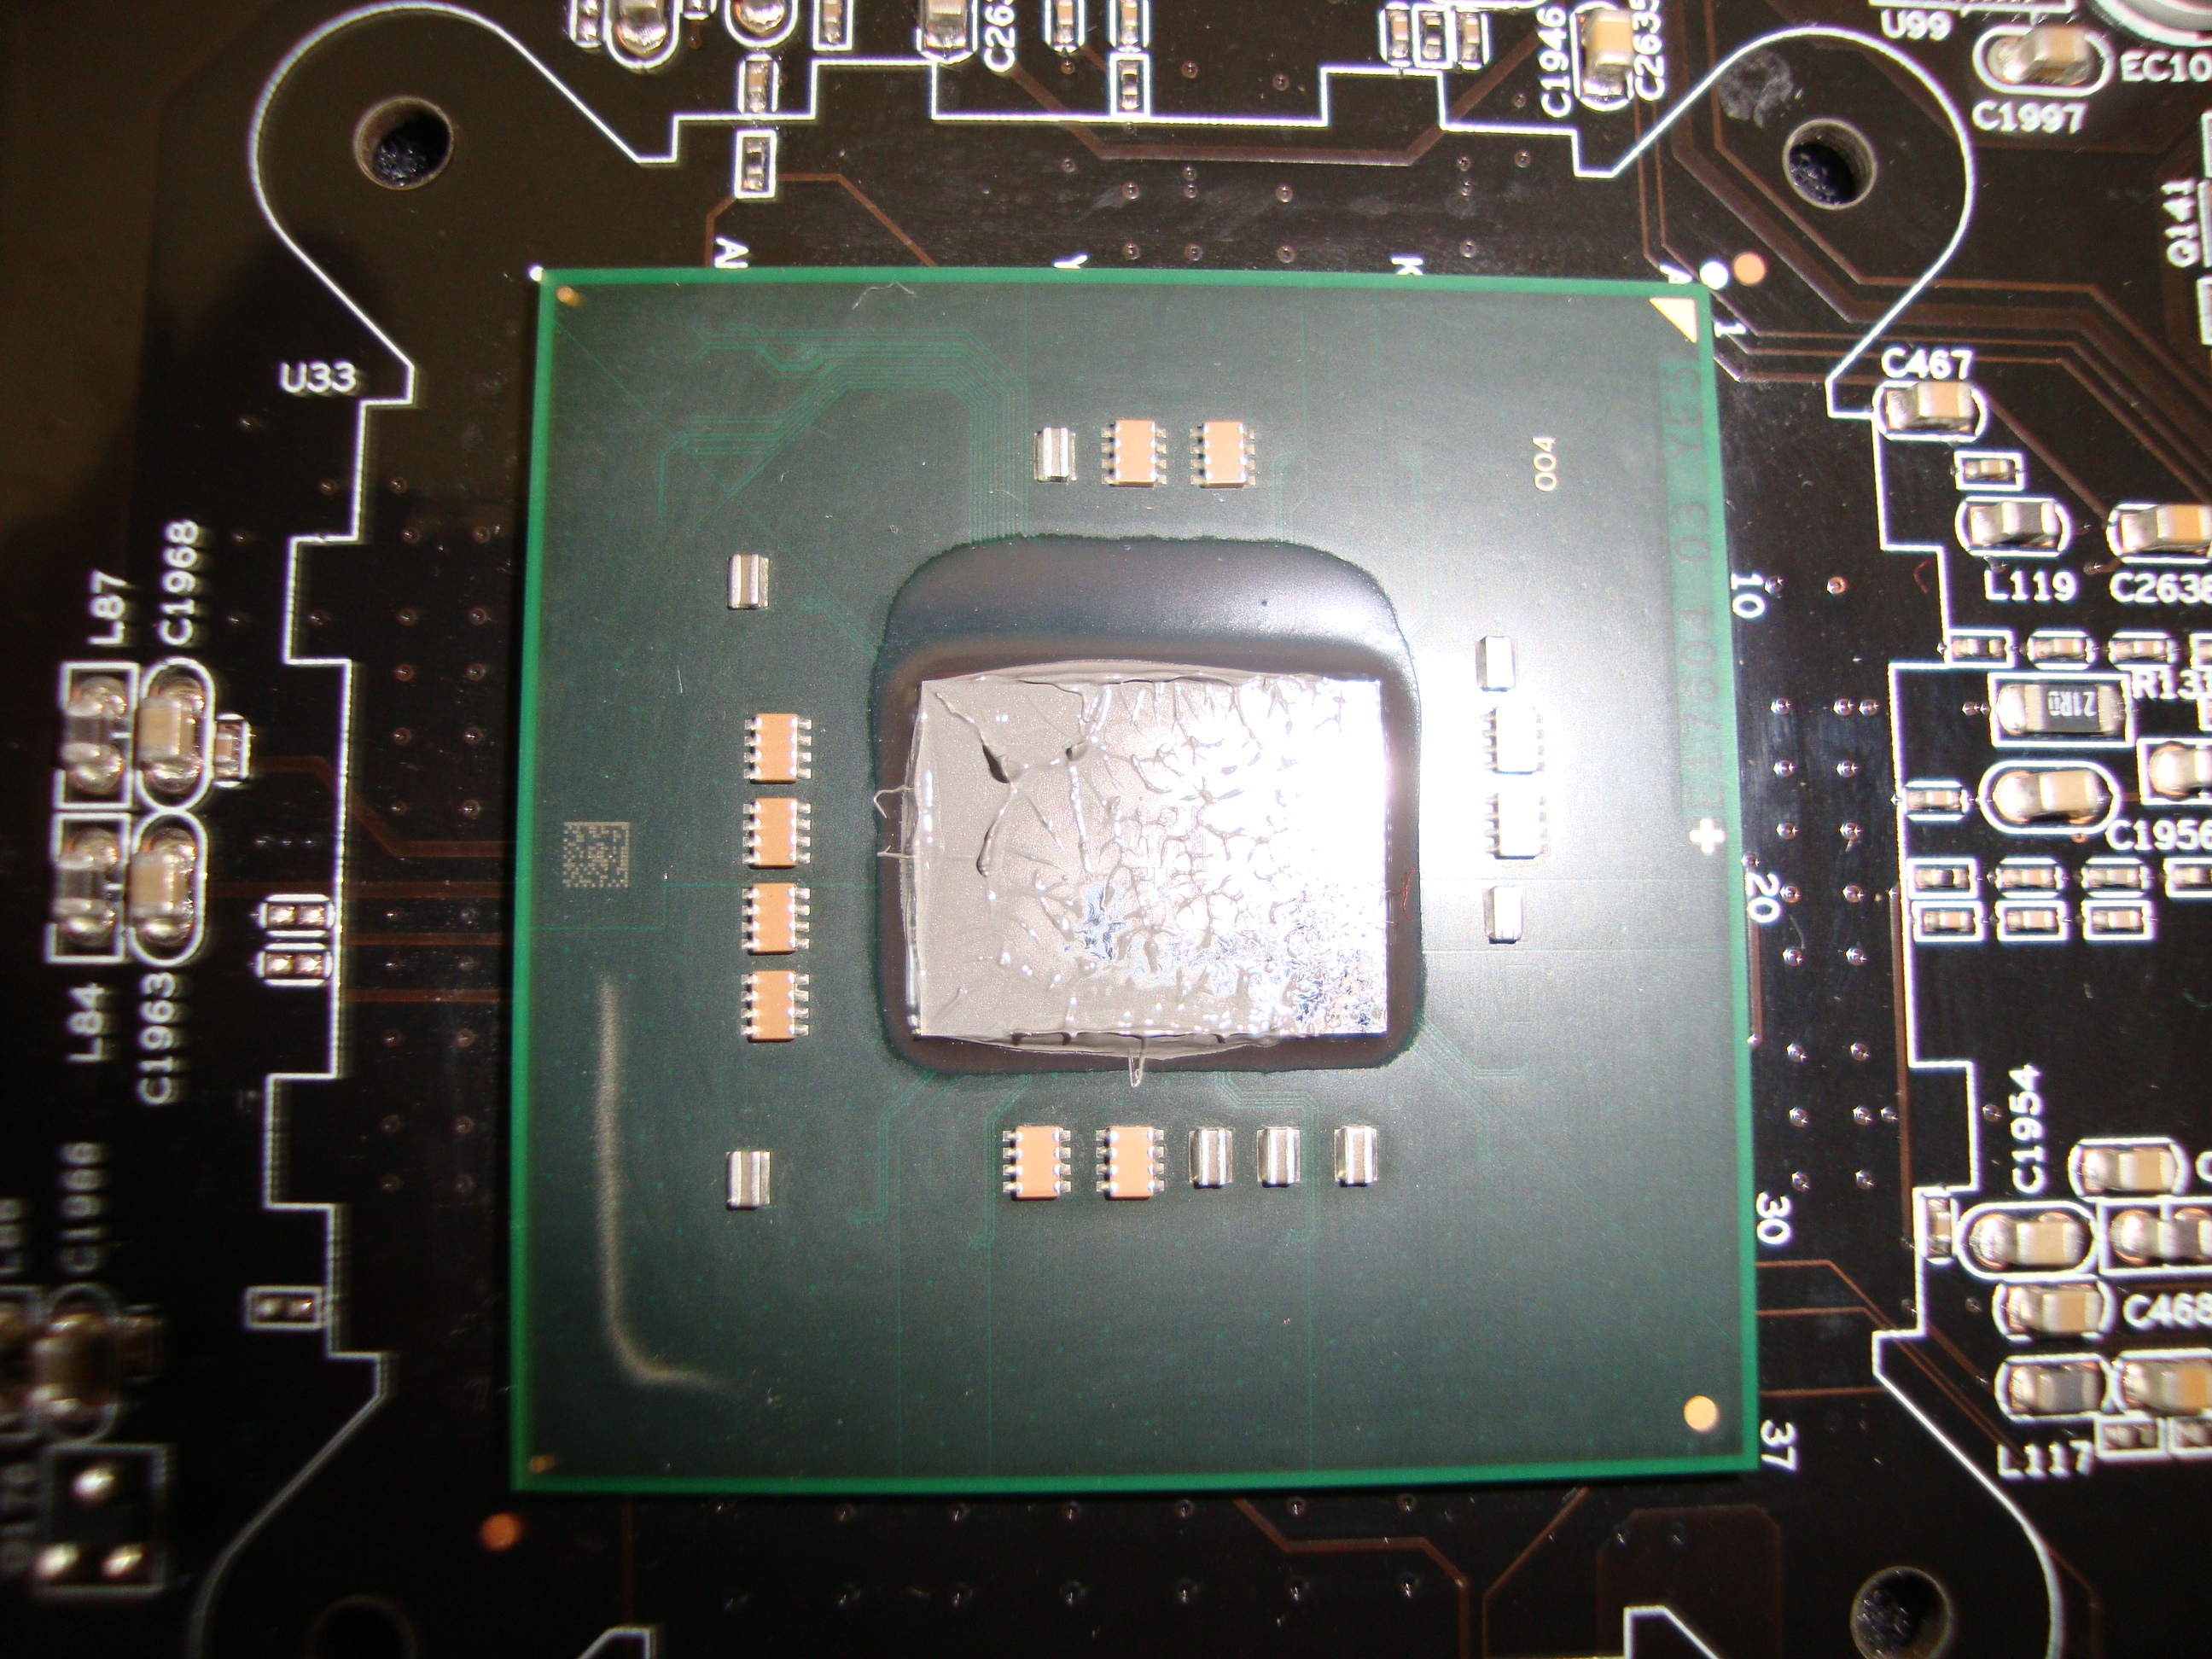
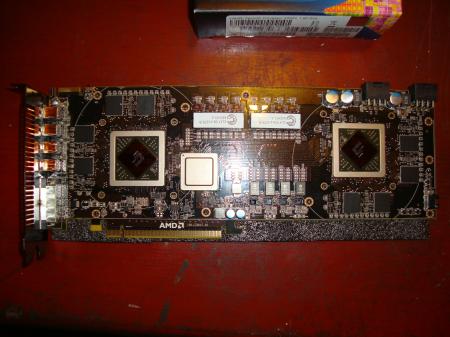
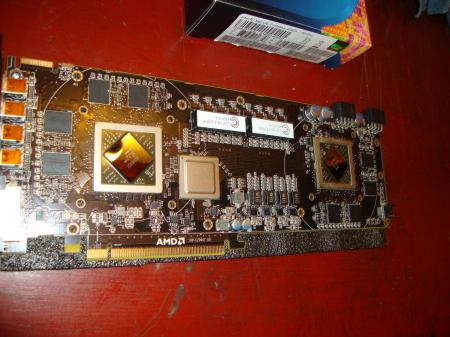
I've decided that it's time to open my beast after i've noticed that one of my 4870's memory climbed above 93 degrees while playing Mass Effect. The idea behind photographing the process is to allow a better perspective than what the service manual gives. What was done? Cleaning the fins on both video cards heatsinks with compressed air Replacing thermal paste on both GPUs and the CPU to Shin Etsu G751 Replacing memory thermal pads on both GPUs from crappy stock ones to those Modding the retention clip as described here. All Credit goes to Ashtefere please rep him for that, he deserves it! Tools used small Phillips screwdriver - it matches all the screws inside your Alienware can of compressed air a small plastic prying tool that Dell once sent me, i used it to pry open the center control cover. Materials used Shin Etsu G751 thermal paste - i bought mine on eBay, but there are a lot of places that sell it. The reason i used it is because according to a lot of reviews this is one of the best performing pastes, only problem is that it's a pain to apply (there are guides for that too ) Thermal pads Step by step (More or less) Ok, here we go. Try to remember the sizes of the screws you are pulling out, and store them somewhere so they don't get lost (i use a vodka shot glass ) Removing the Center control cover i started with placing a towel on my working area to make sure i do not scratch the laptop while i work on it and removed the charger and battery. Unscrew two screws as shown to remove the compartment door. Unscrew the two screws located on both sides of CPU Fan, they are marked as M2.5XL17. Now turn the laptop around and open the screen as far as possible. using the pry tool, or a flat screwdriver, gently pry the control cover up. I found that in my case it's best to start from the right side. Be careful as there's a cable you need to disconnect before you pull it out. EDIT: For those of you who struggle a lot with taking the cover out, make sure you read this mod by Aikimox. Keyboard Unscrew the 5 little screws holding the keyboard and then gently pull it up. lift the keyboard up,disconnect those two cables and remove the it. Video cards. Since both video cards are going to get the same treatment, i'll describe just the master. We are going to pull it out, remove the heatsink, clean it and perform Ashtefere's retention clip mod Keep in mind that it will void your warranty! Remove the bracket. unscrew both screws that hold the video card. Disconnect the CF cable from the card, i used my nails to do it. Note that the location of the CF connector on the second card is under the heatsink and you'll need to remove the heatsink before disconnecting the CF cable there. Now pull the card up from it's outer side to remove it and expose the fan. blow compressed air to clean the heatsink and the fan. Unscrew the 4 screws that hold the heatsink down, following the numeration next to those screws. Now, after unscrewing those screws, the heatsink will probably be still attached to the video card pretty hard. Pry it up gently using the pry tool but make sure to do so where there's no electronic stuff under the tool. This is what you'll see. Next, clean the old thermal paste using alcohol pads, and remove the old thermal pads from the memory. Reapply thermal paste on the video card. I replaced the old thermal pads with with new ones, Ashtefere suggests applying a thick thermal paste on the memory (Shin Etsu would work since it's very thick).. Next, Ash's retention clip mod. I will not repeat him, he explained it beautifully in his guide. This is just to demonstrate how the screw looks like with the washer on it. Follow his guide to reassemble the heatsink on top of the card and return the card to it's place. (Don't forget the crossfire cable). Repeat with the slave card. CPU To access the heatsink of the CPU we will be removing the palmrest and the magnesium cover. With both video cards back in place and screwed in, turn the laptop, and unscrew three screws inside the battery compartment that are marked M2.5XL5 to release the palmrest. With the pry tool pry the palmrest down and then lift it up to remove the little cable that connects the touchpad. Ok, here i forgot to take a number of pictures so I will explain everything on this one. Basically what we're going to do is remove the magnesium cover. before we do that we will need to: disconnect LCD/Wifi/BT cables. They are marked with yellow. Next we will need to open the 10 screws that hold the cover down, those screws are marked with red and with a P letter on the cover itself. Disconnect the Crossfire cable from the master video card so you can pull it out. Finally, after the cover is removed, we'll unscrew those four screws that hold the heatsink down. They are marked with blue Clean the CPU and the heatsink from the old thermal paste with alcohol pads. Next i reapplied Shin Etsu G751 thermal paste on the CPU and replaced the thermal pad on the heatsink with a new one. That's it. Next, reversing the steps i reassembled the whole thing. I had a hard time putting the LCD cable back in place, took me maybe 3 tries before i got it right. Results Those are readings before and after, both after about 30 minutes of playing mass effect 2 so to me this comparison looks valid. Thanks to Ashtefere's mod,replacement of thermal paste and pads to better ones and cleaning the dust I can see about 5-7 degrees temperature drop on the CPU, and i have reason to believe that it'll keep dropping as Shin Etsu has about 3 days settle in time 11-19 degrees GPU temperature drop (!!!) 11-18 degrees GPU DISP/IO temps drop 19-24 degrees GPU /IO temps drop 15-20 degrees Shader temps drop 5 Minutes Furmark run No game warms the GPUs as furmark does, so after running it for 5 minutes and seeing the temperatures stabilize where they did i am very happy overall. EDIT: Additional Resources M17x Service Manual1 point
-
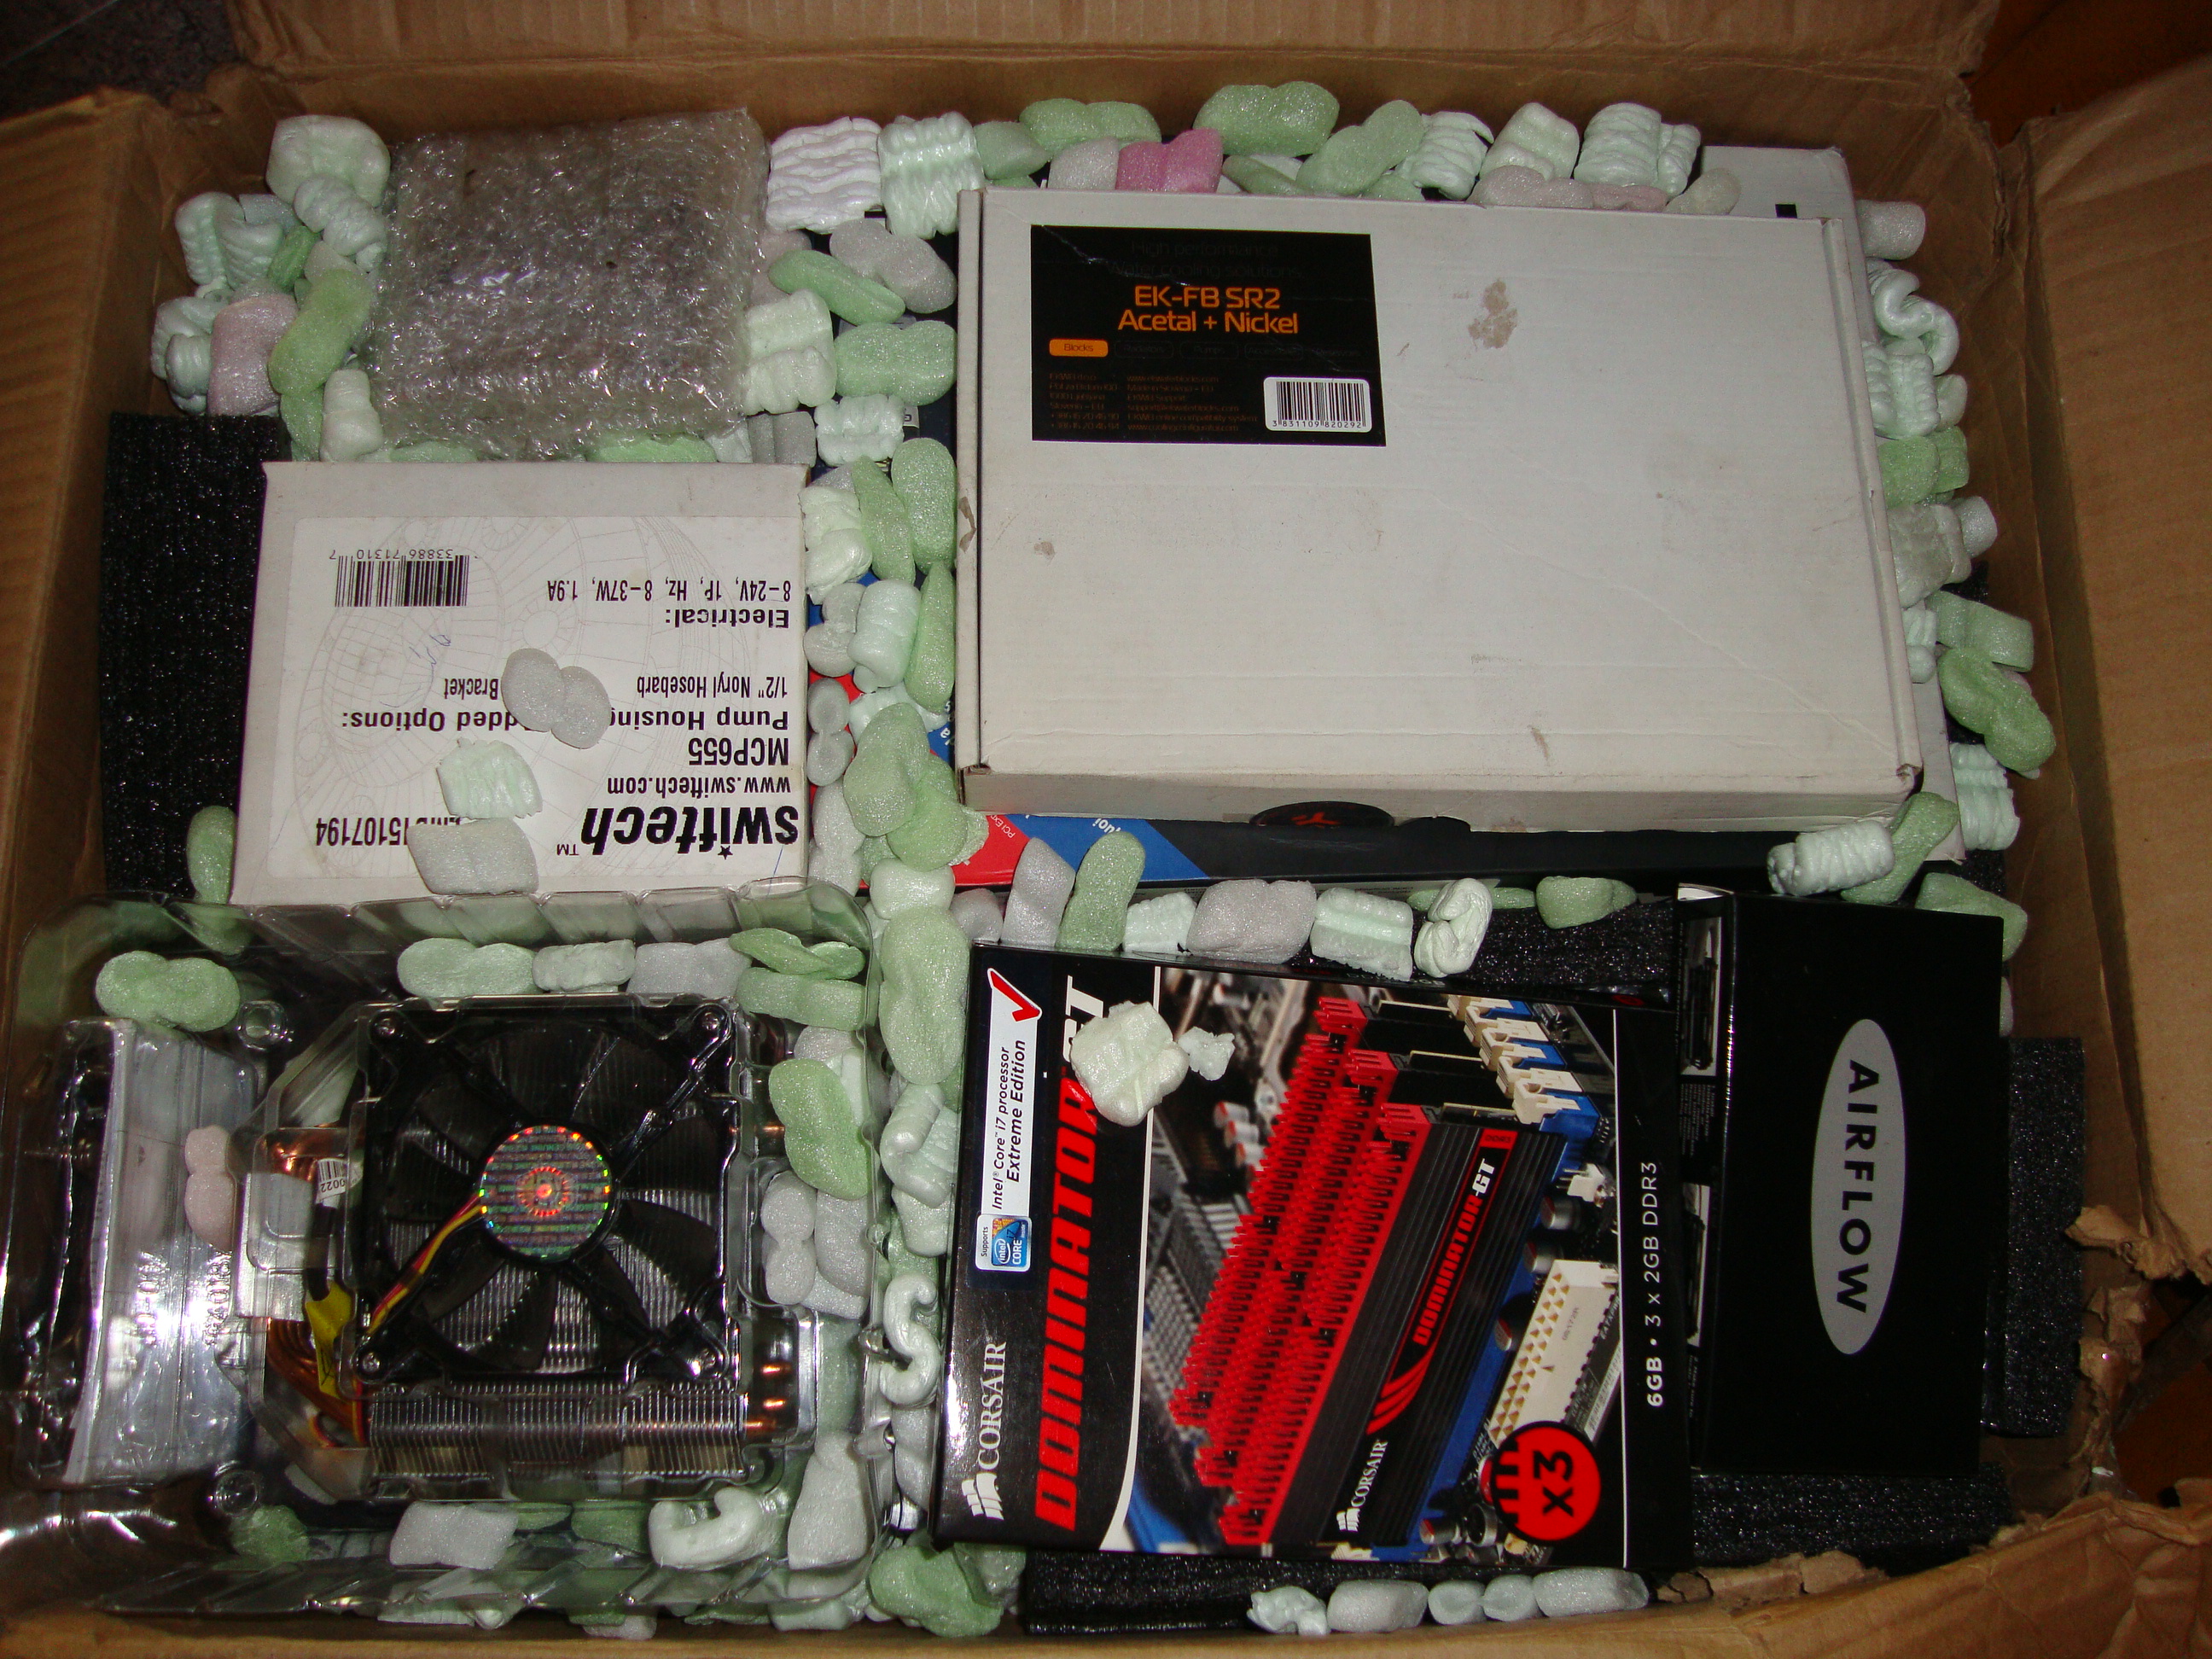
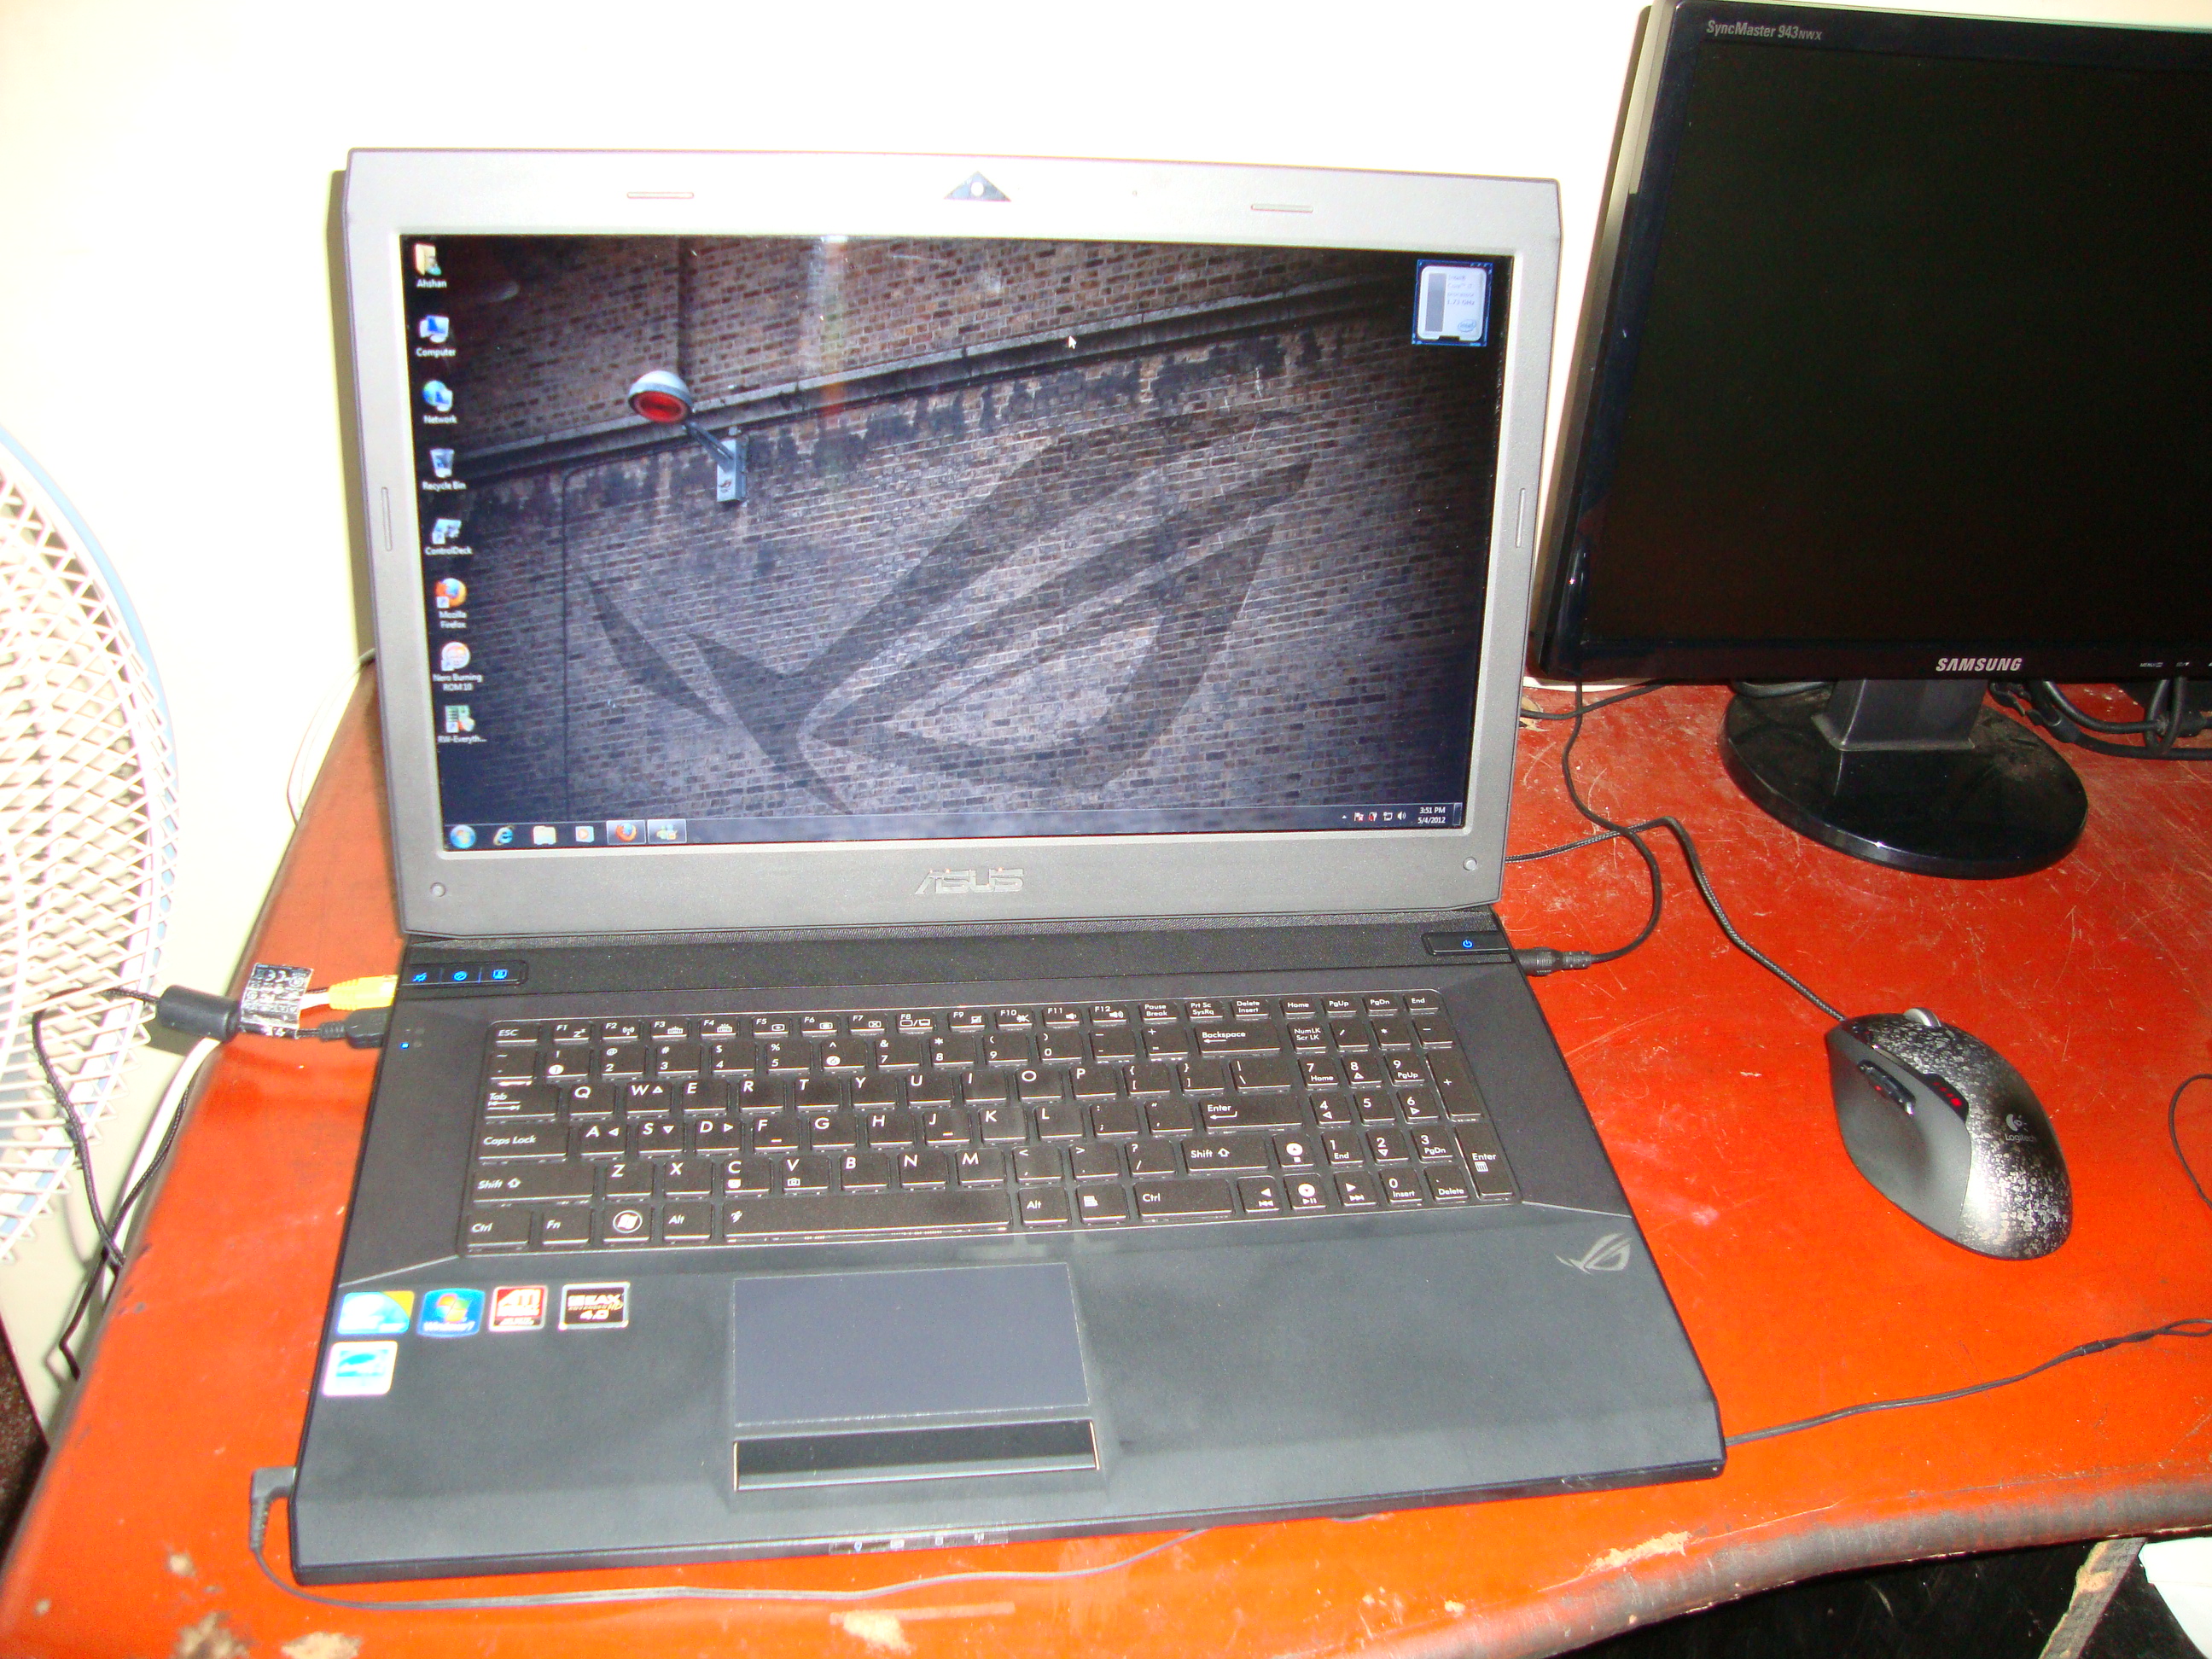
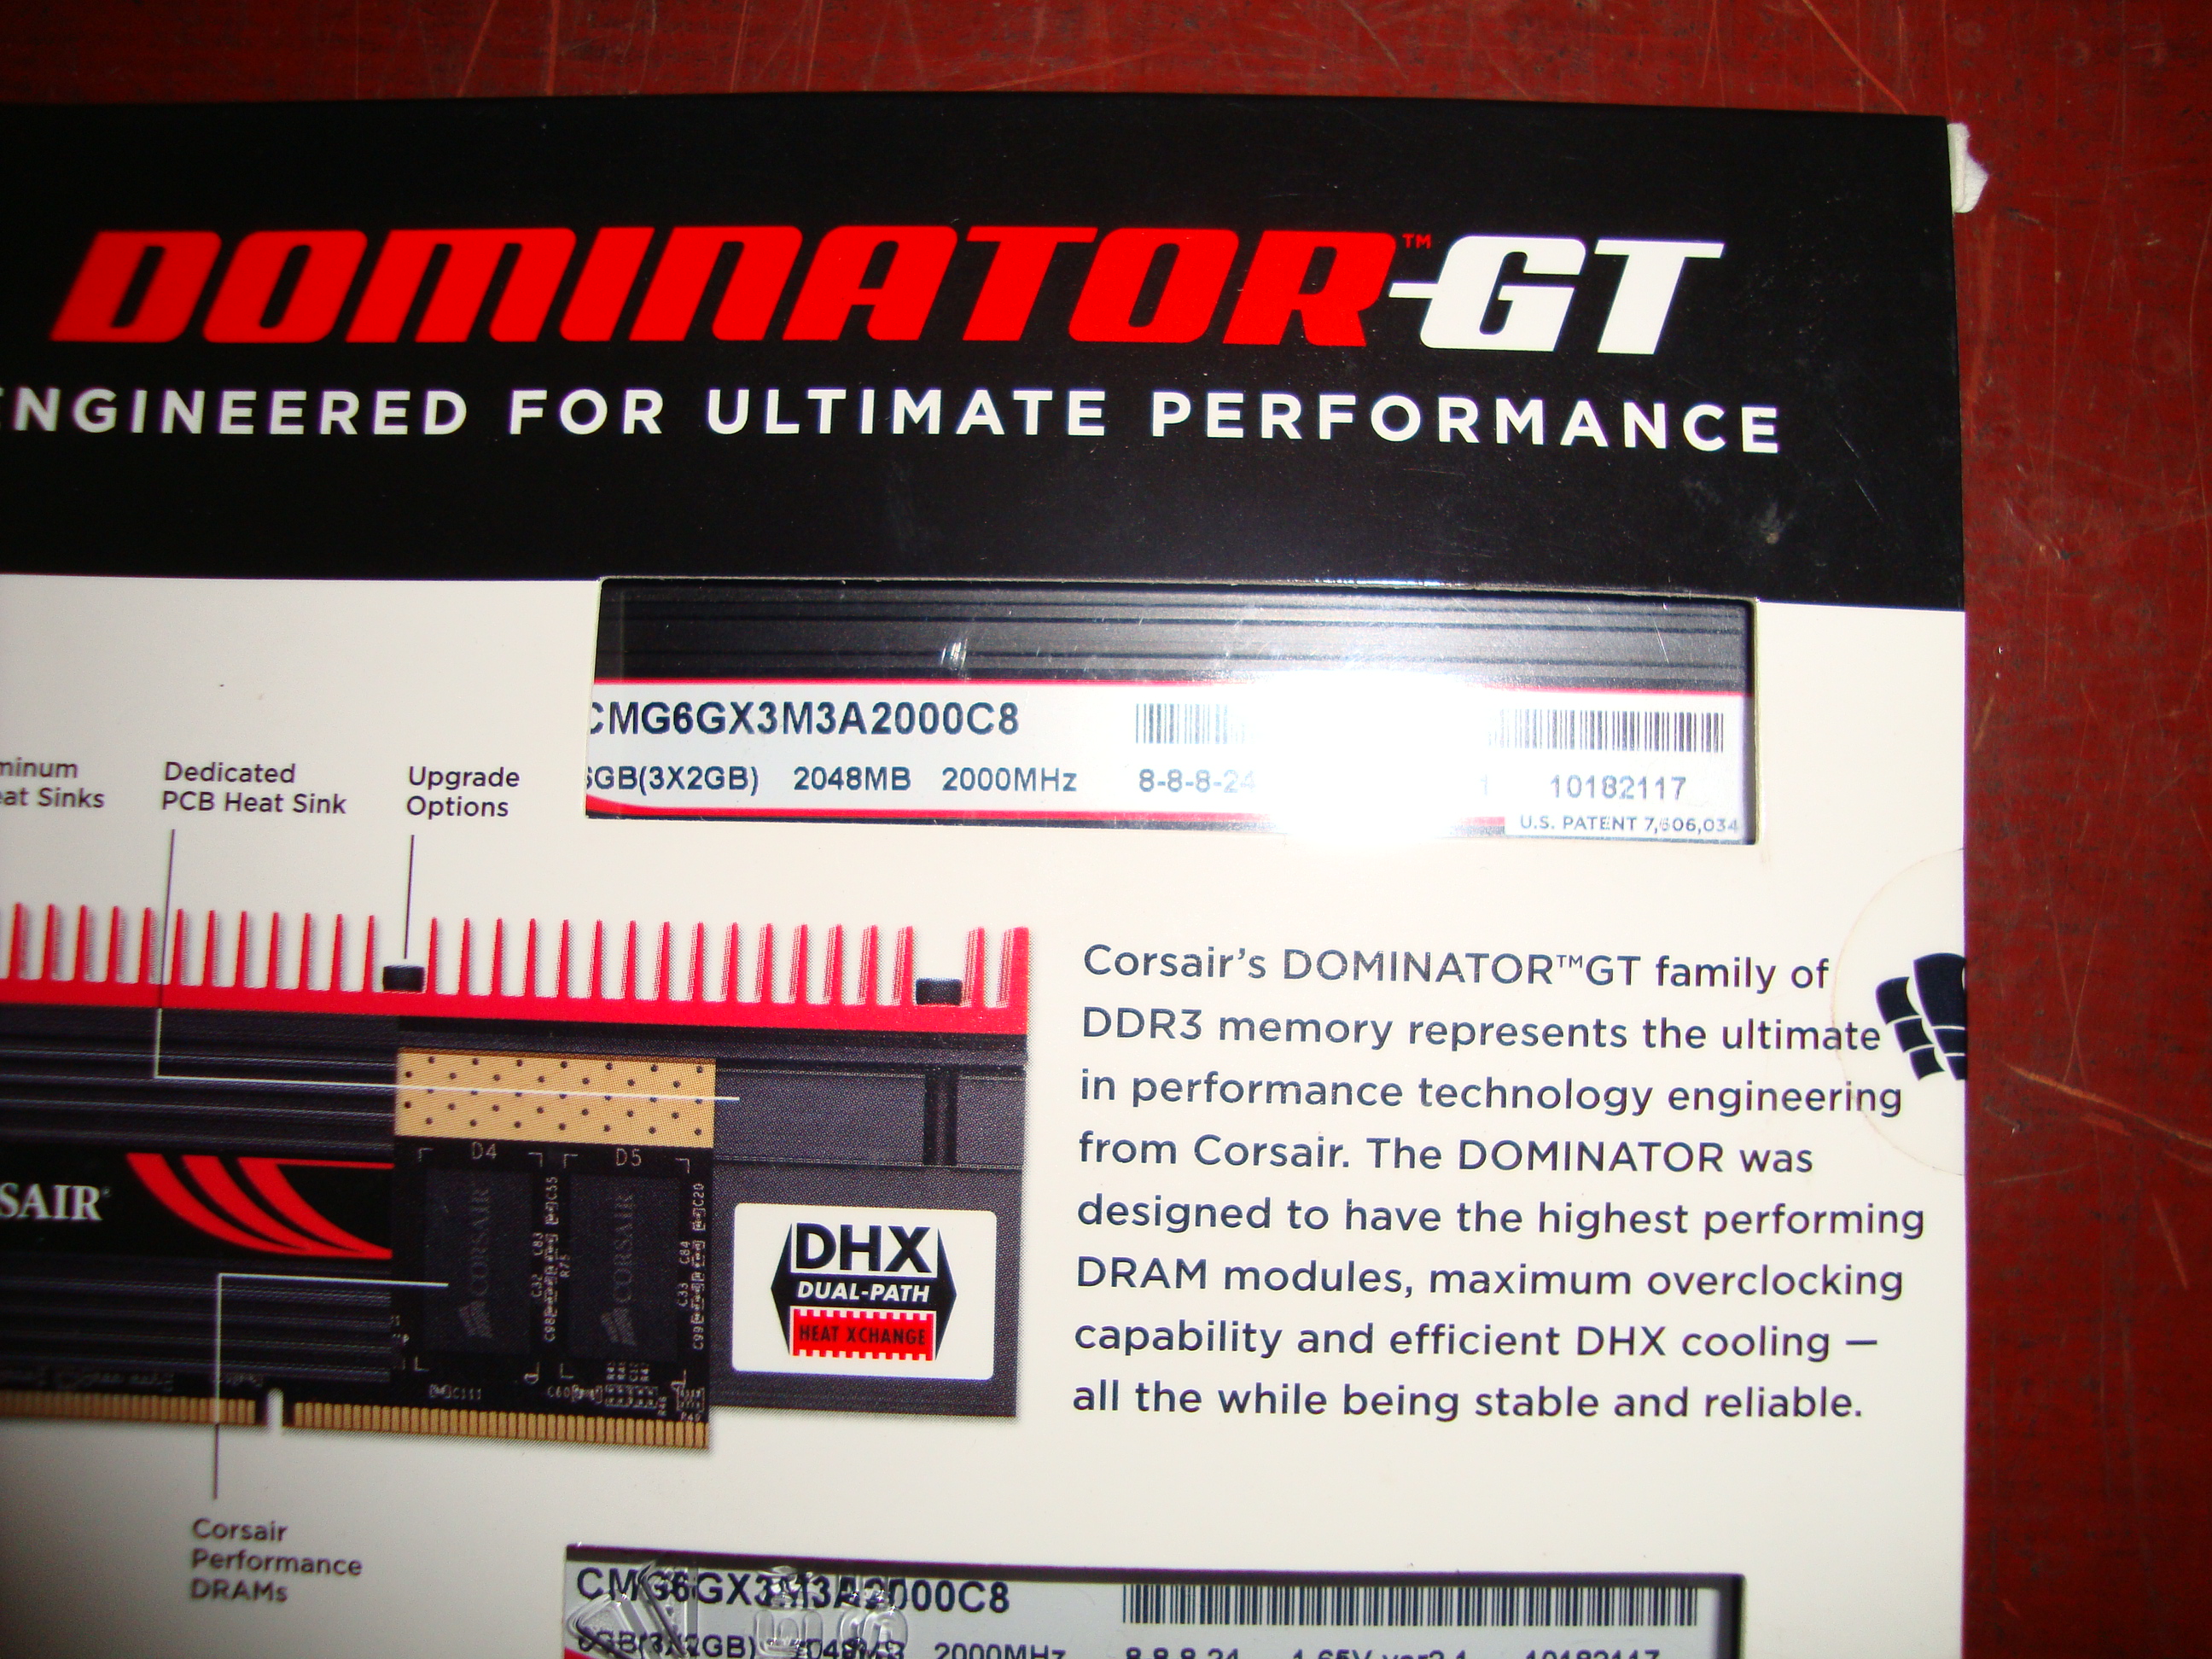
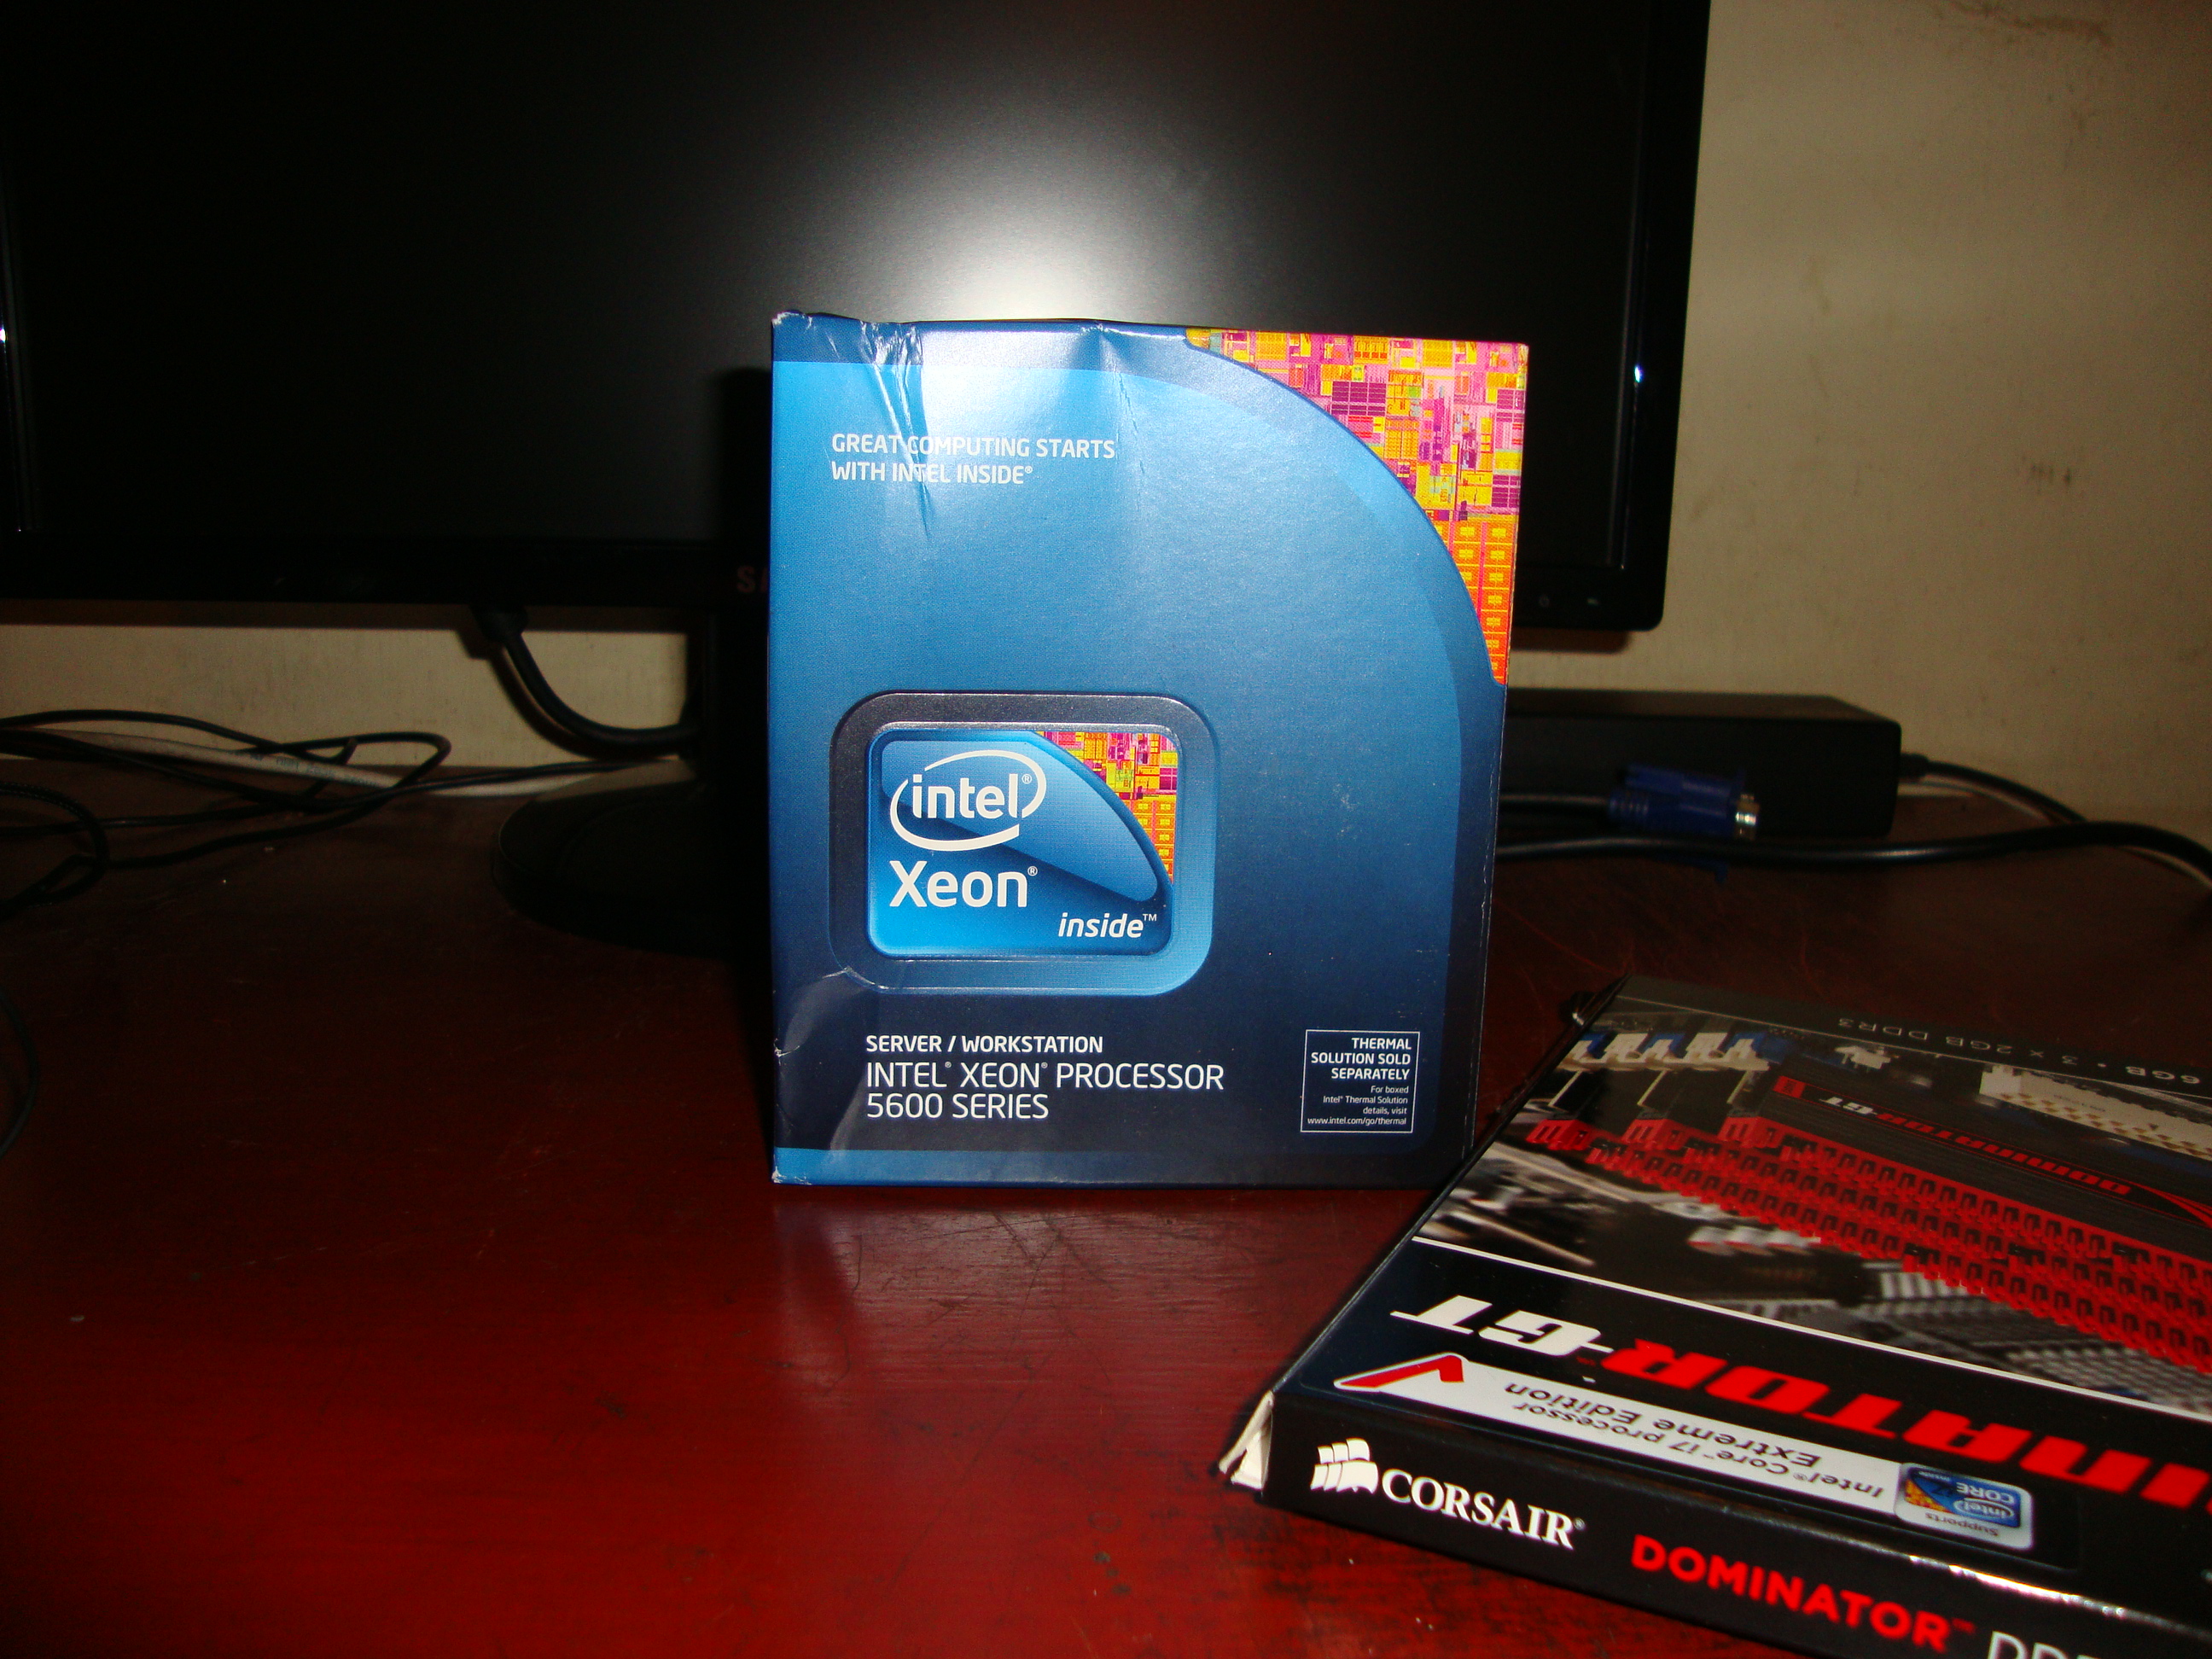
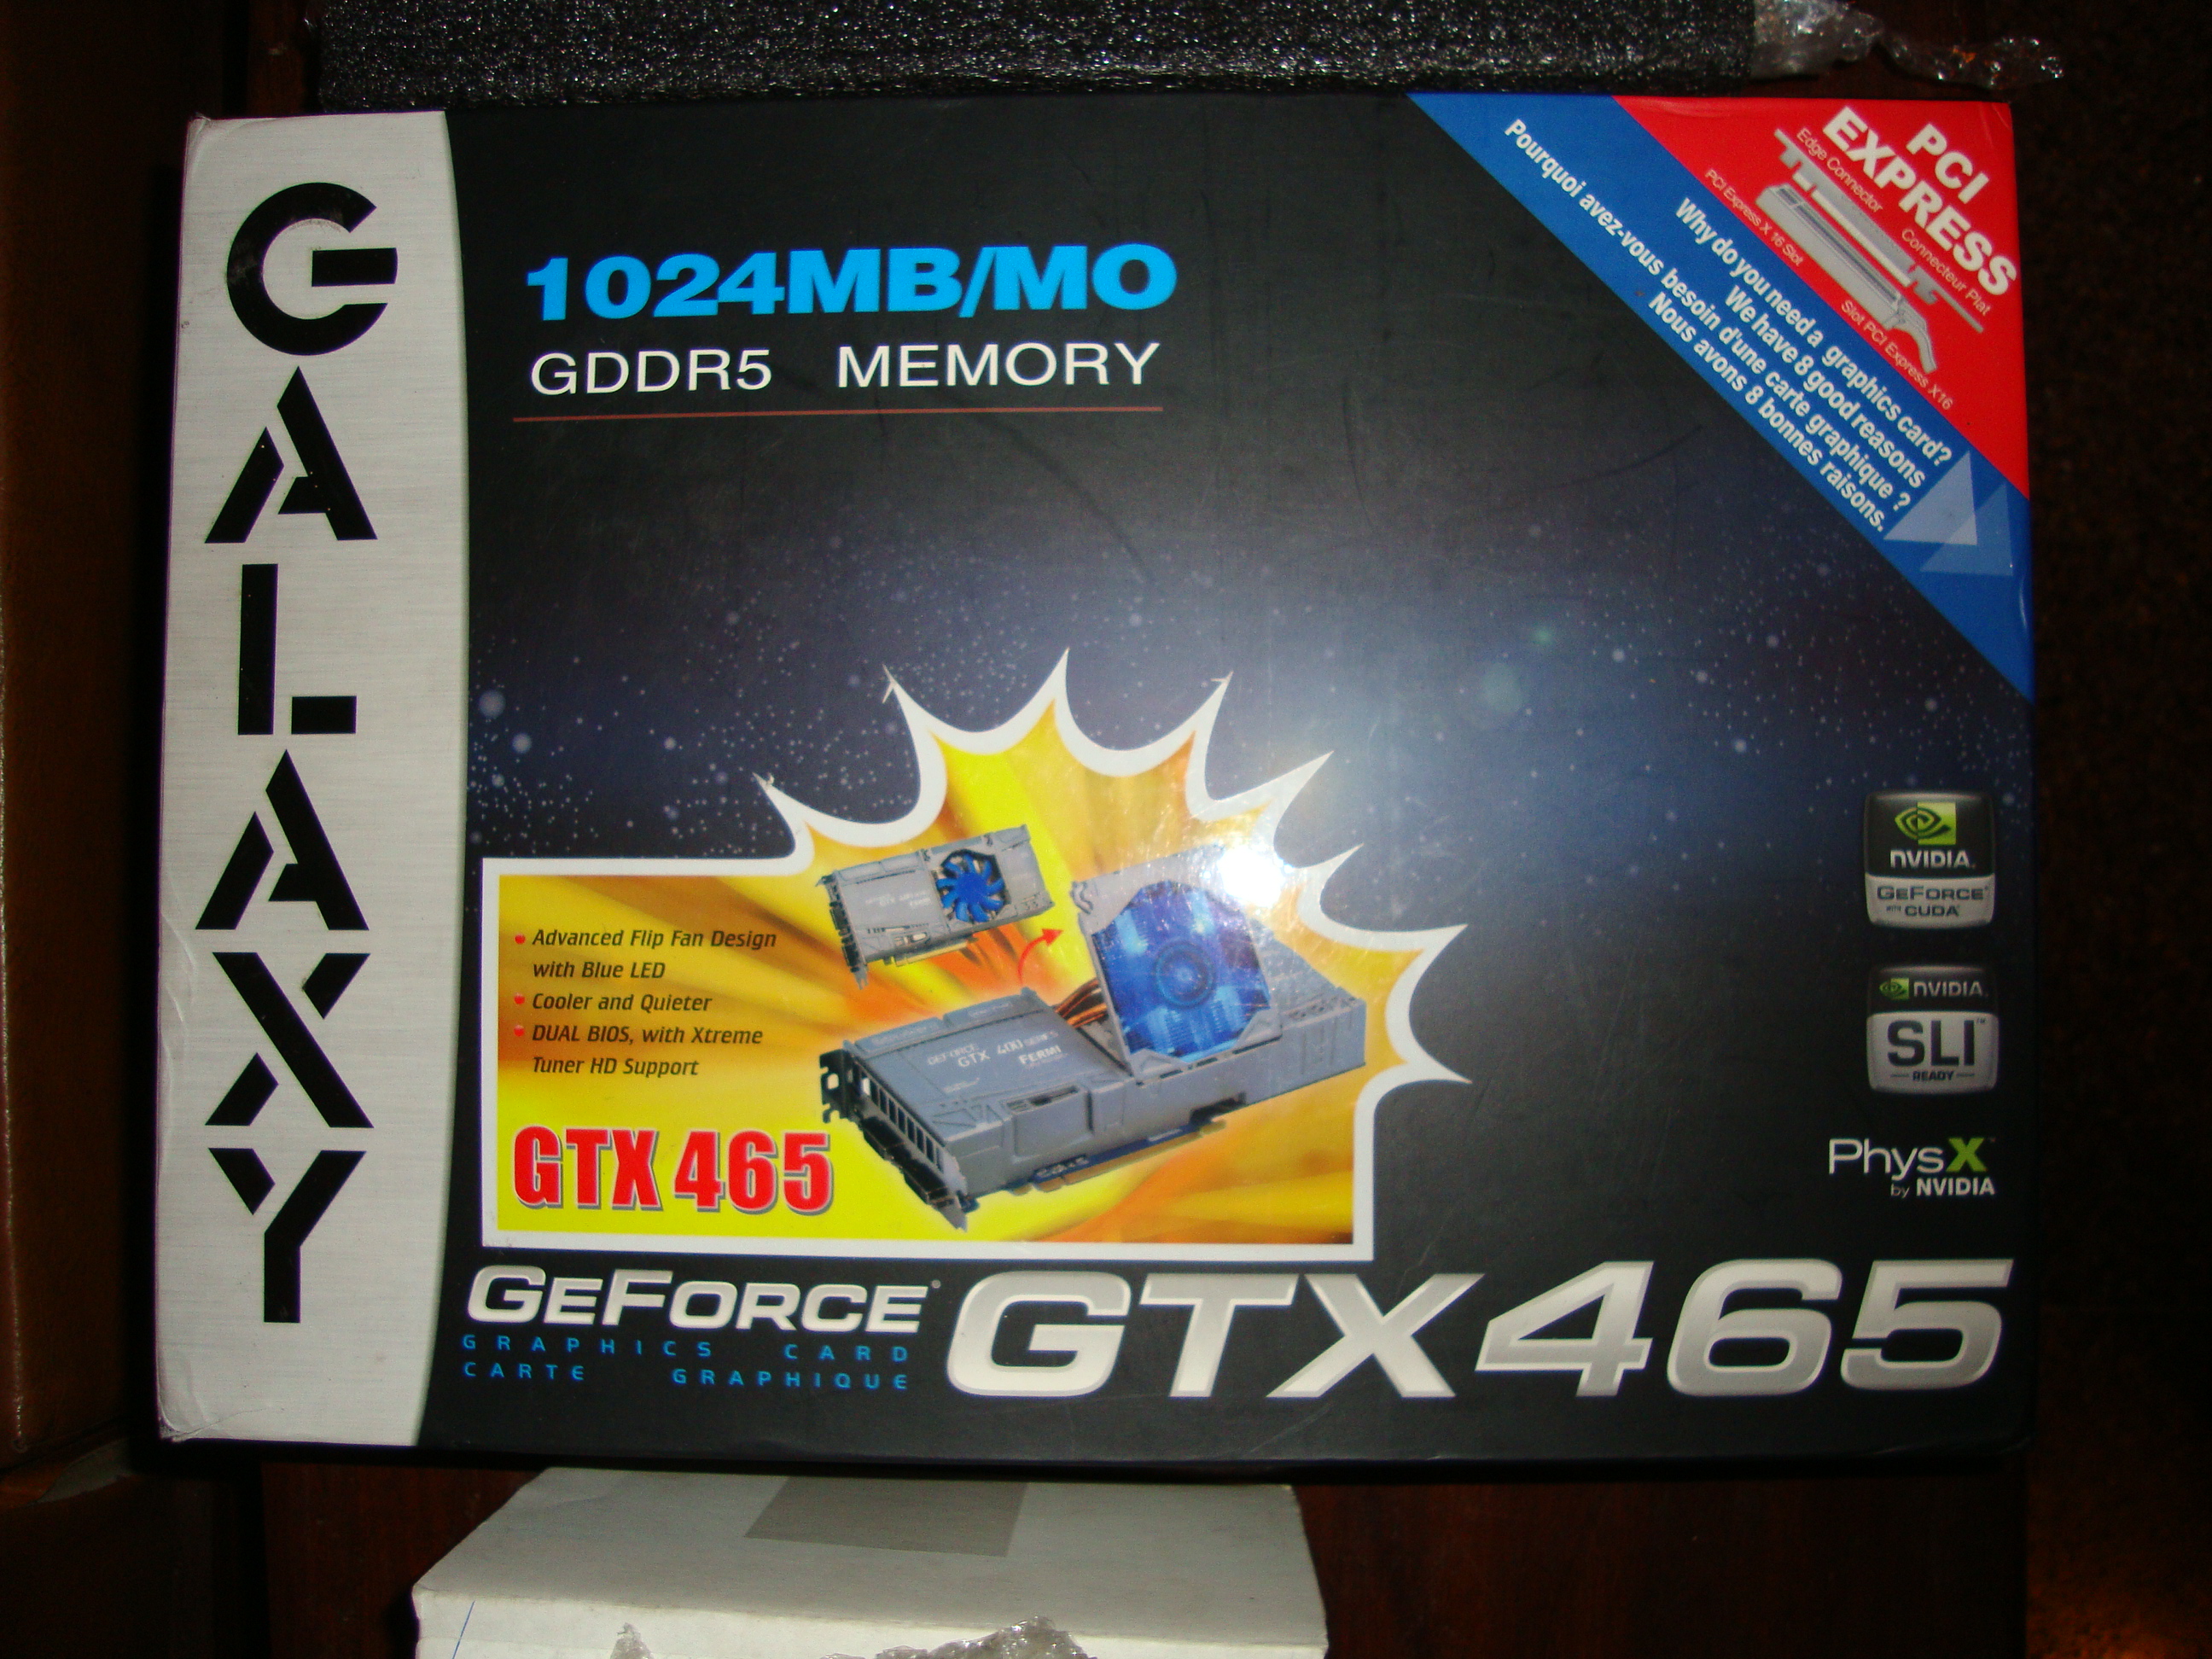
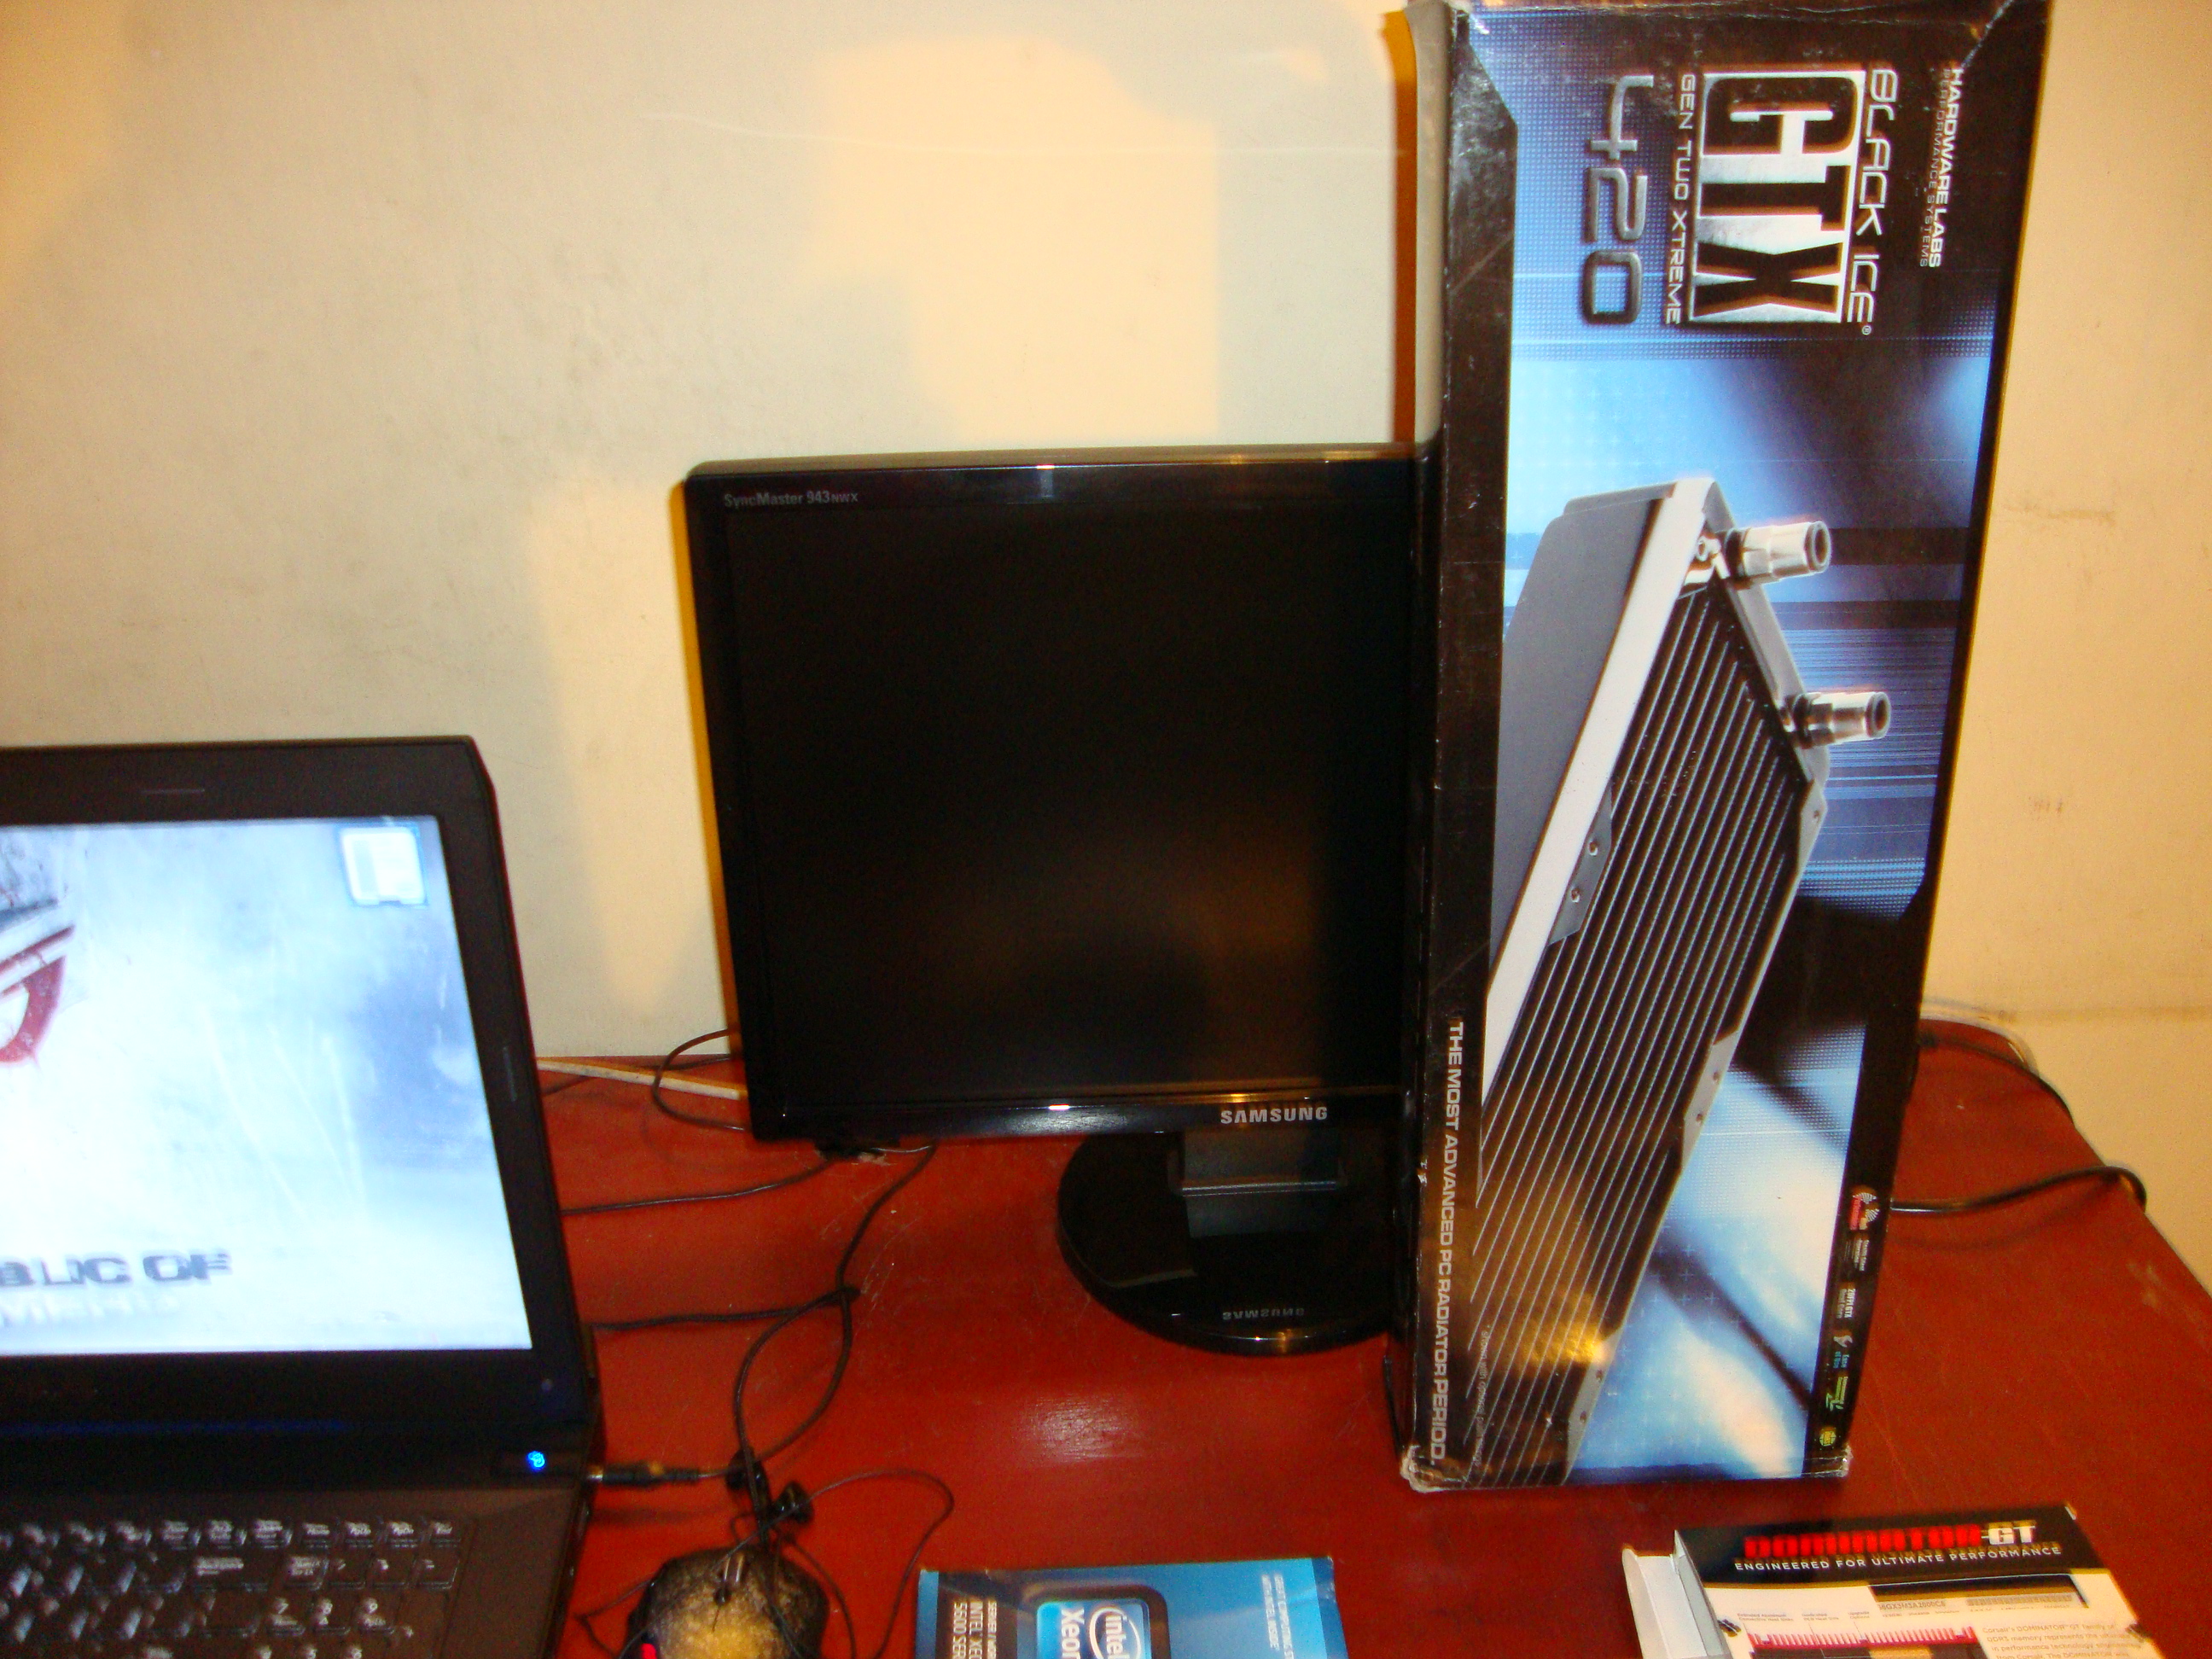
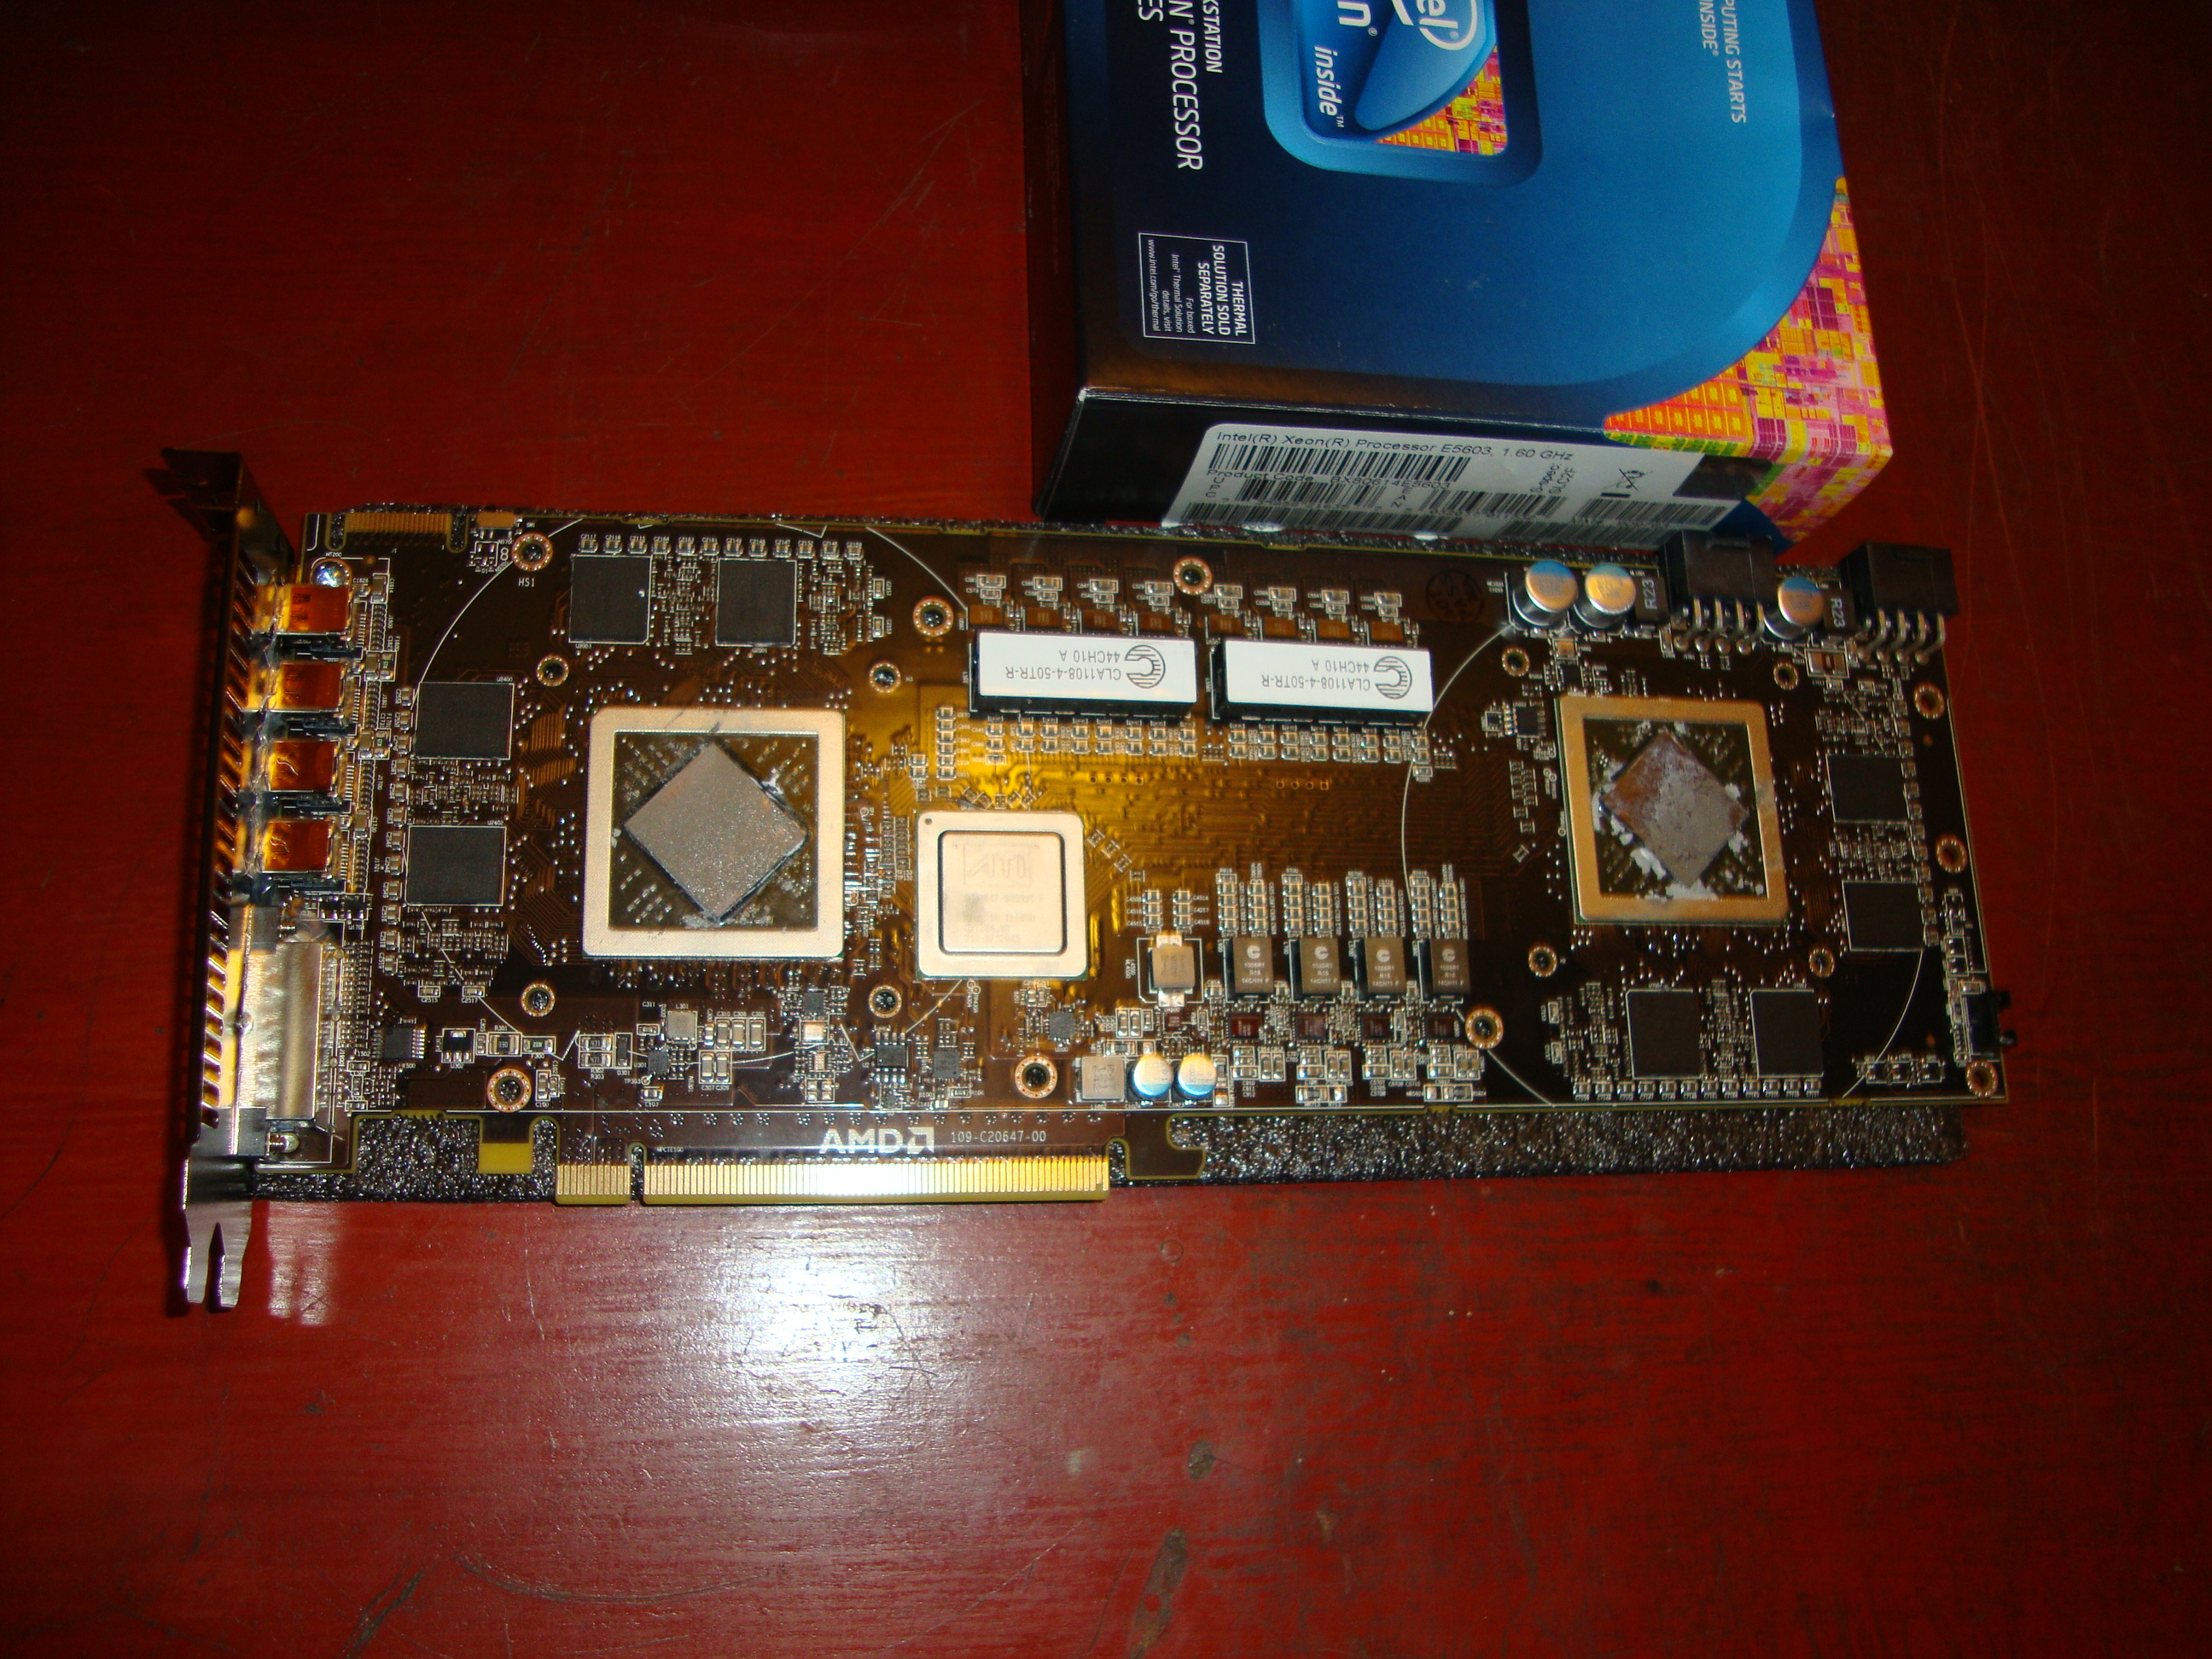
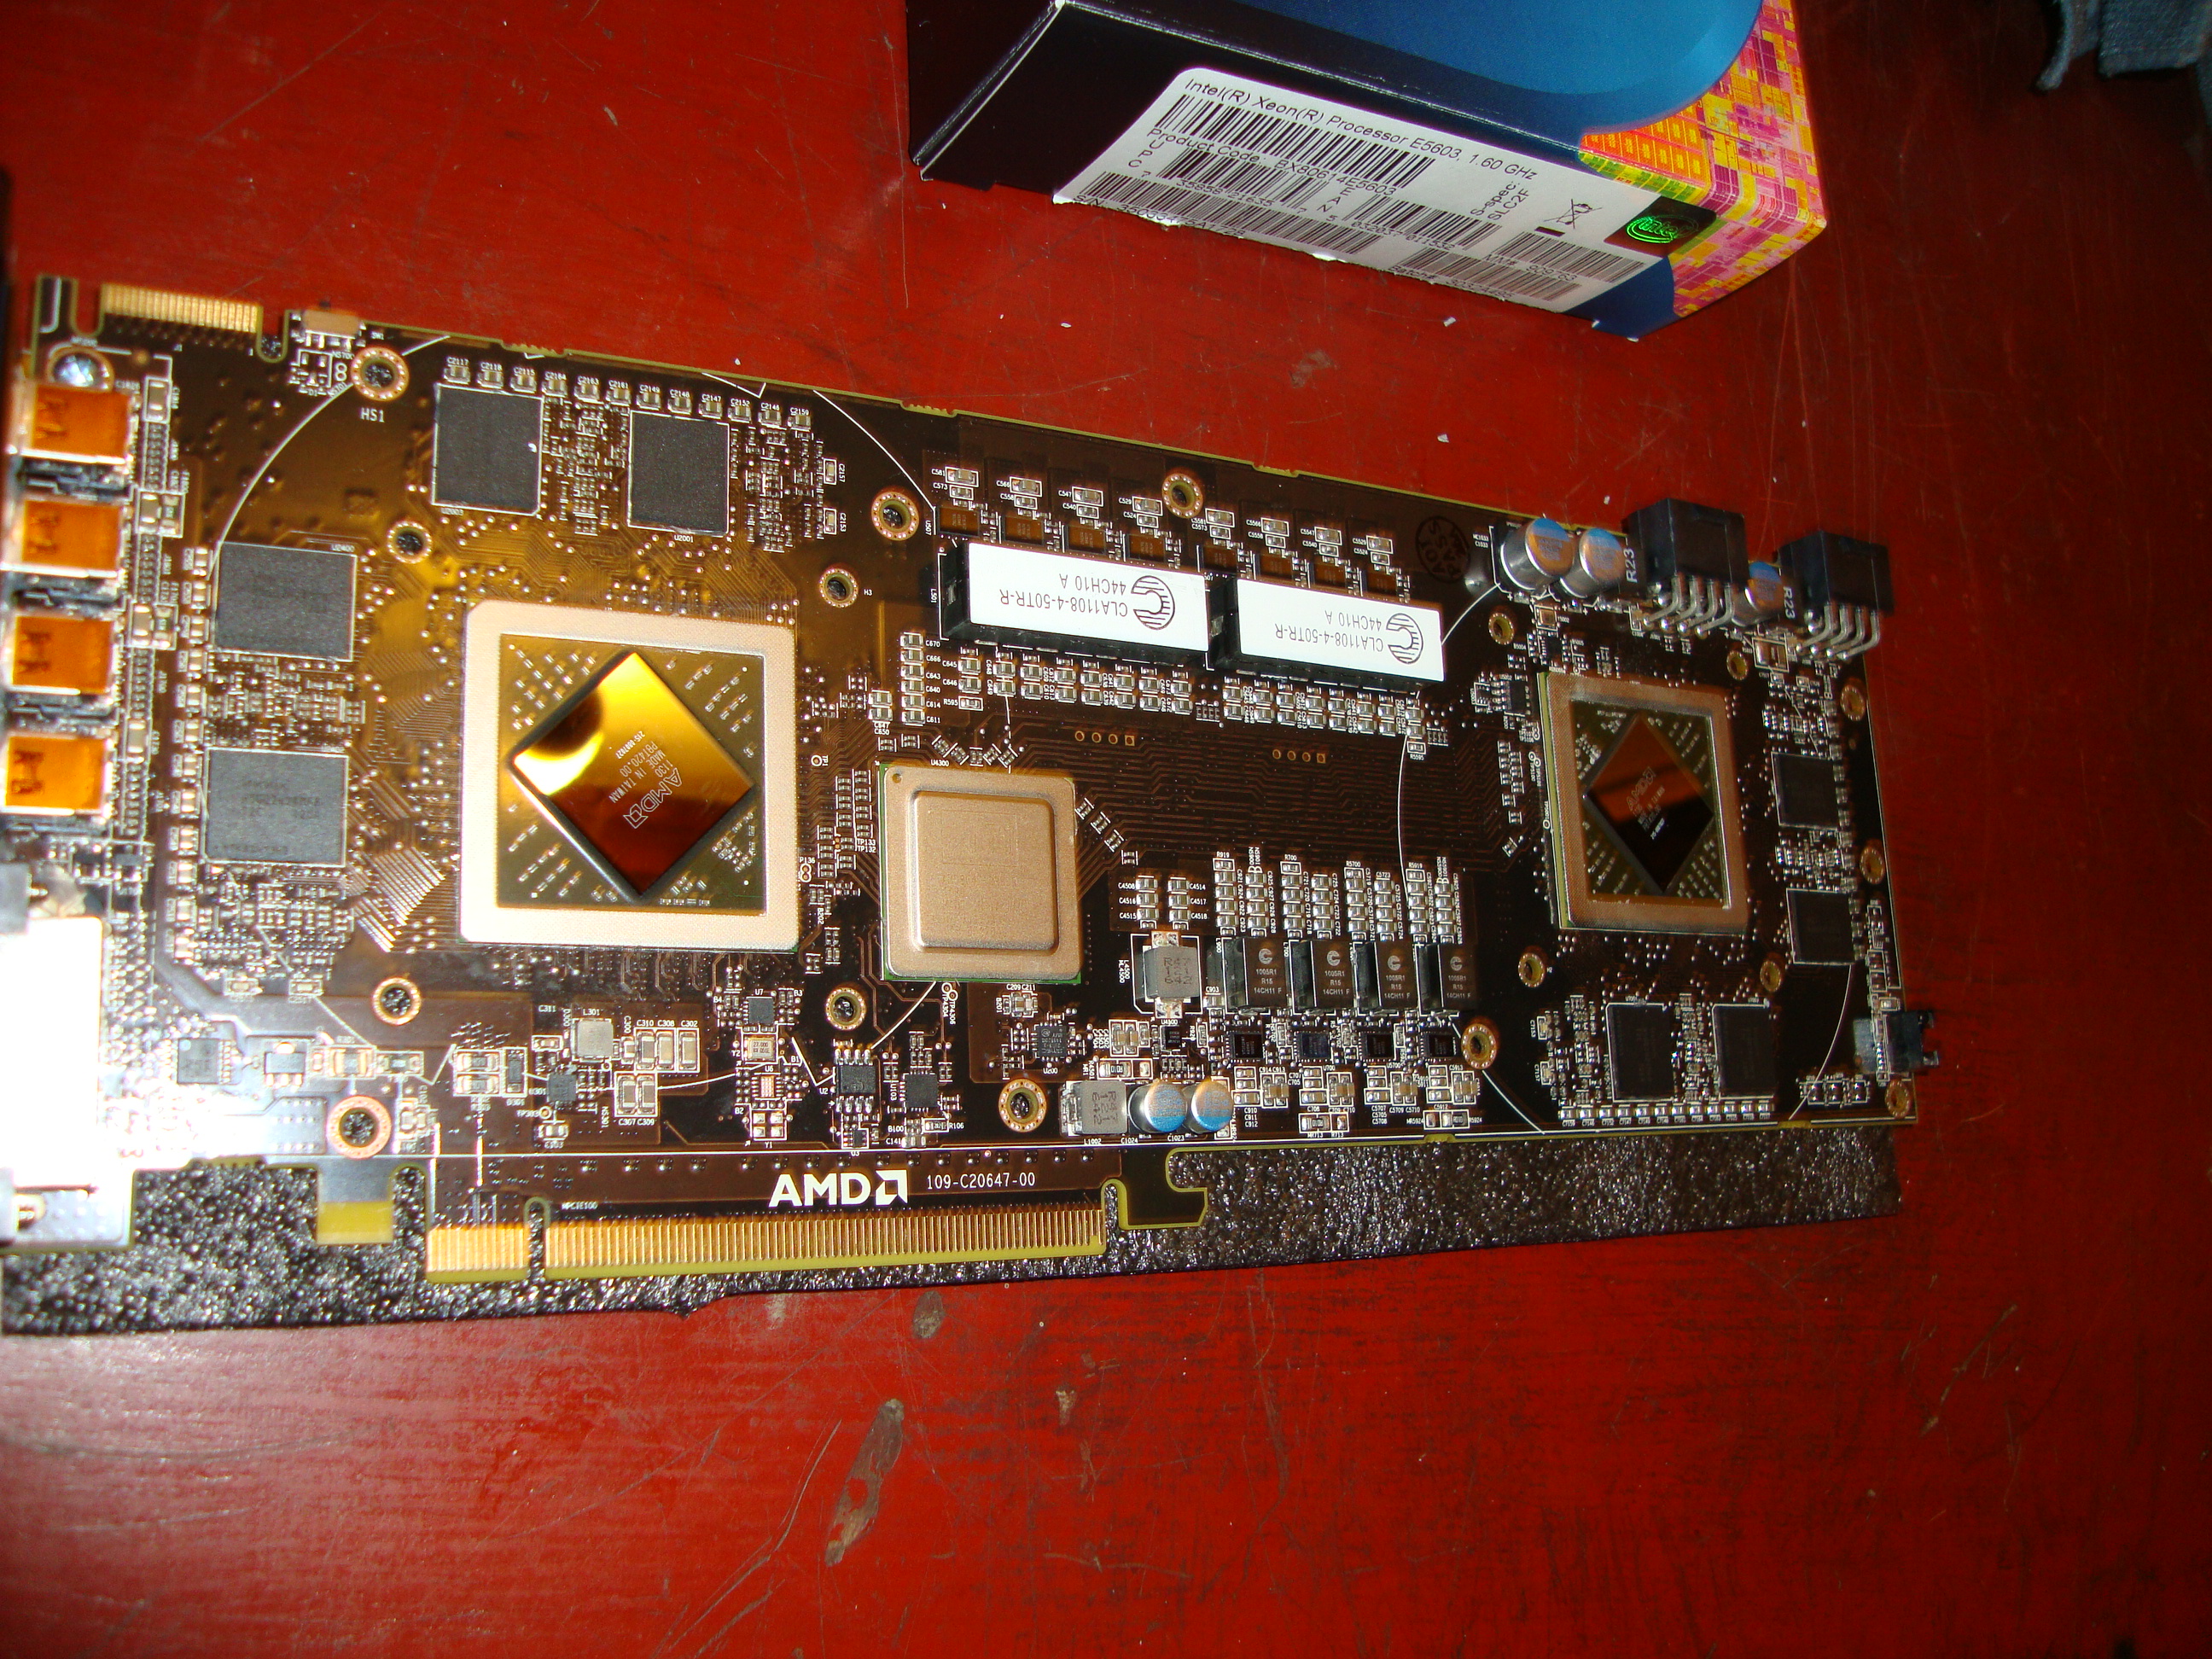
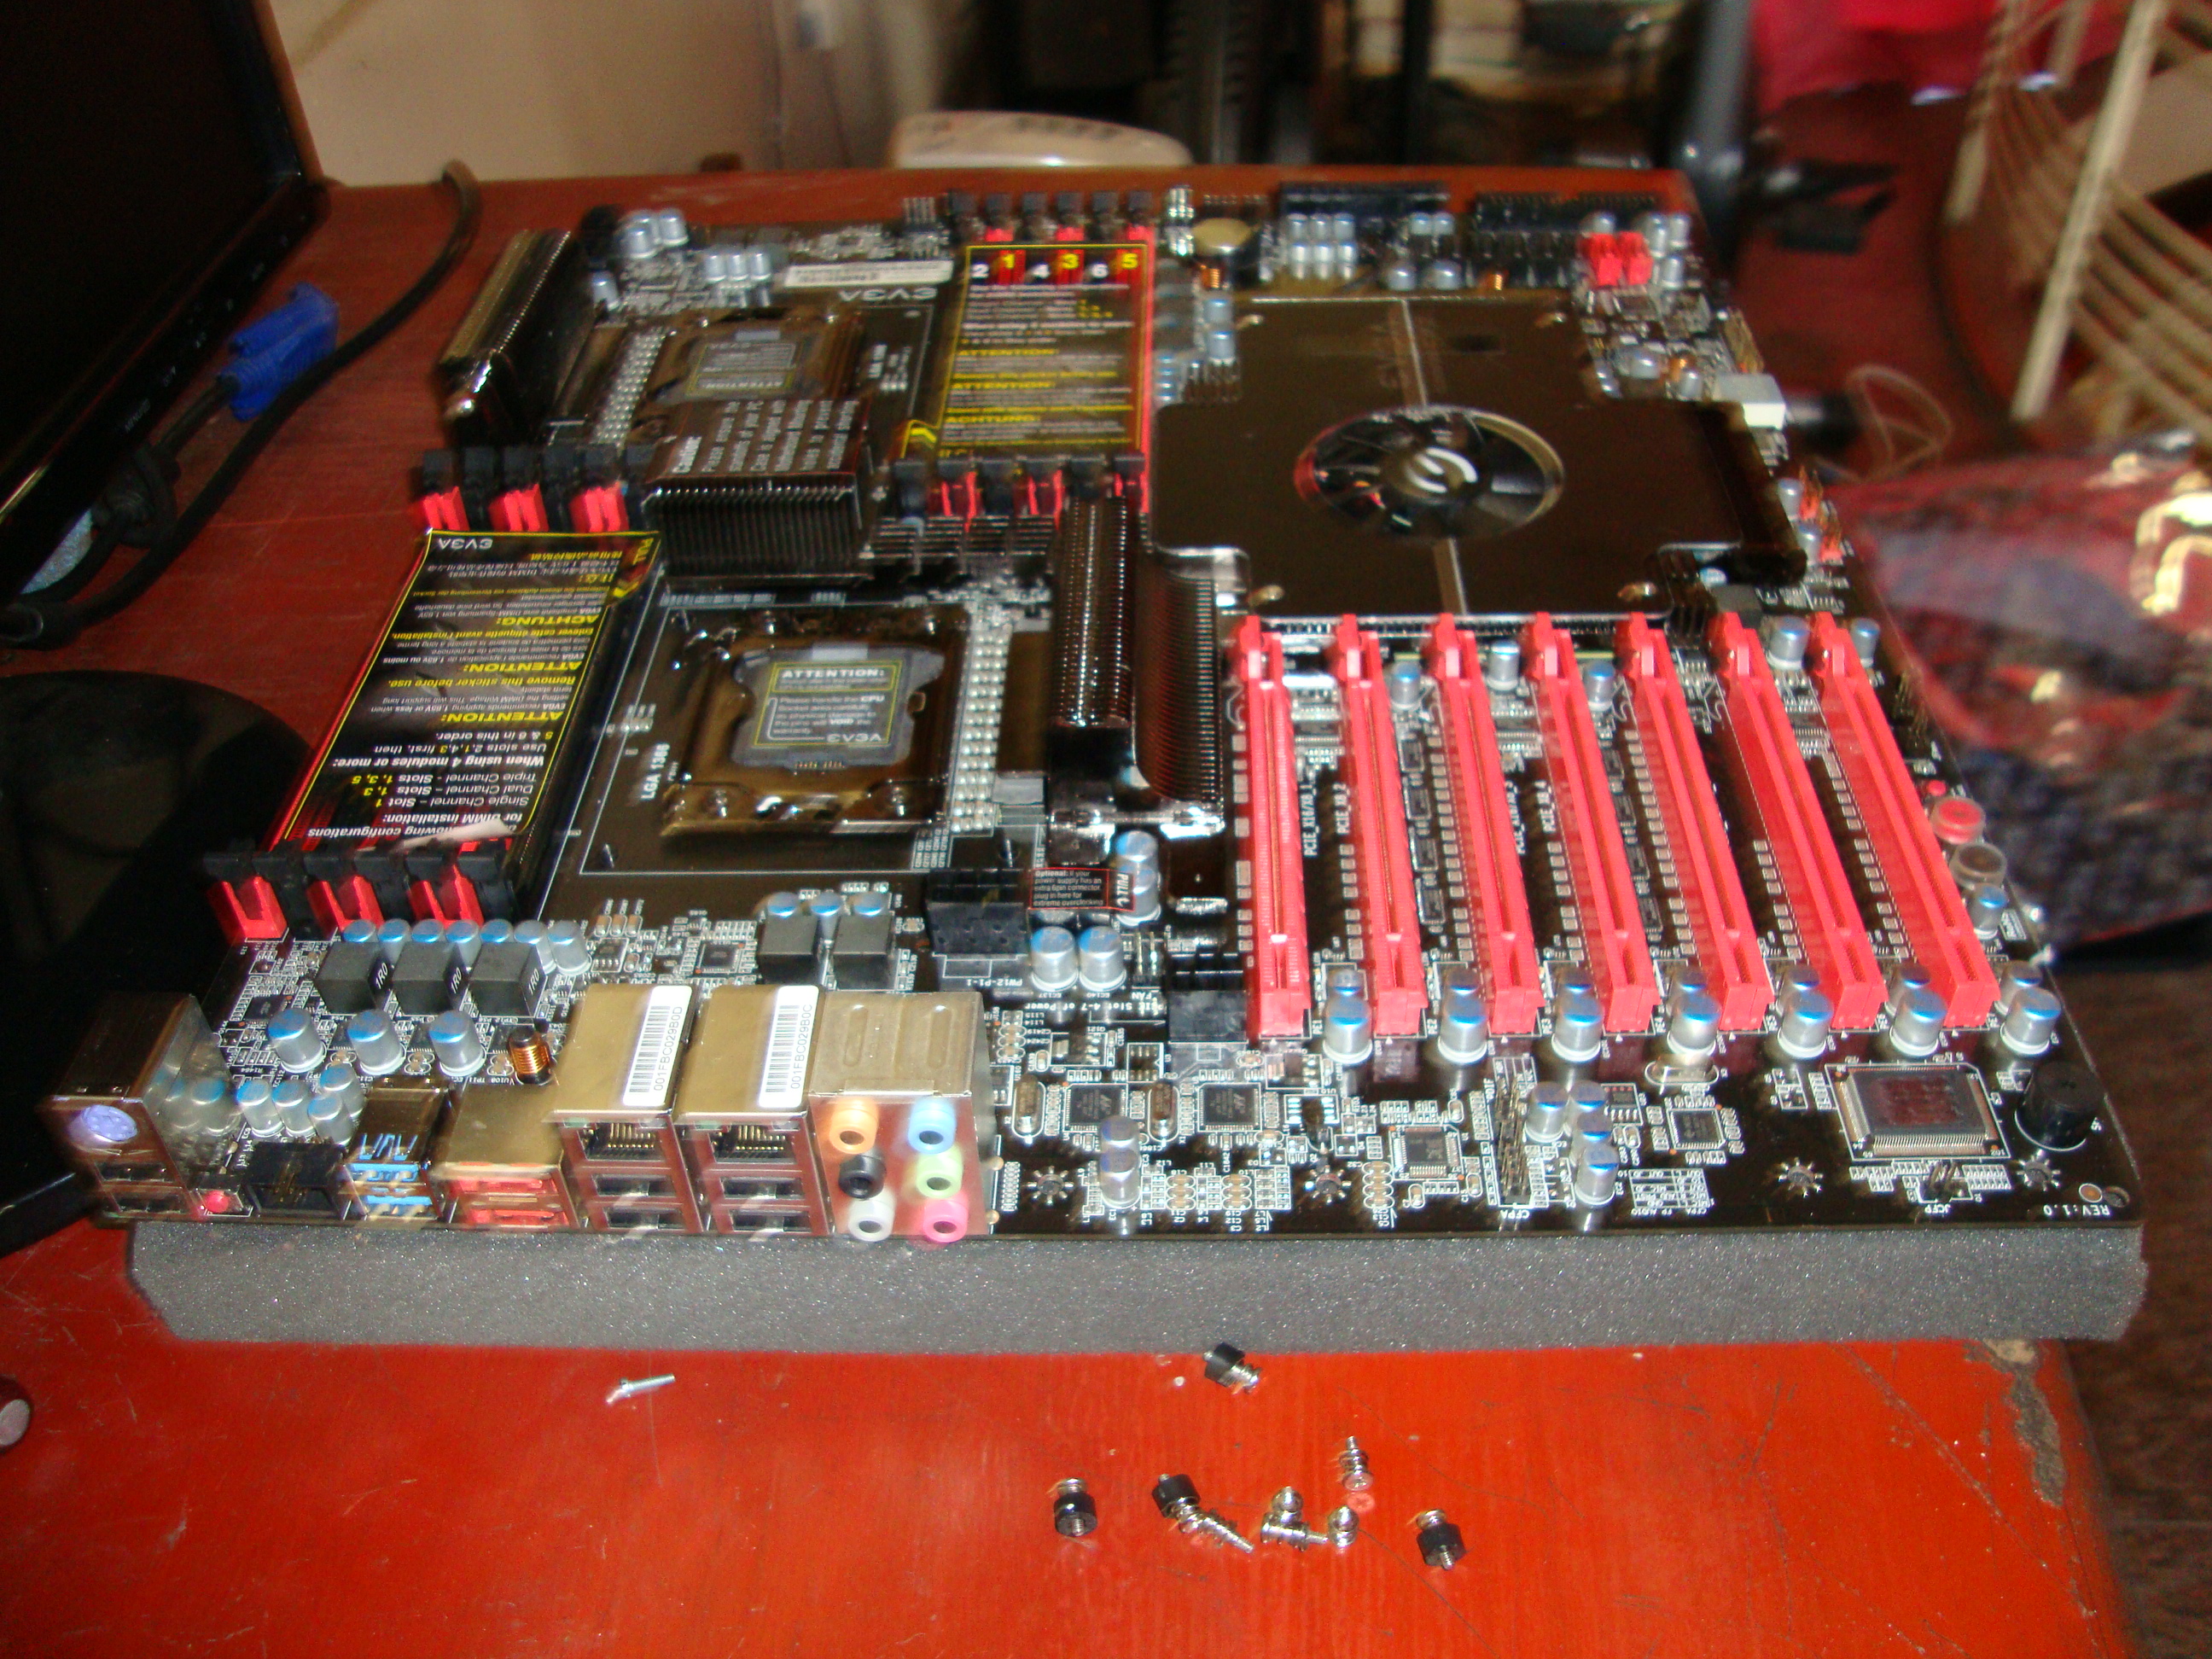
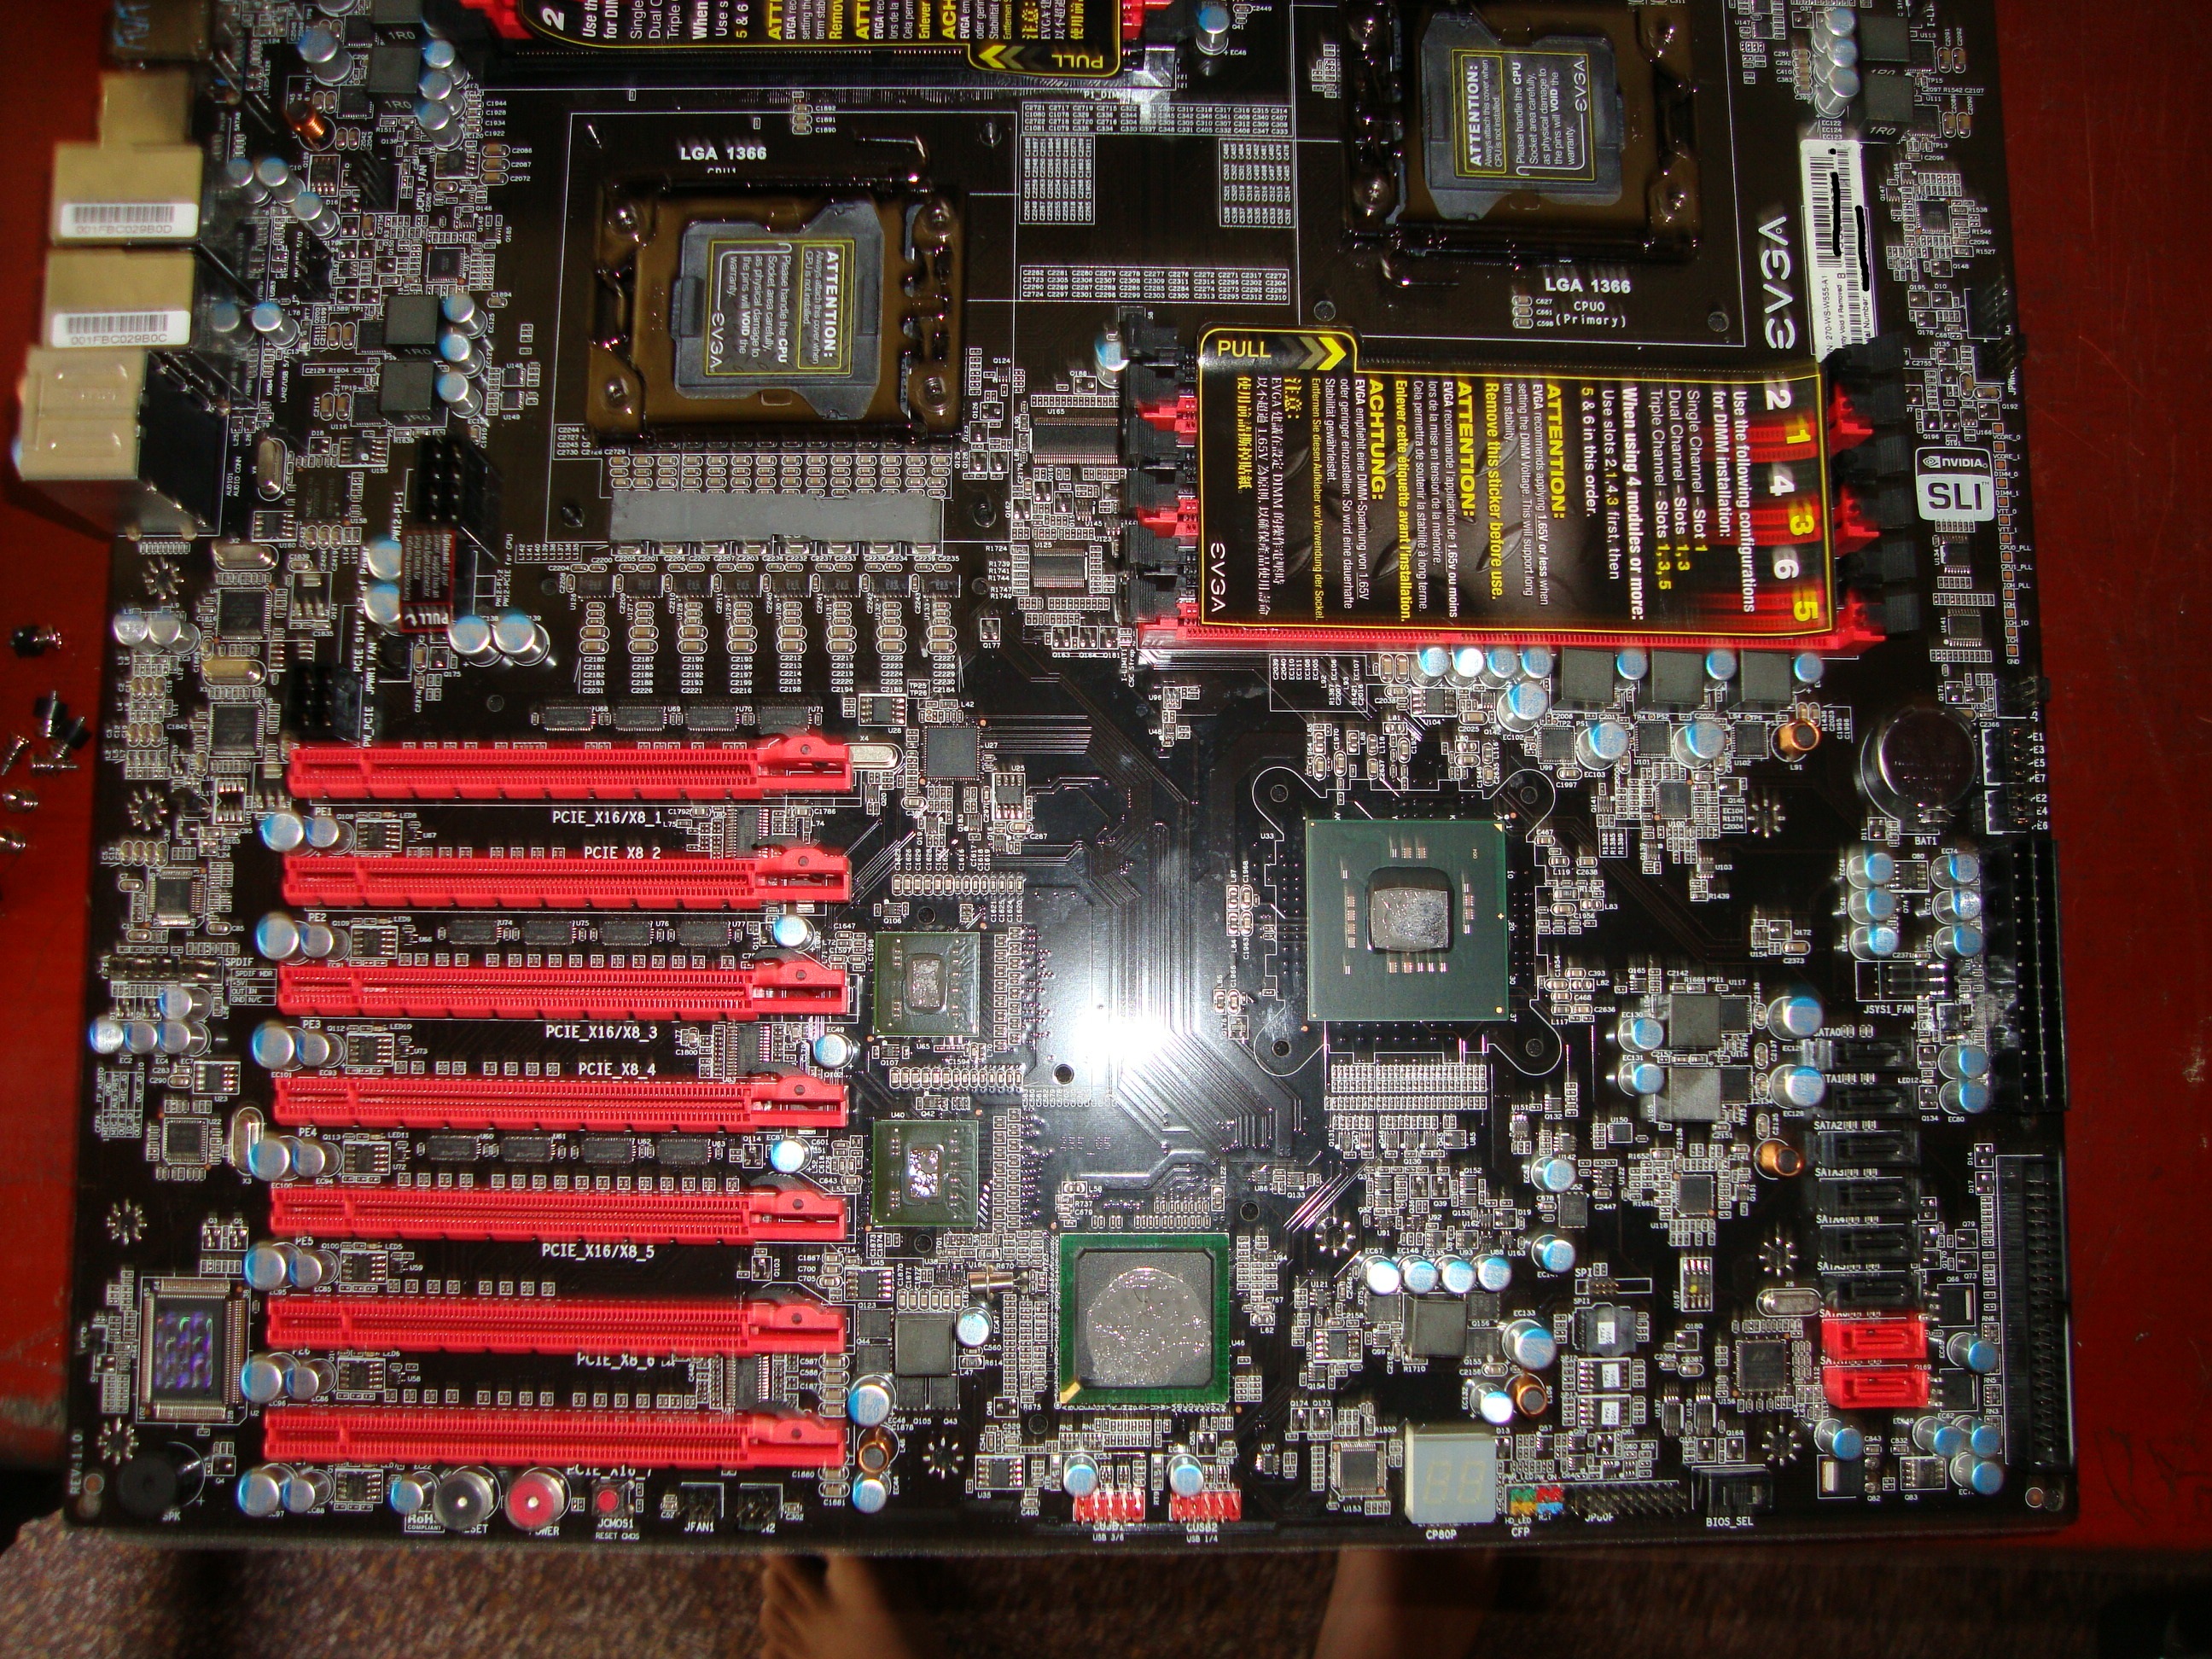
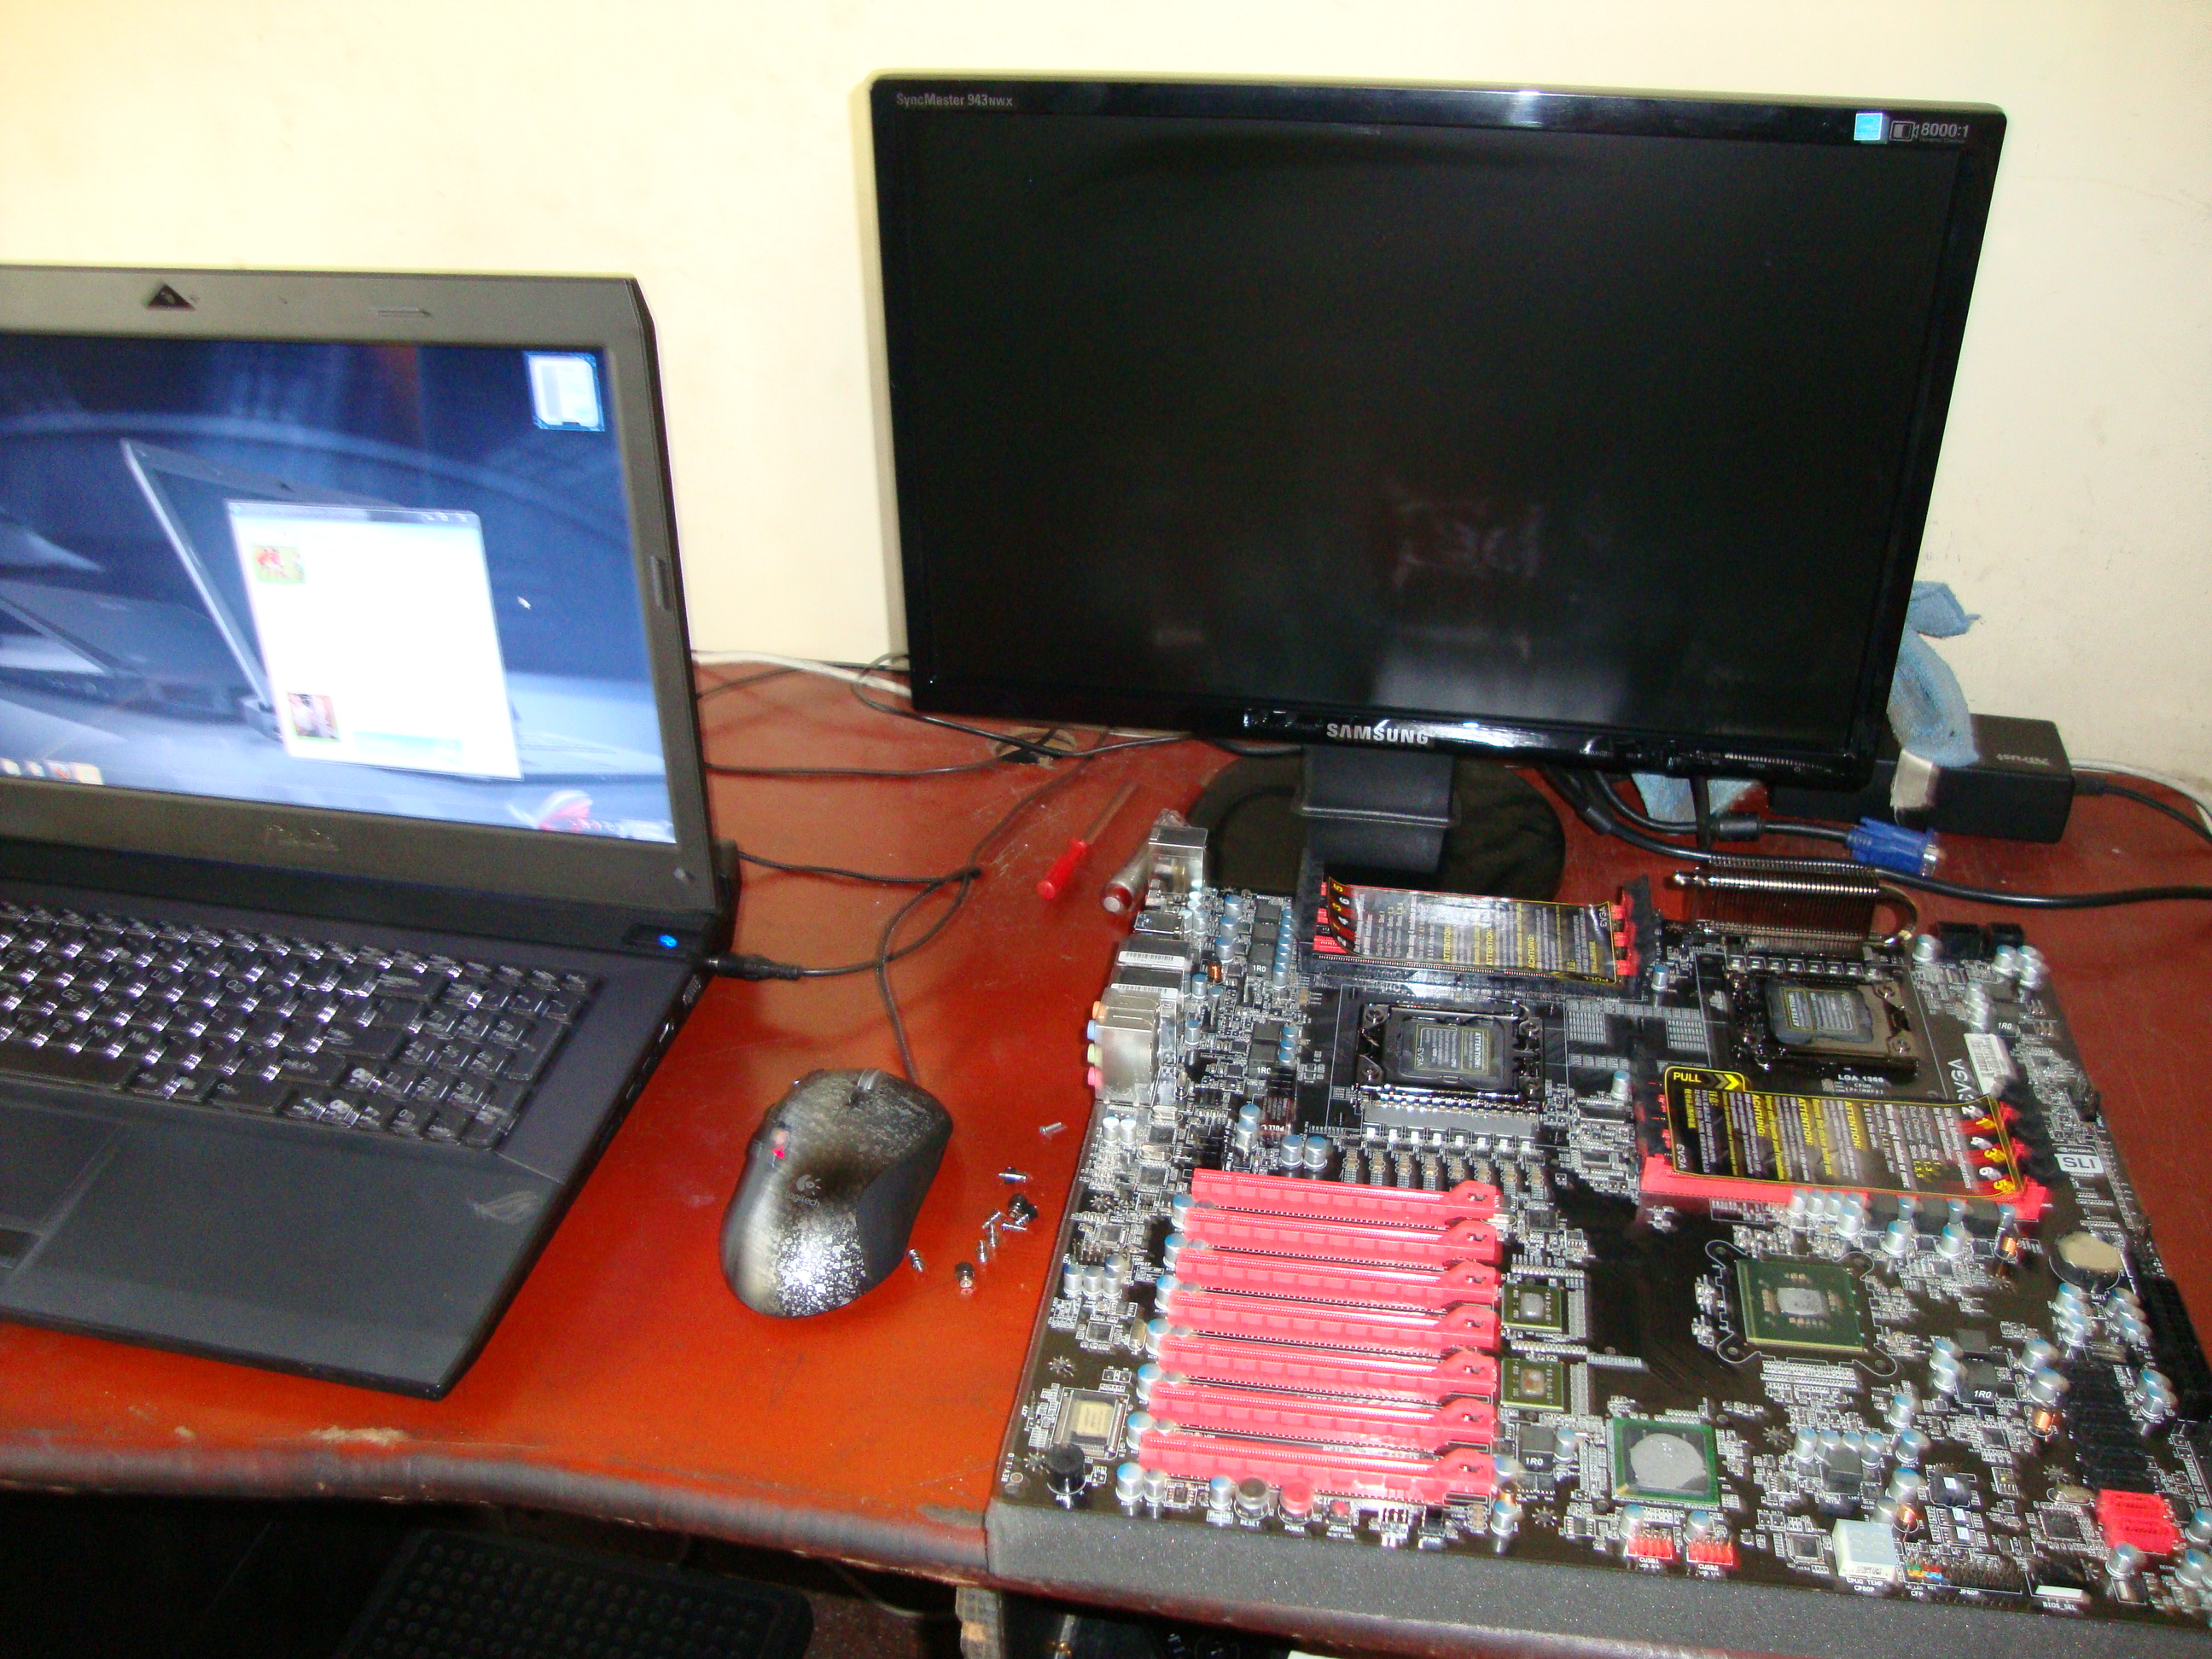
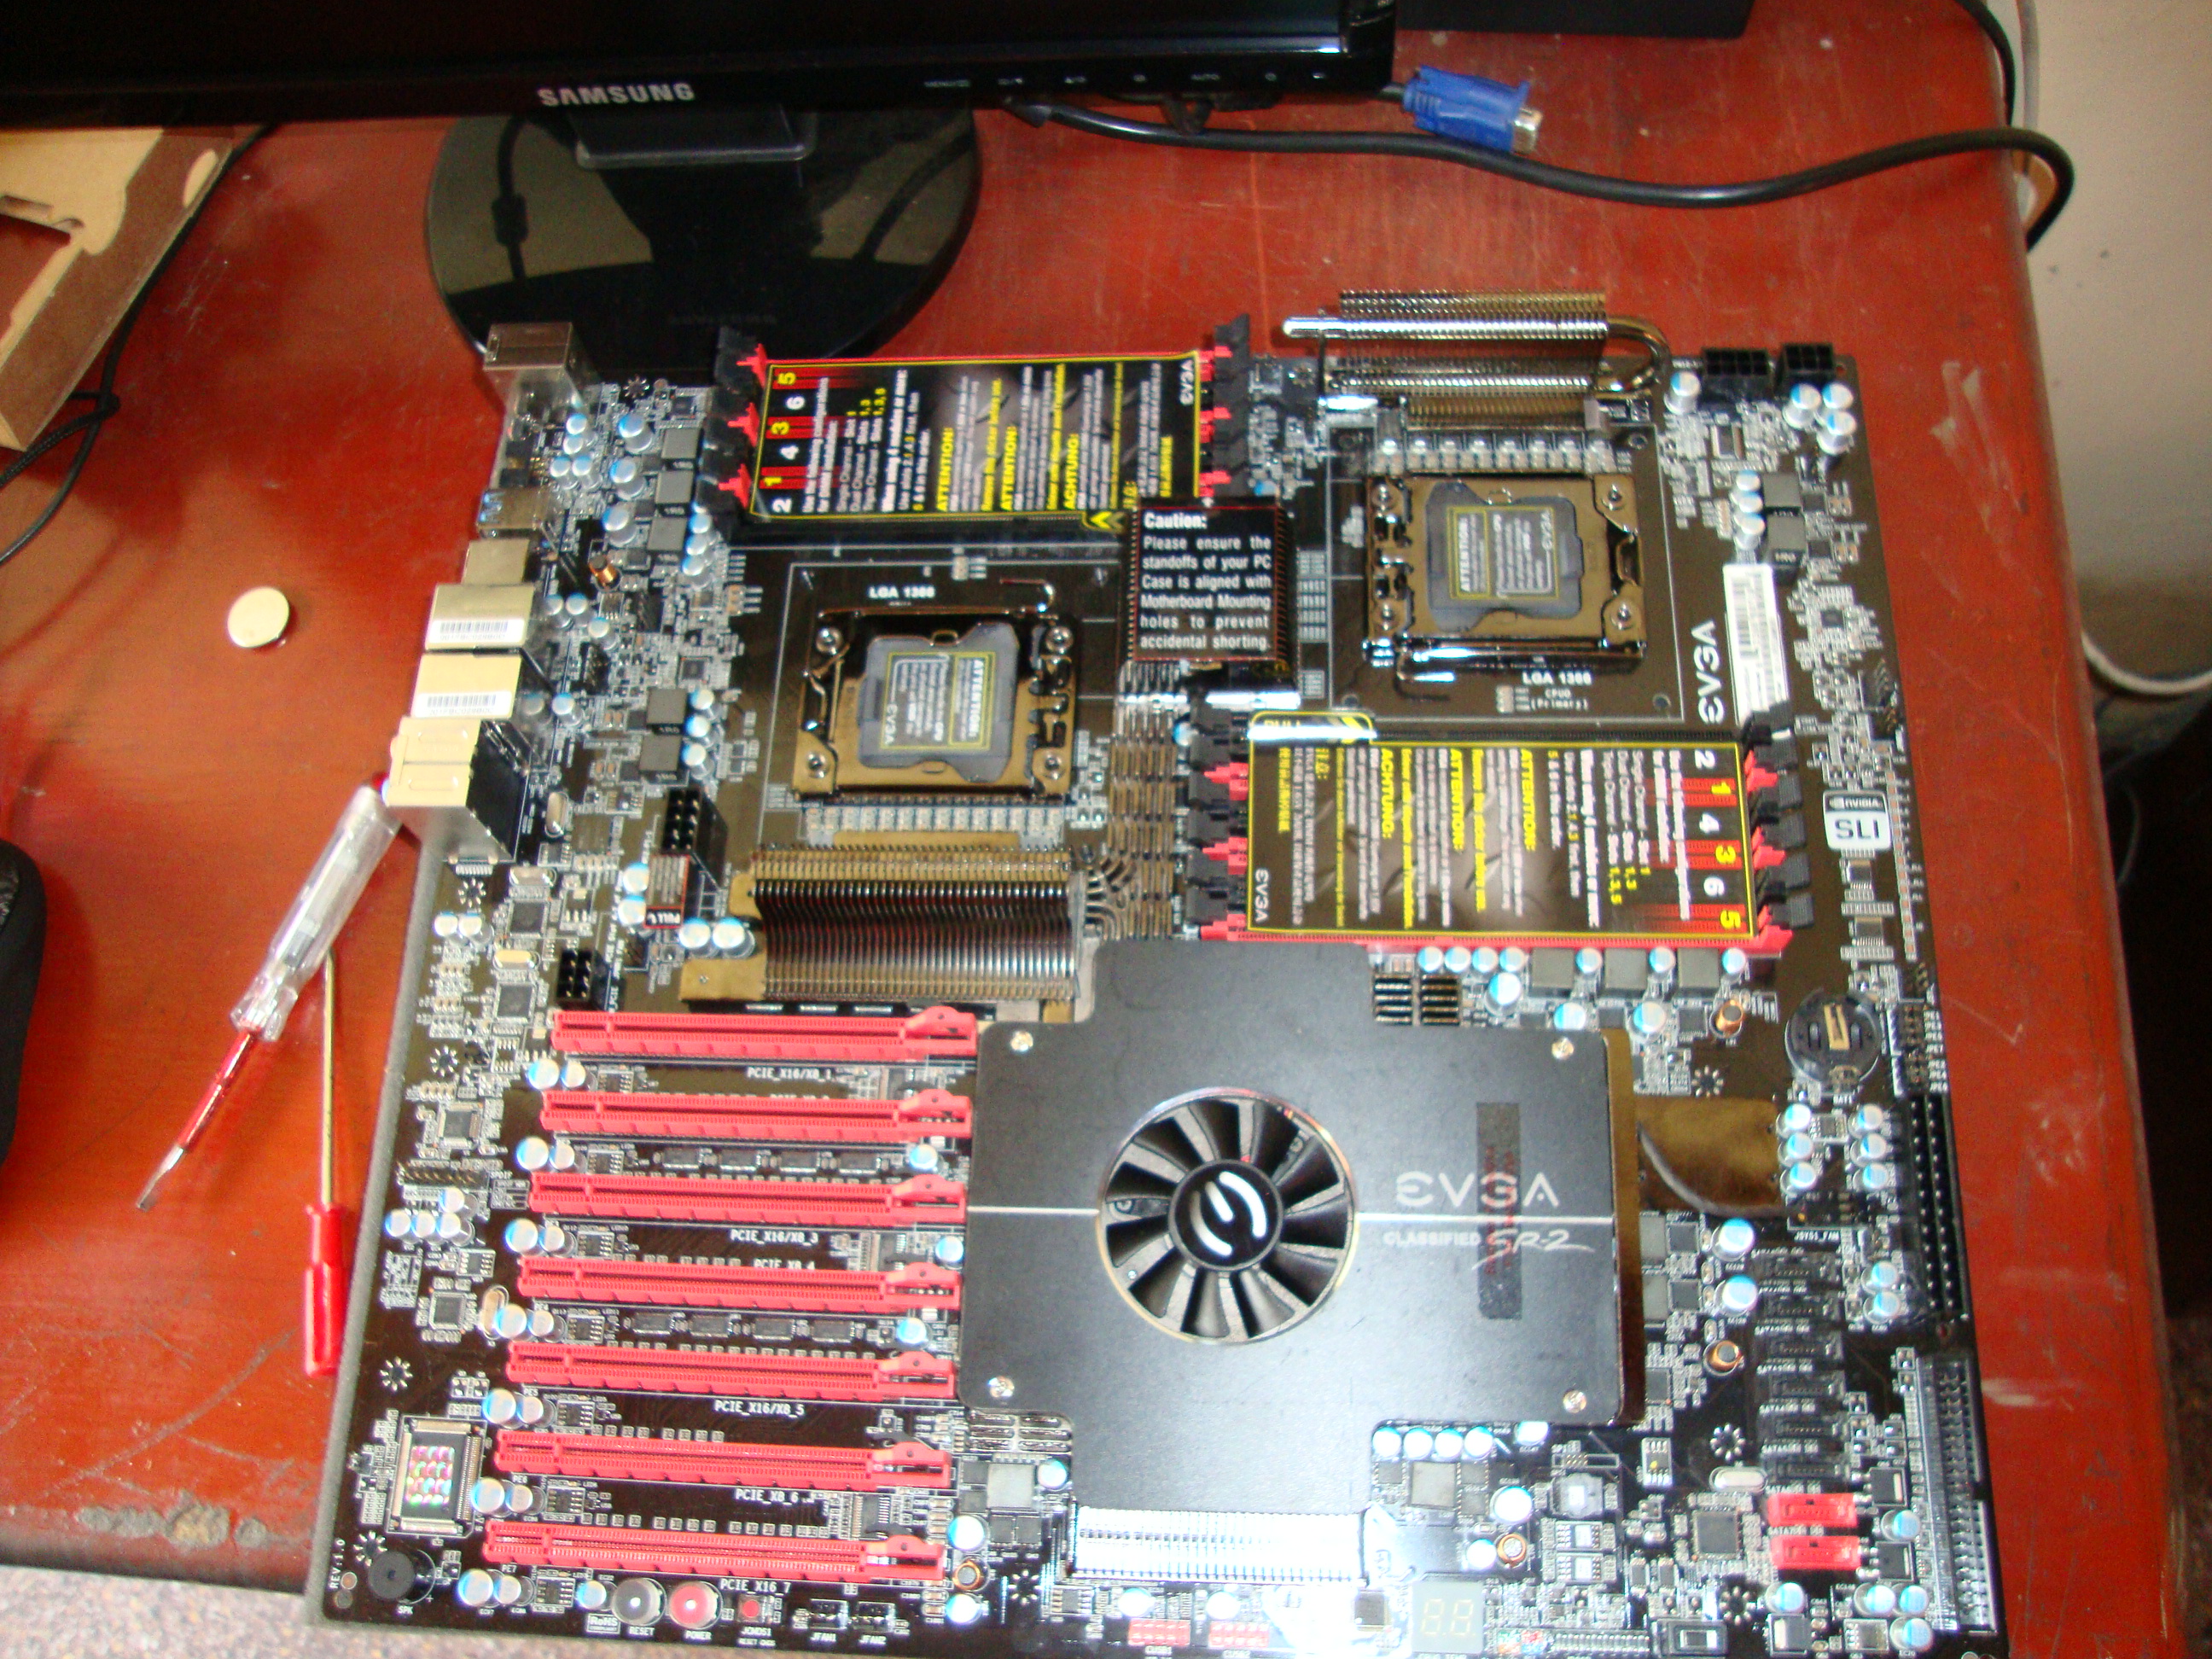
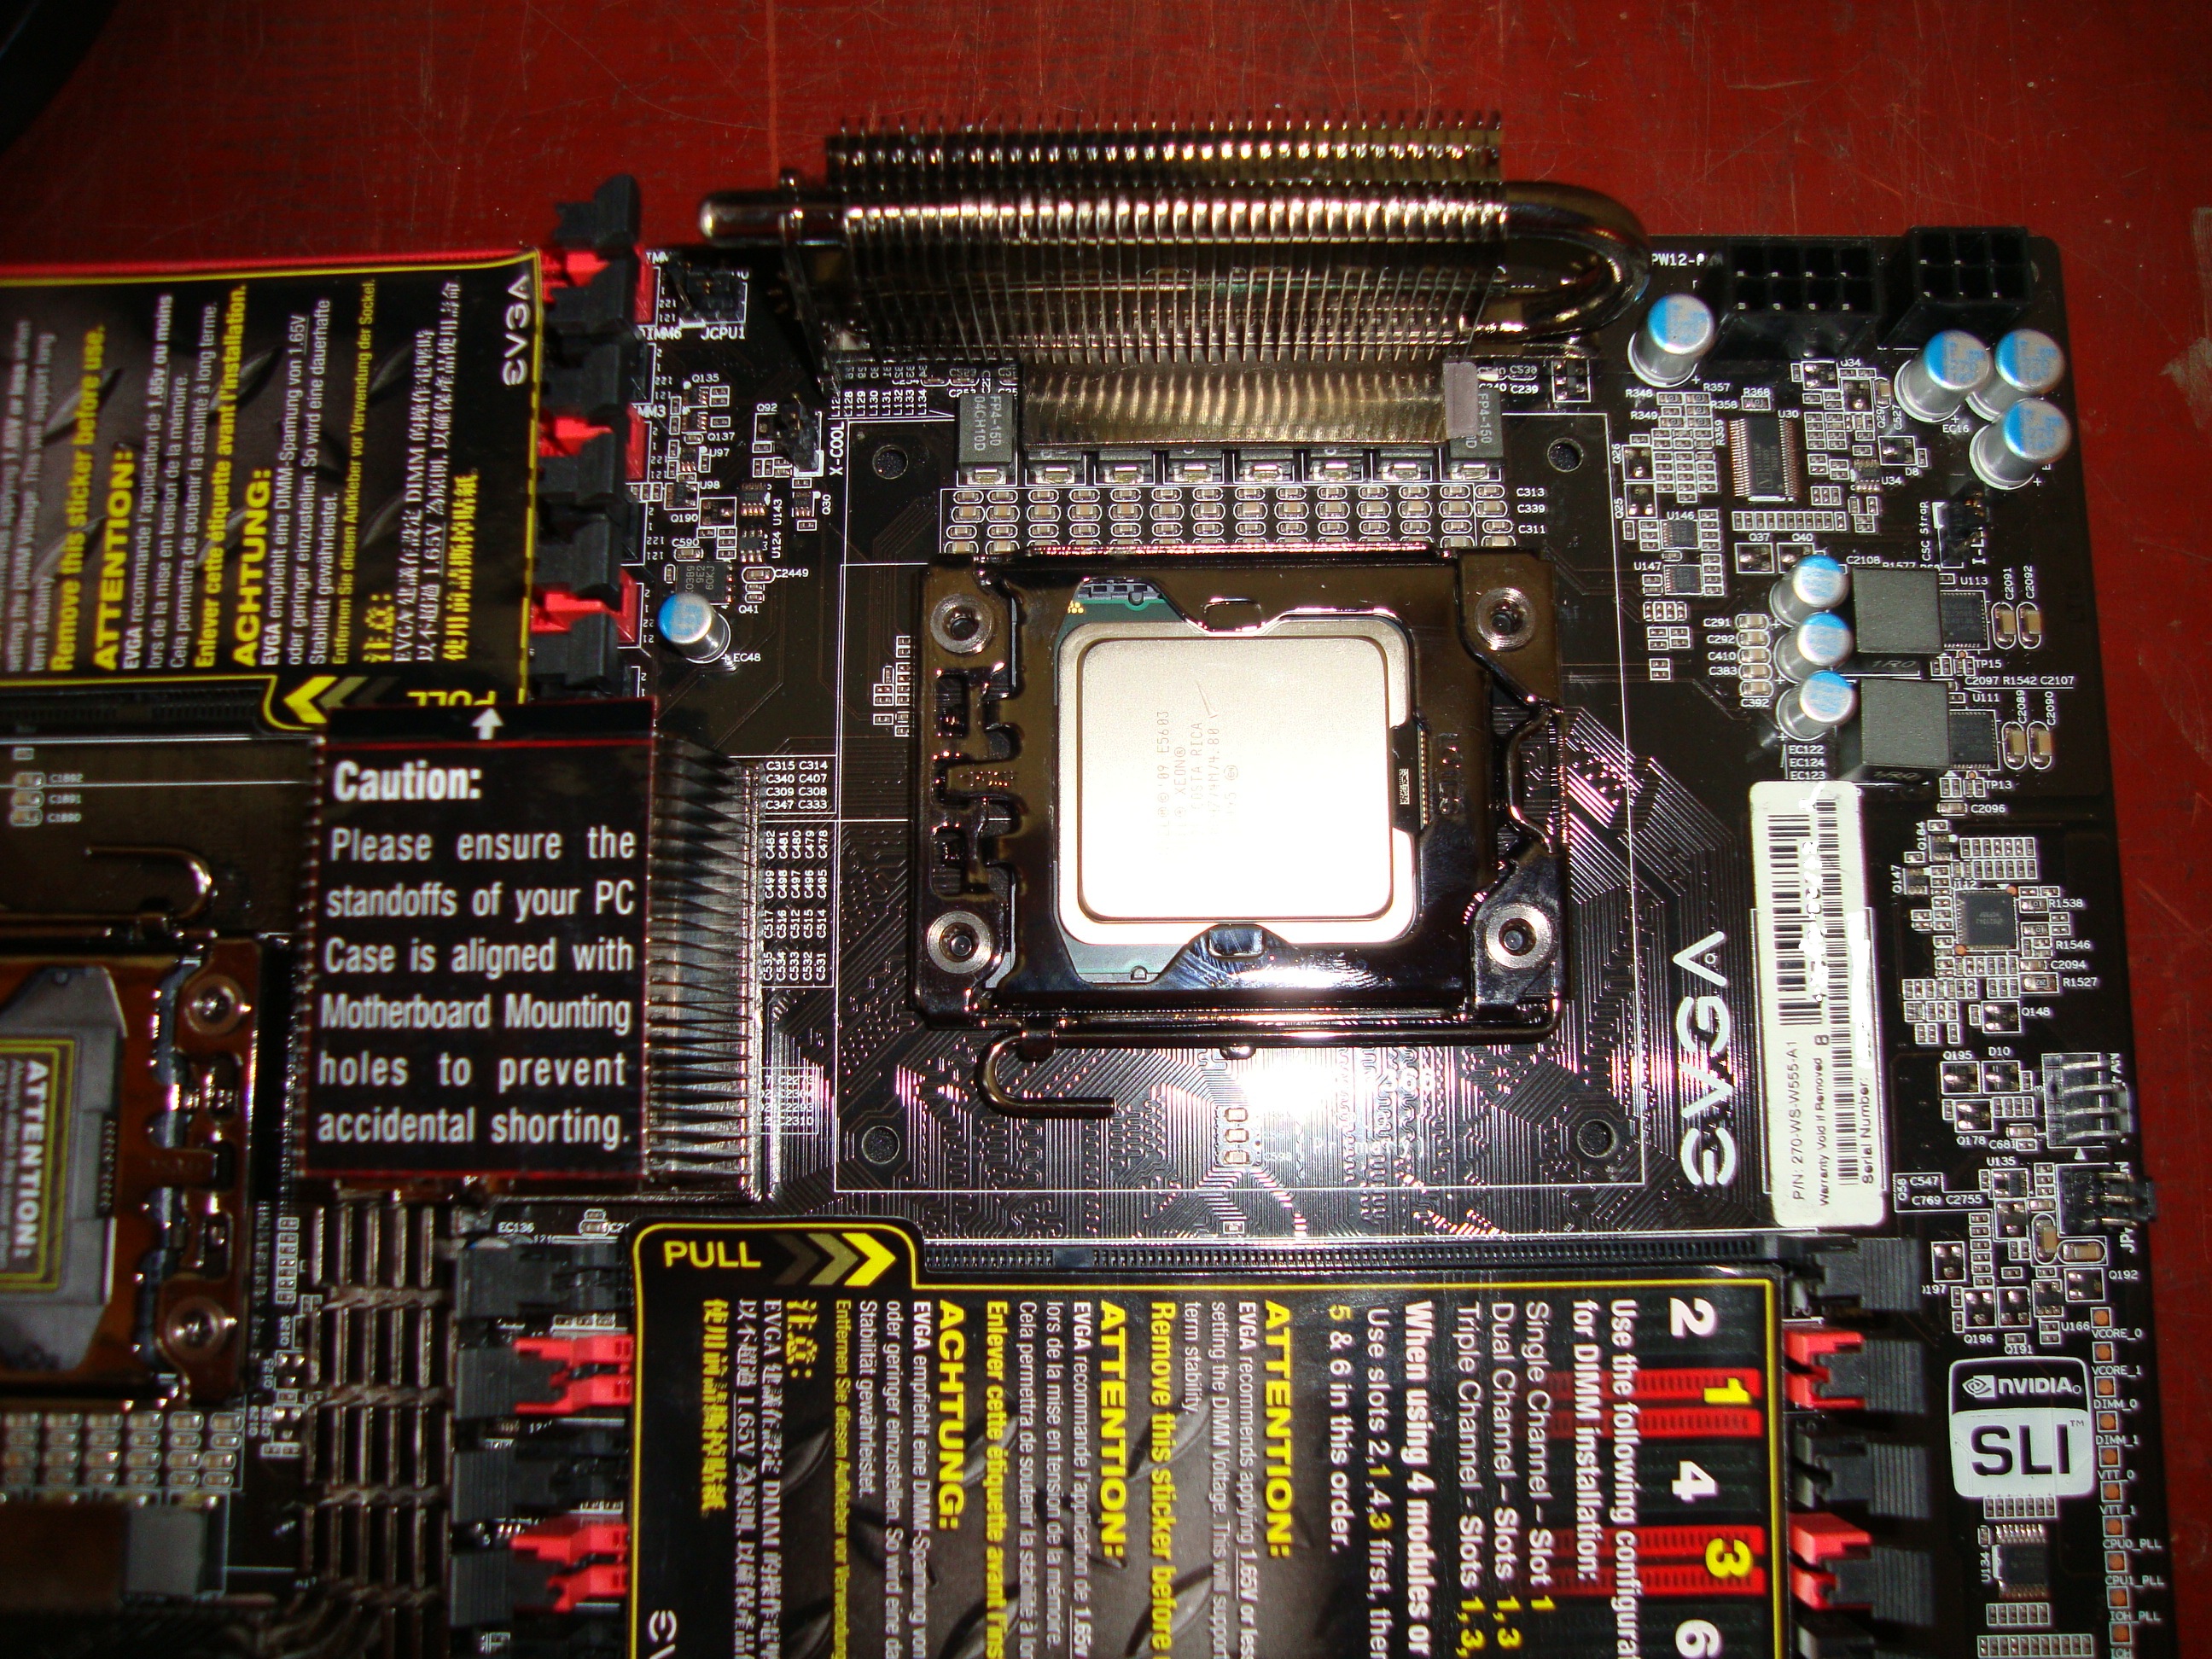
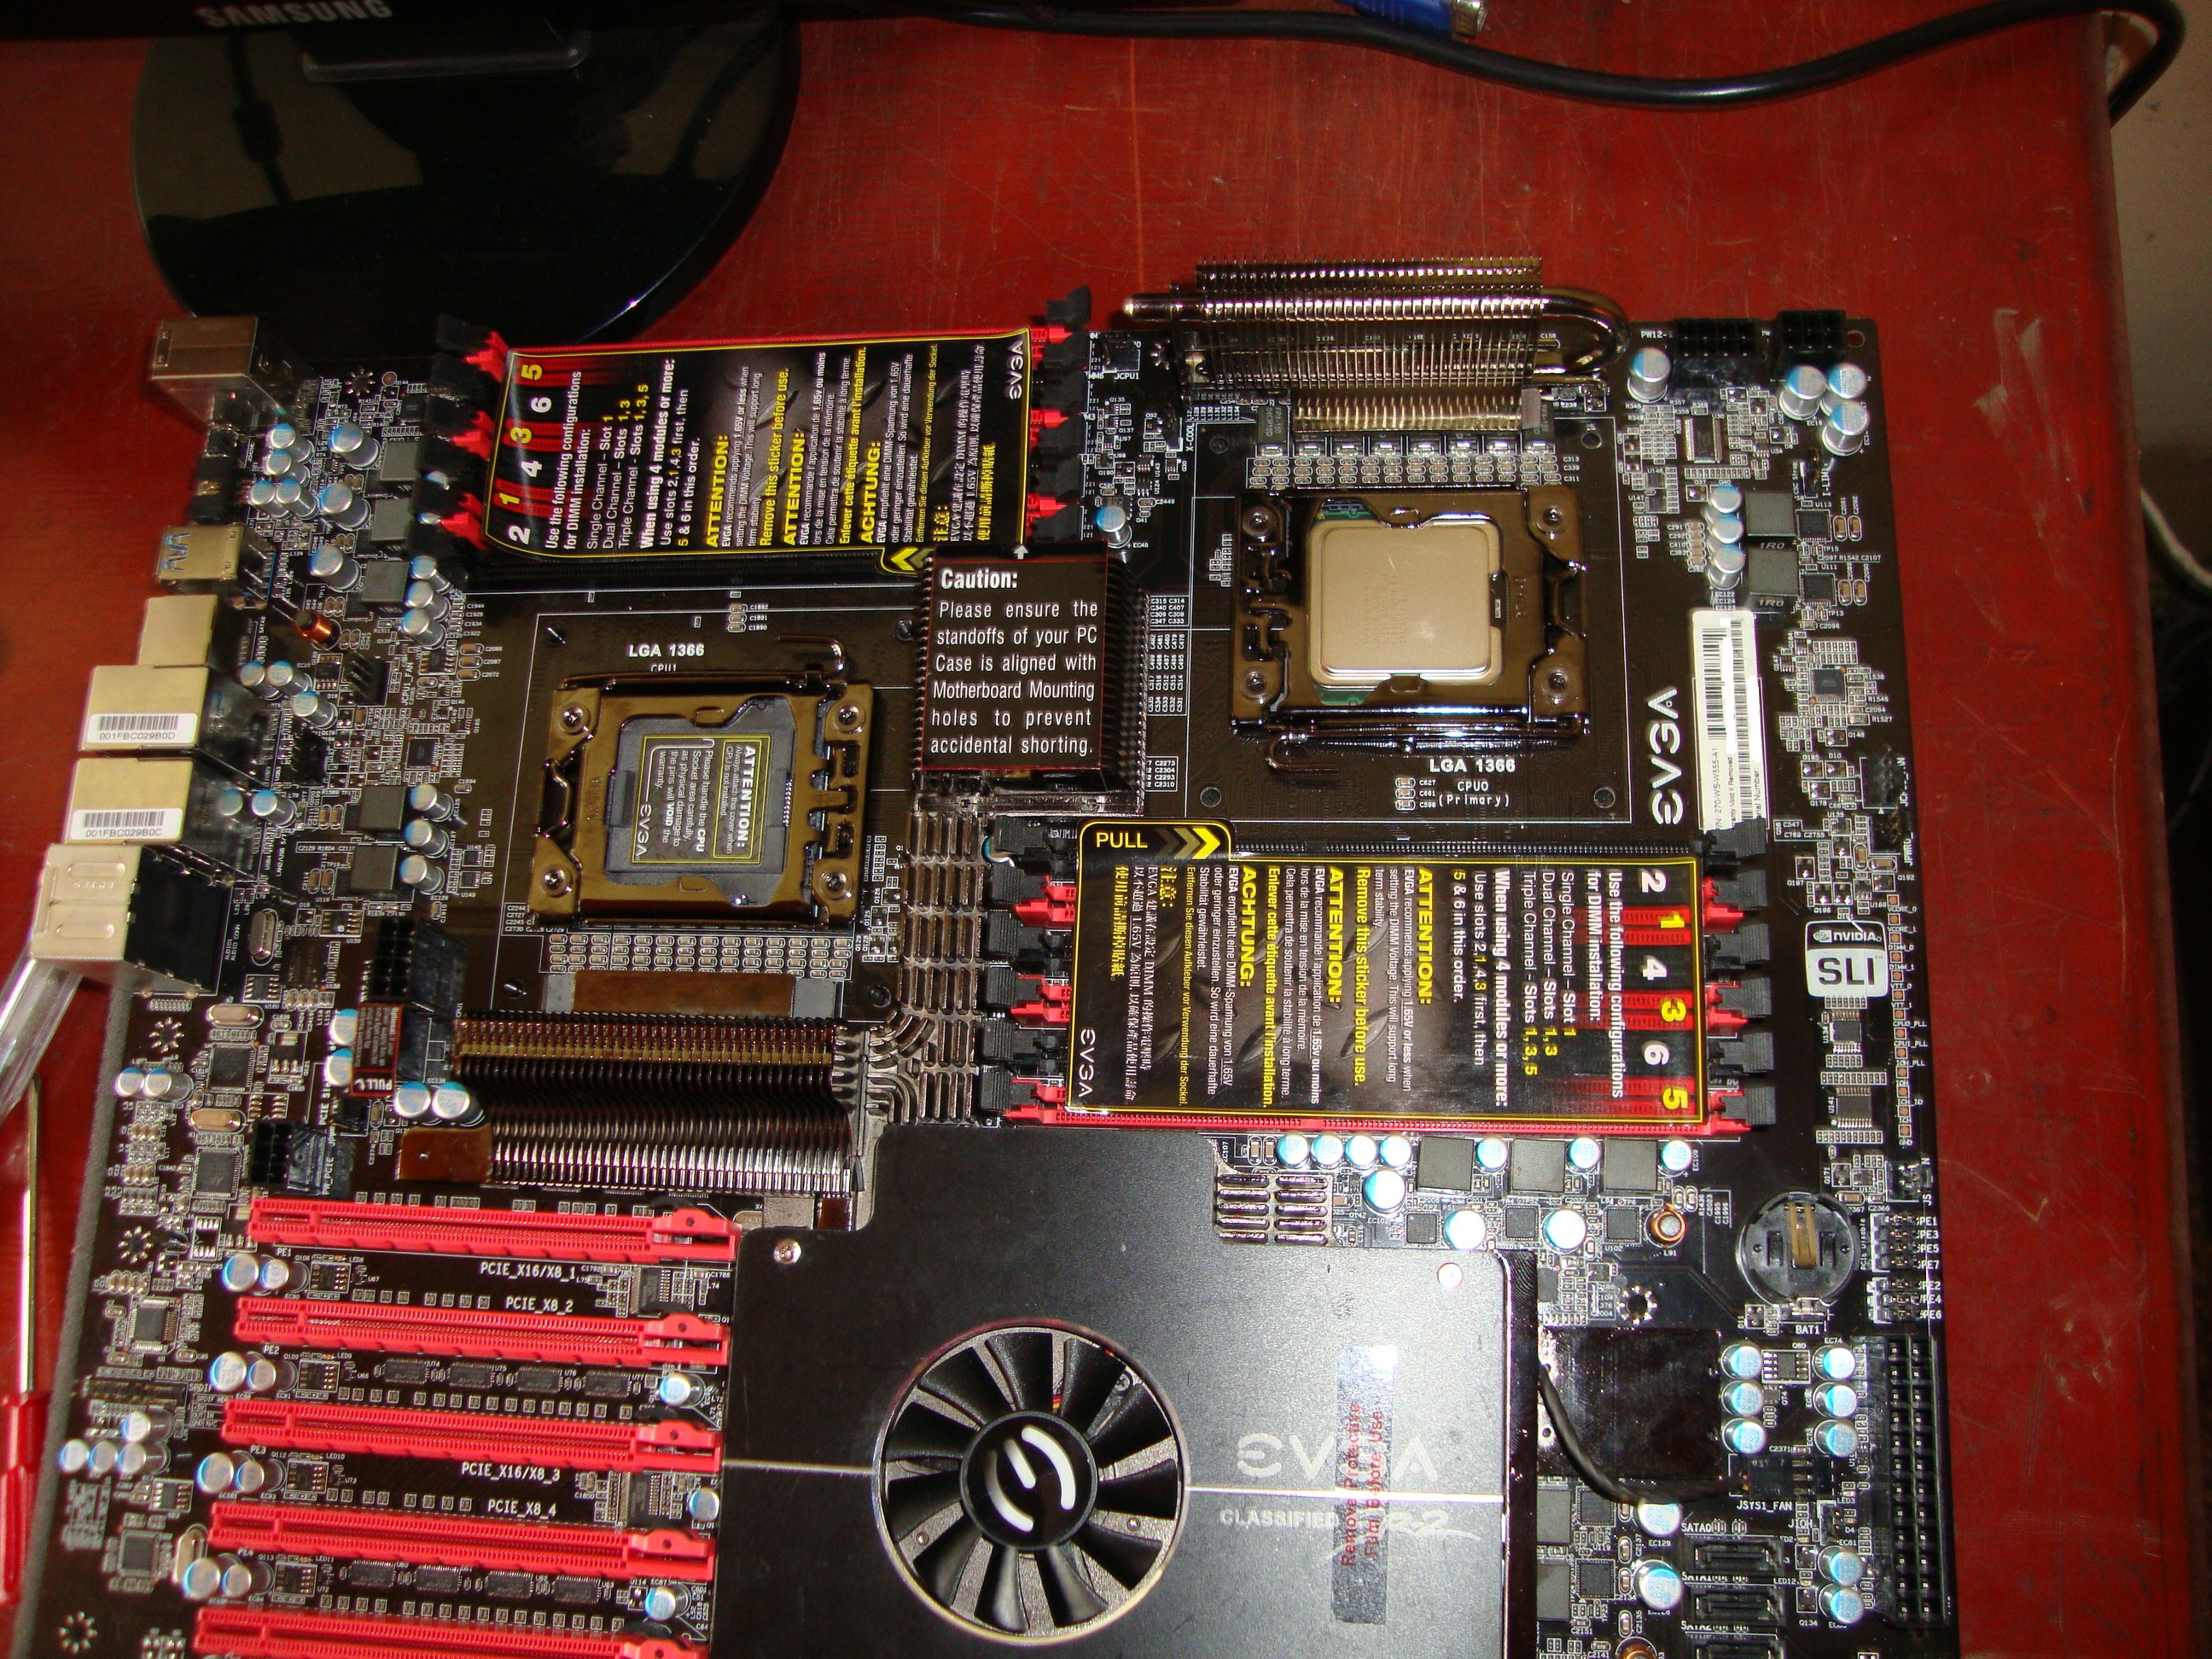
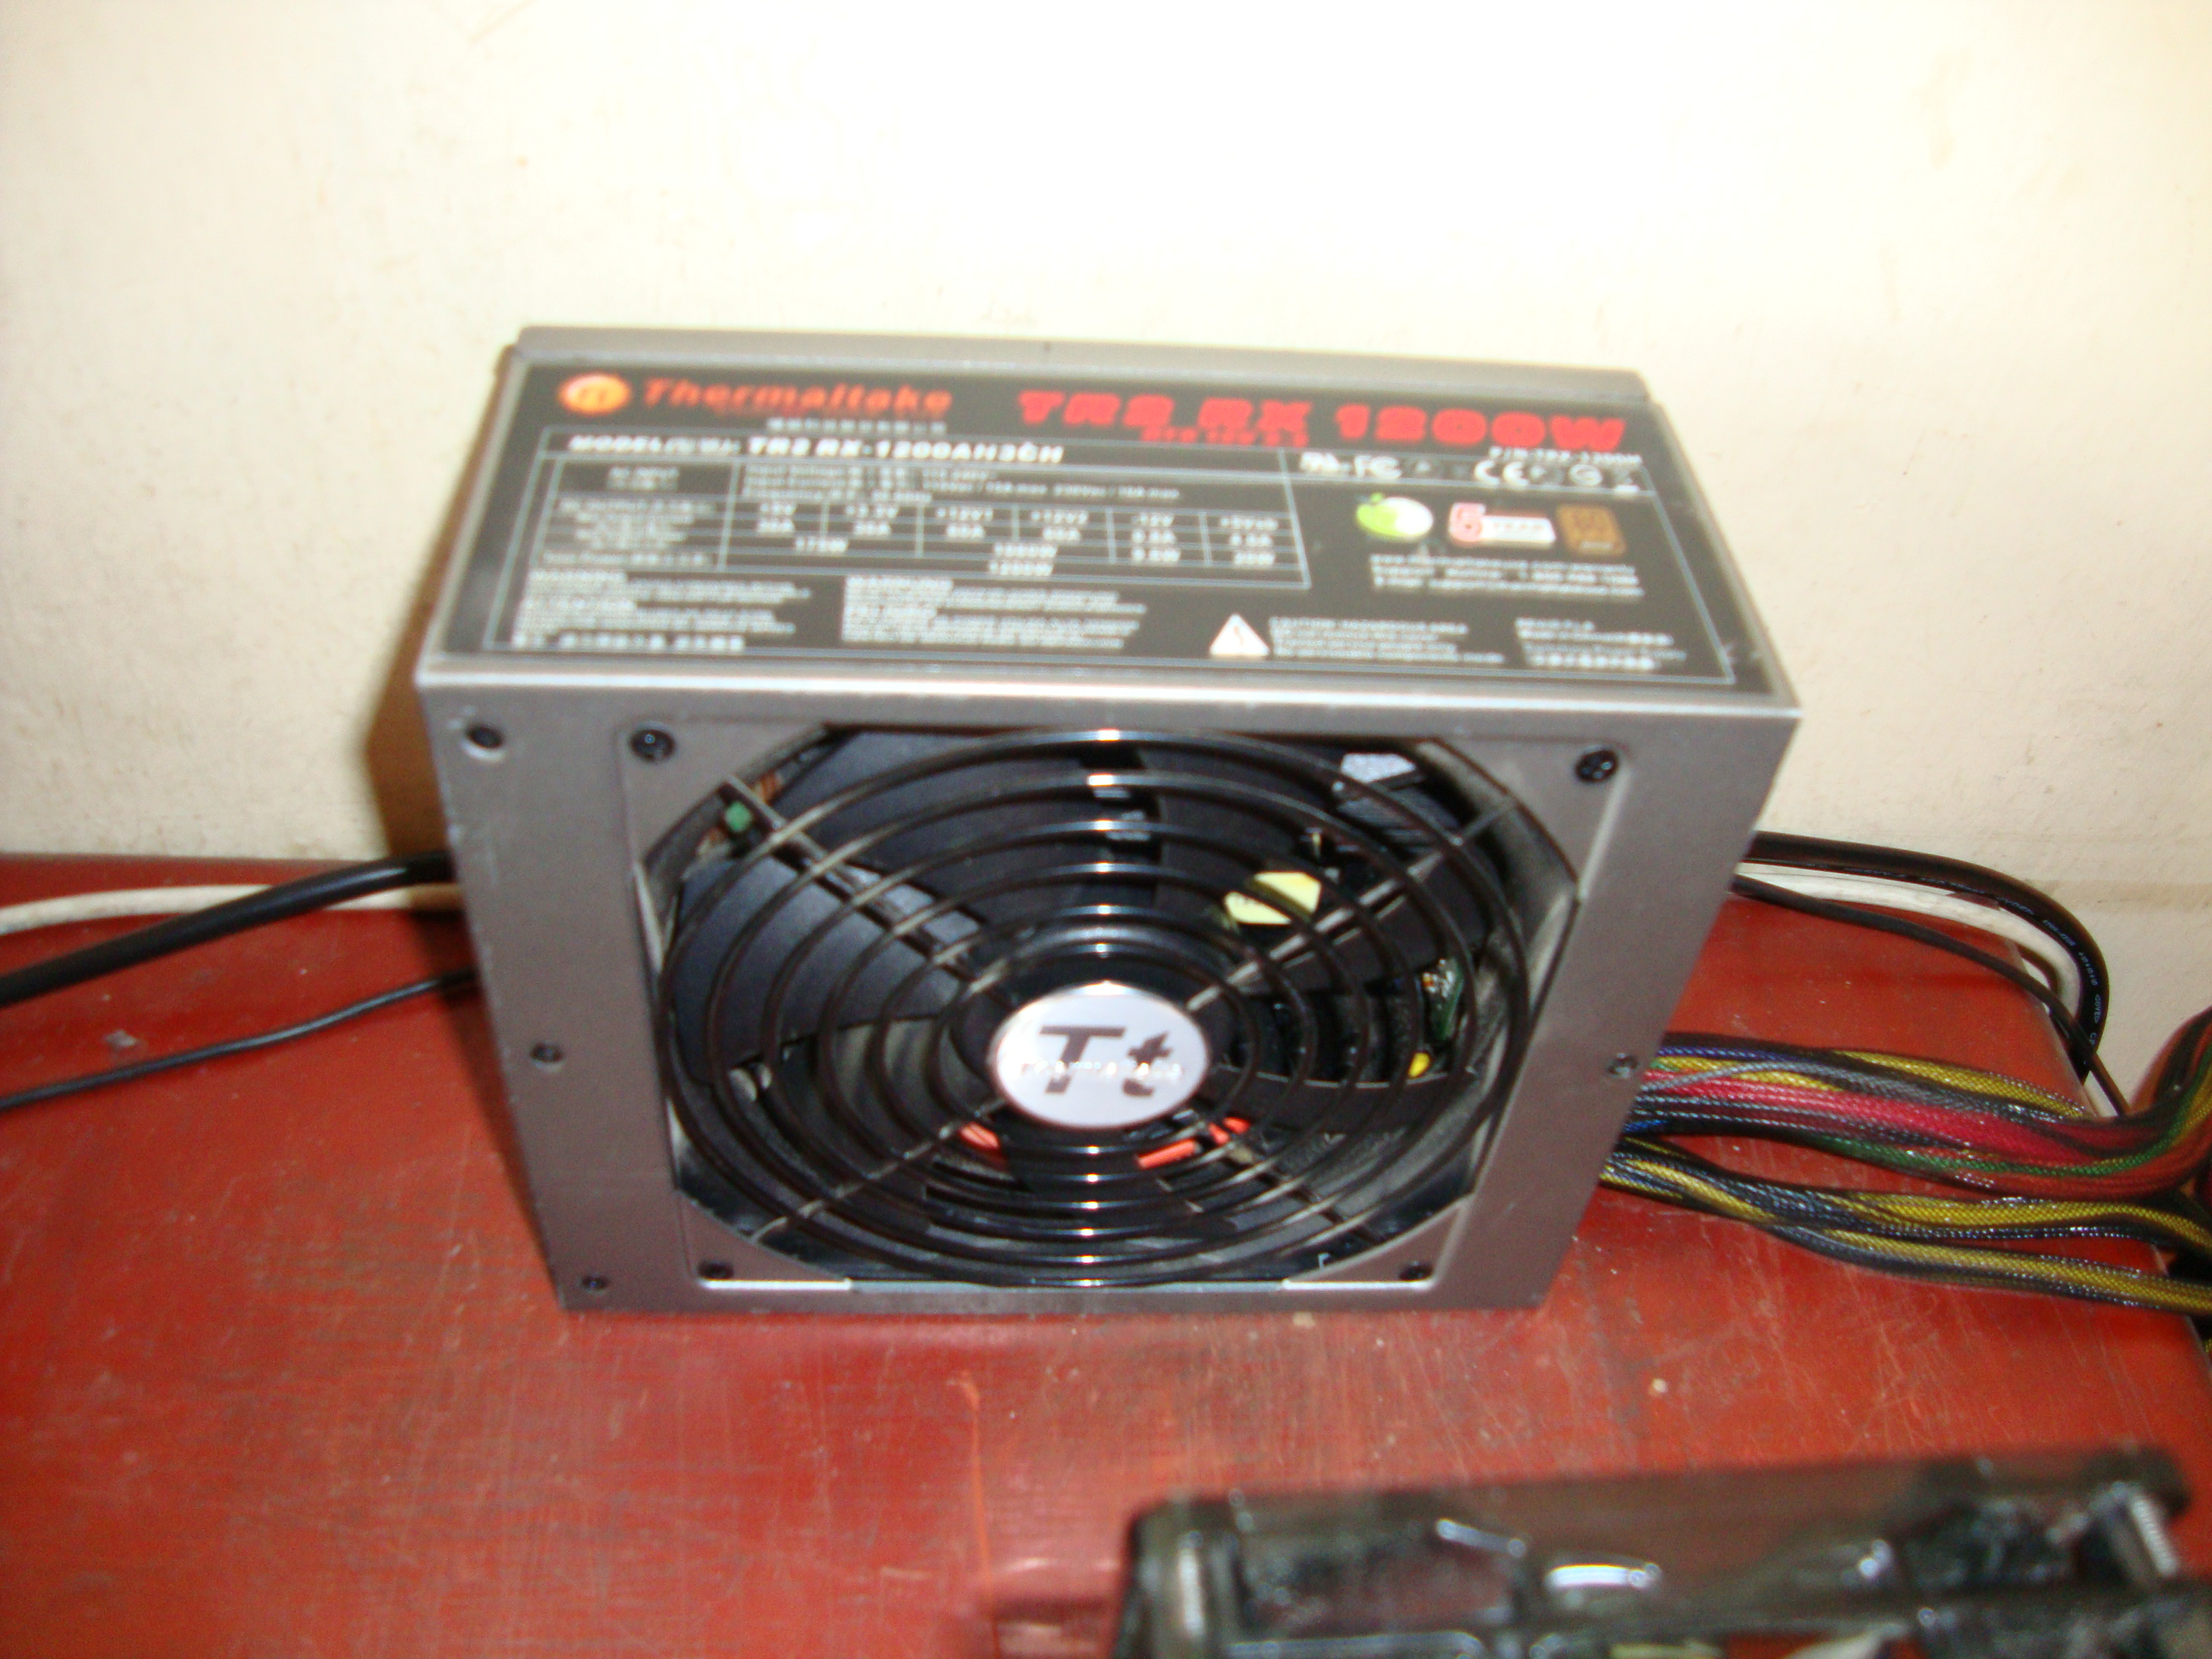
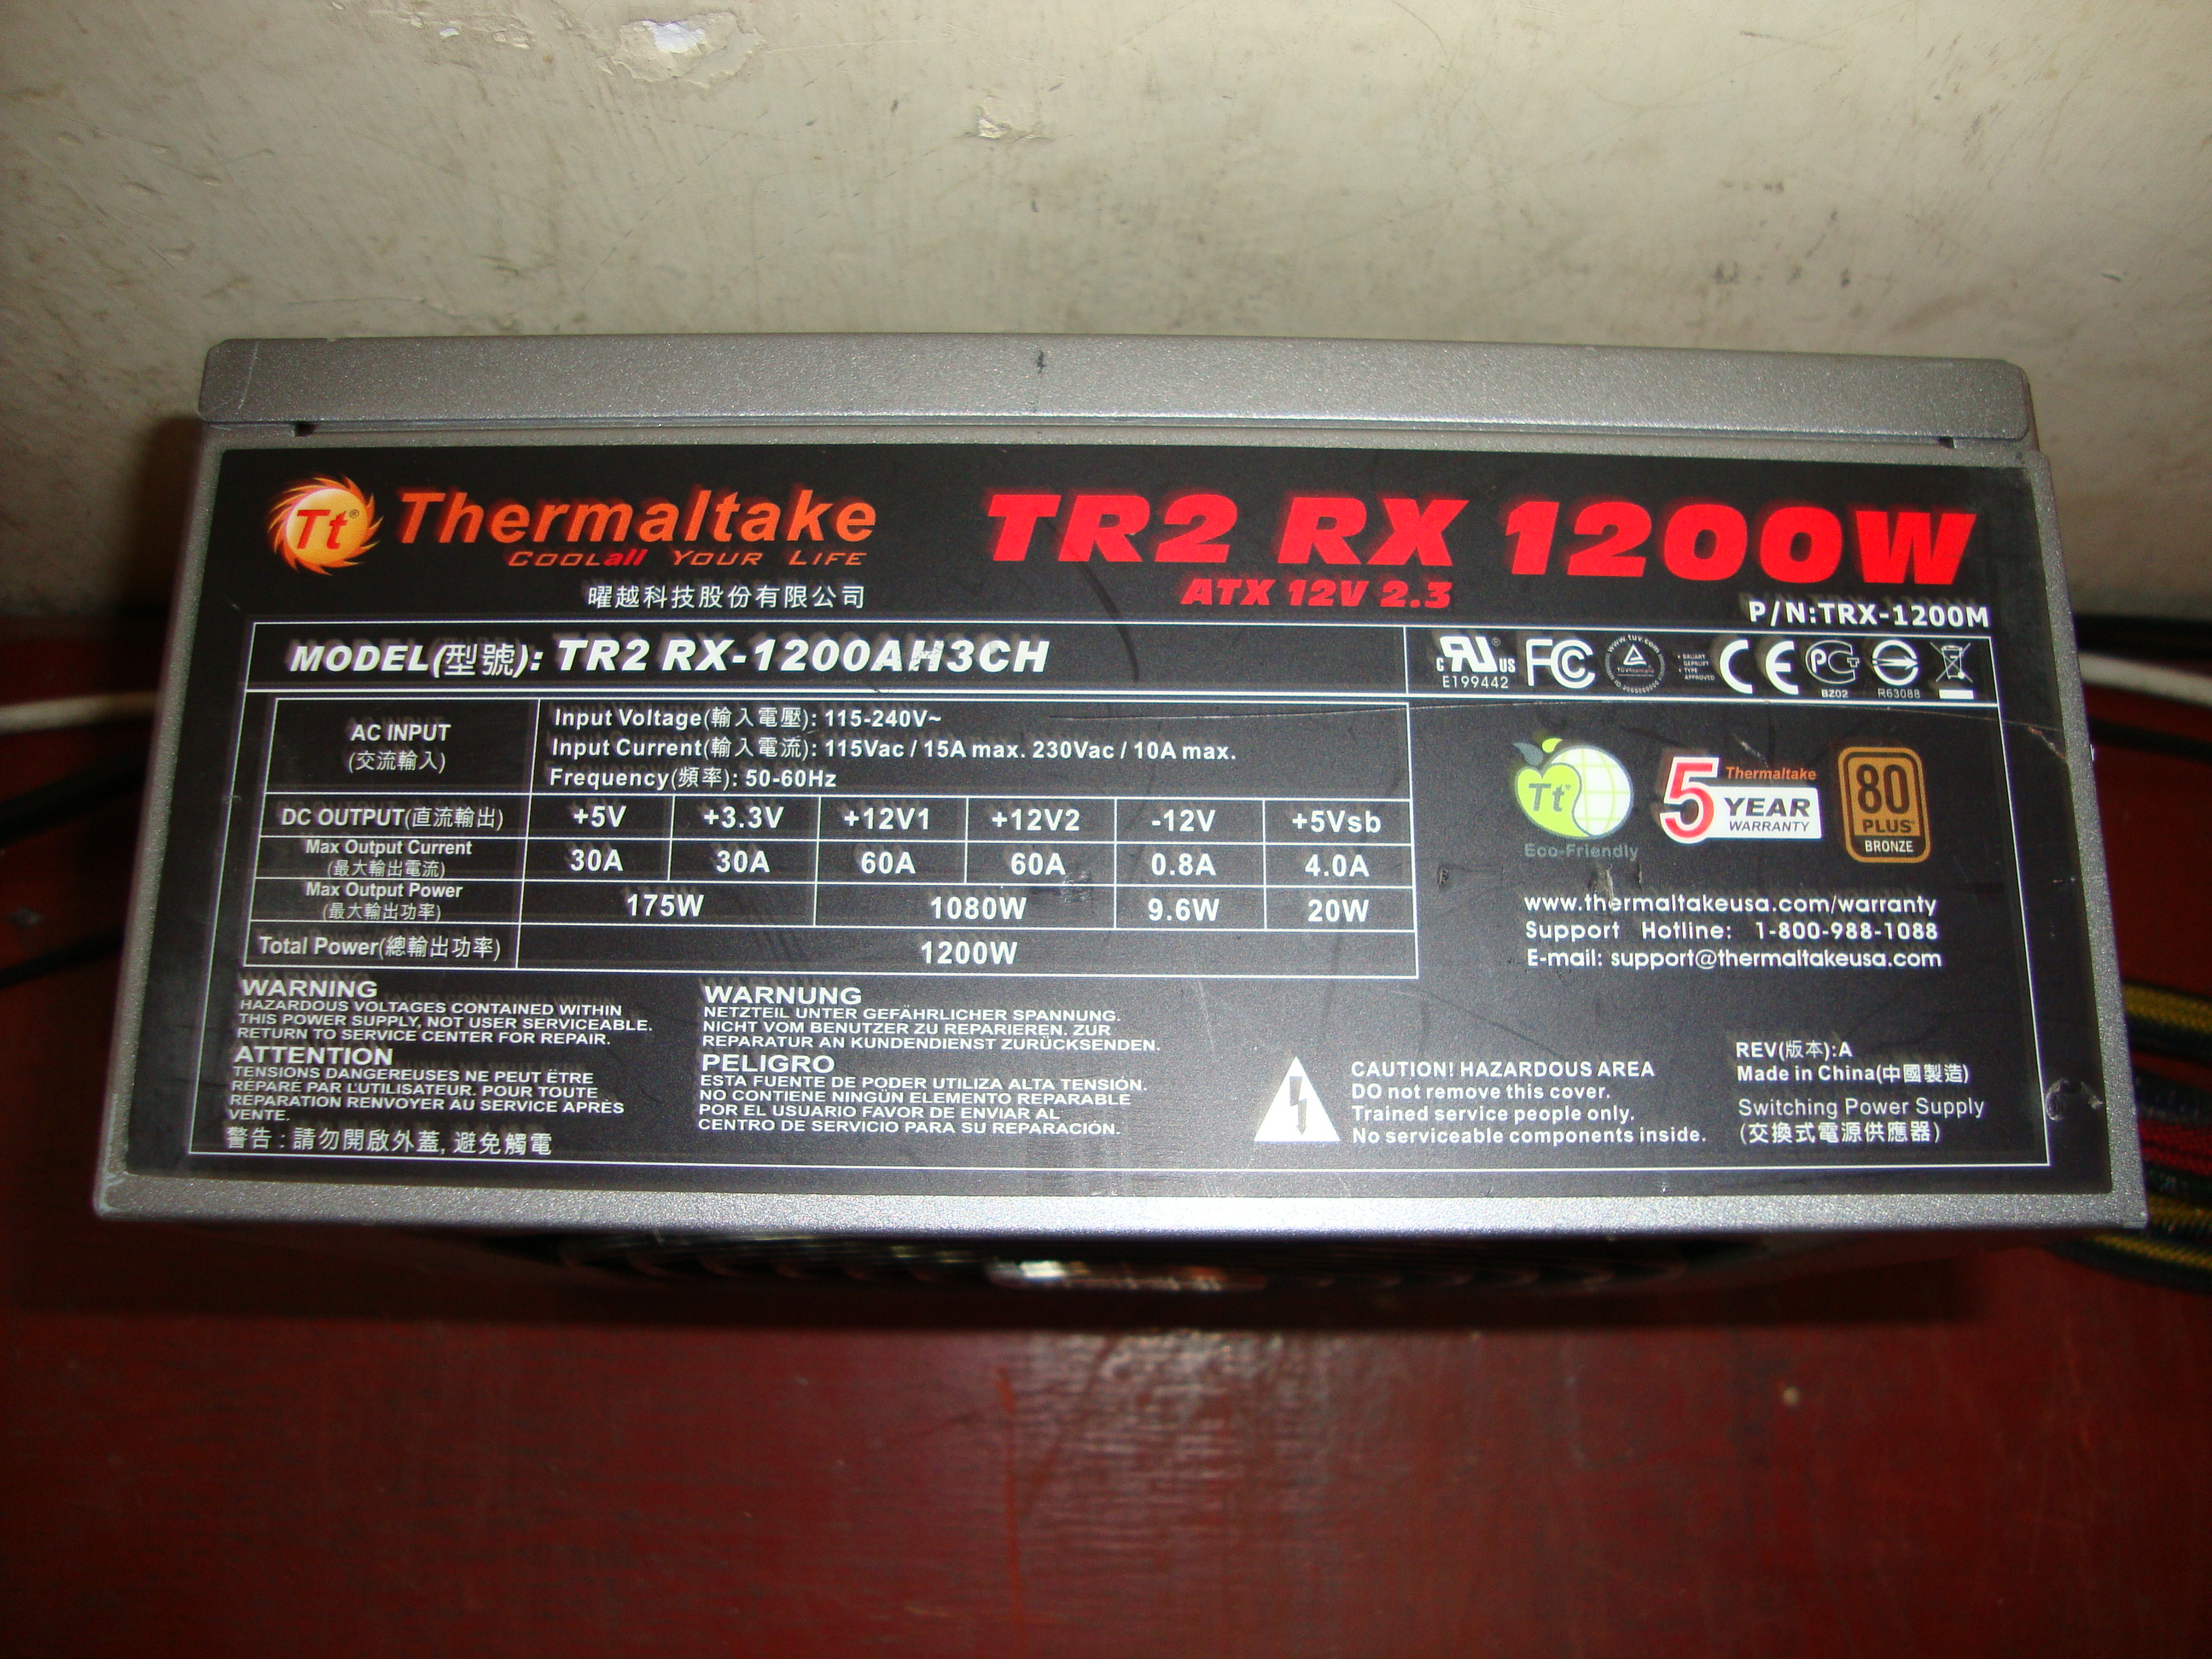
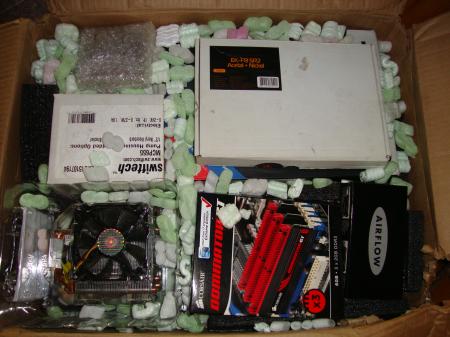
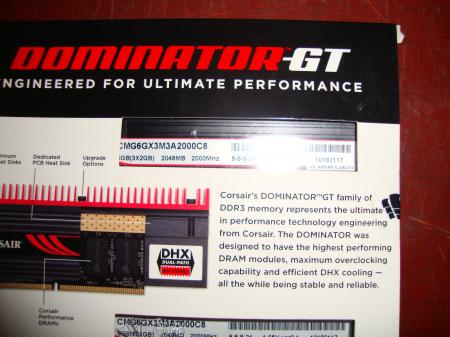
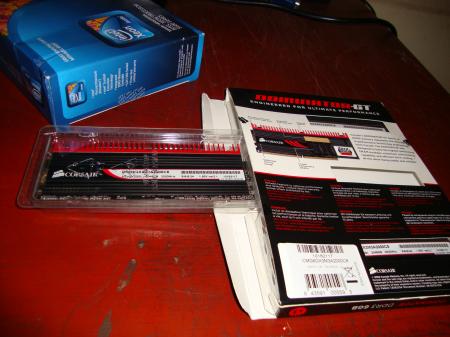
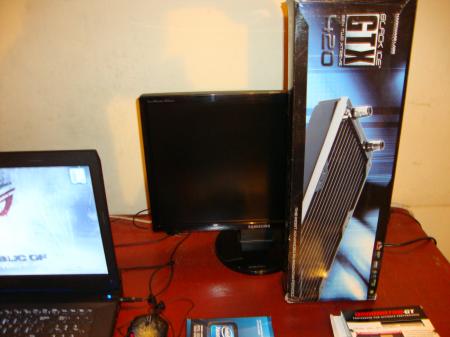
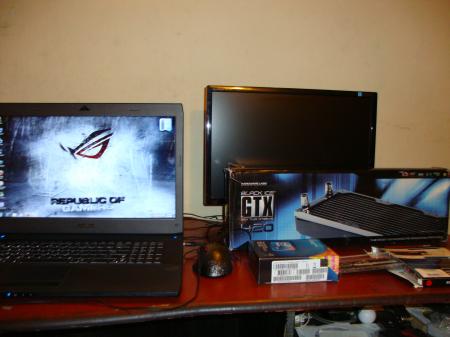
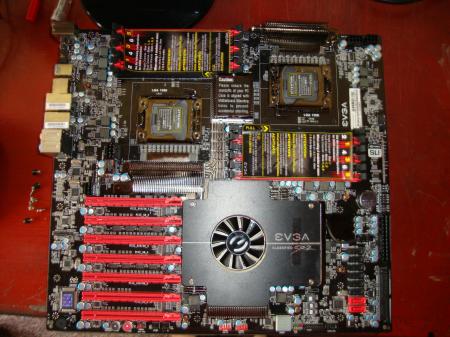
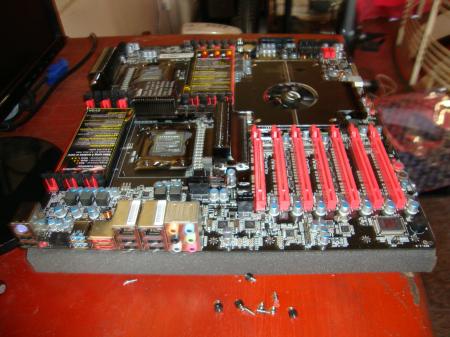
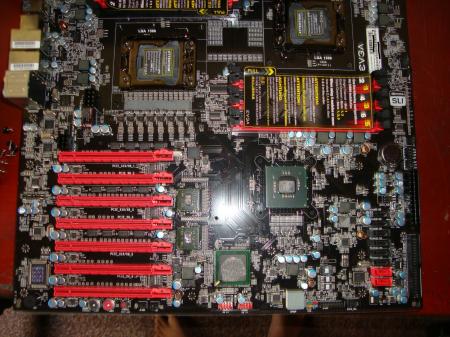
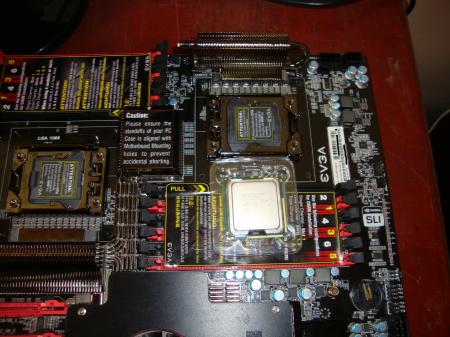
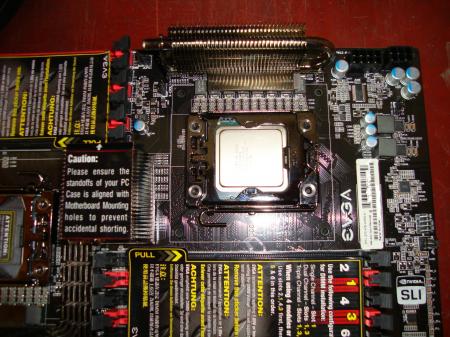
Hey guys , Just wanted to make a built log for my sr-2 , this is my first experience building a rig on my own. I will need your support to complete it successfully today I got most of the parts I ordered. I know that factory's doesnt do a great job in applying thermal paste , so I repasted before I proceed. hopefully my Asus G73jh is helping me from background . system spec's : EVGA SR-2 1x Intel Xeon E5603 Processor Corsair Dominator GT 6GB ram HD 6990 + GTX 465 vga 19'' samsung monitor 160GB 5400 rpm hdd , I know its the slowest thing on my rig lol. ordered an 90GB ssd and will order an 1.5tb hdd. More update incoming .................


 1 point
 -
very nice benches GeoCake hurrah for 7970m1 point
-
Yes they are the running experts on DIY Desktop rigs Great setup EVGASR2 Looking forward to seeing it as it progresses.1 point
-
you might want to involve @Jimbo and @ConkersGrillforce1337 ...1 point
-
What you are describing here is simply due to ULPS... your second gpu is going into power-savings... when you open GPUz it interacts with the hardware causing the 3dclocks to activate as it scanned the gpu core then you suddenly see the second card in HWiNFO... but this ULPS feature will get in the way of your overclocking. you will need to disable ULPS to overclock both your cards properly otherwise only GPU1 will be overclocked... example of how ULPS will cause issues on monitoring software and or even seeing a secondary GPU in a dual card config... ULPS can even cause BSOD's on setups when trying to access a second gpu which is not showing up. see here for example http://forum.techinferno.com/hwinfo32-64-discussion/1032-ati-5870m-crossfire-detection.html#post11902 fix ULPS and powersavings http://forum.techinferno.com/alienware-m17x/1279-5870m-locked-low-clocks.html http://forum.techinferno.com/alienware-m17x/1339-crossfirex-5870m-oc-problem.html http://forum.techinferno.com/alienware-m17x/1690-flashing-ati-hd-4870-vbios.html#post209511 point
-
http://www.sapphiretech.com/archive/drivers/TRIXX_installer_634709517705218181.exe1 point
-
the gpu vbios controls those things not the laptop bios.1 point
-
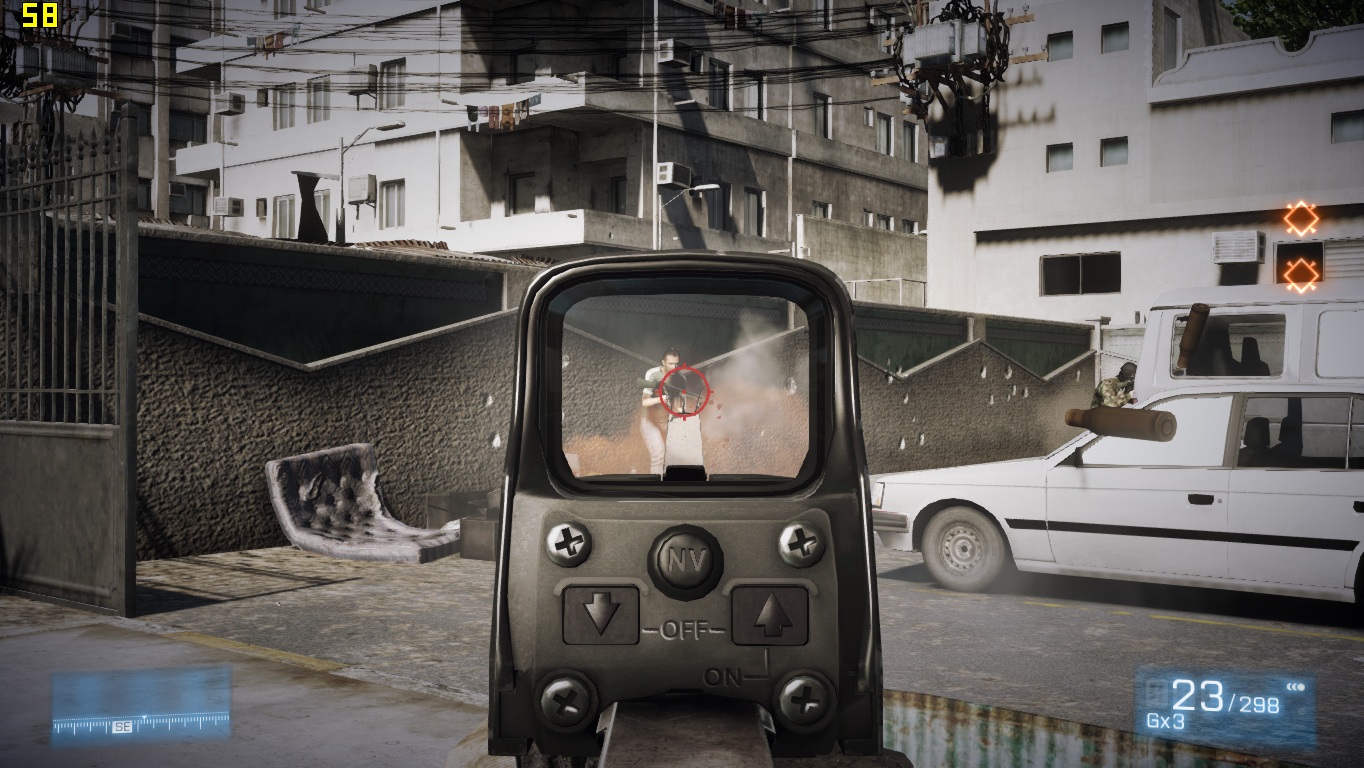
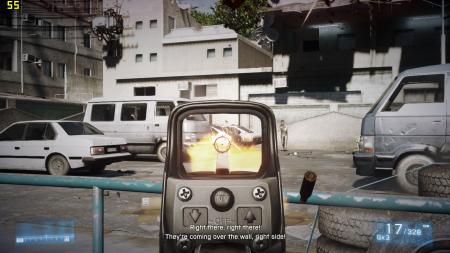
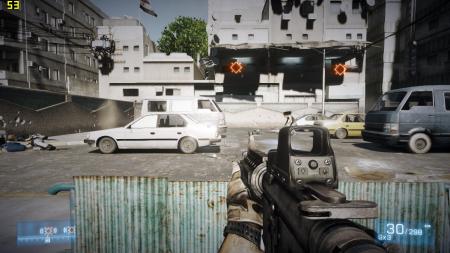
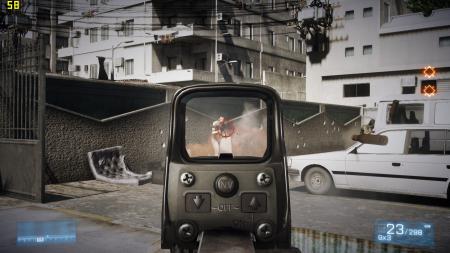
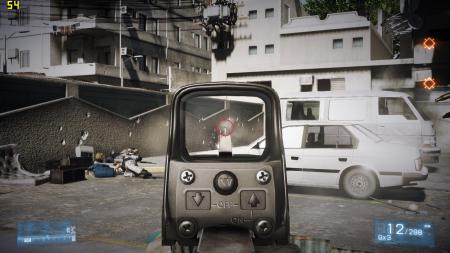
Cheers all. I wanted to do a quick and dirty comparison vs the 560mGTX. The reason is in anticipation for the new 650mGT thats being released in the M14xR2. So here is what I did.. I installed BF3 on my SSD and fired up FRAPS, Throttlestop, and EVGA precision. I chose the first SP map in BF3 where you are ambushed by terrorists with rocket launchers. Lots of smoke, explosions, enemies, destruction, etc... No cheez here. After benching the machine on the stock bios, I decided to once again update to the A01 Volt Mod and bench as well. I will post some screen shots so you know exactly where I benched in game and just ran the same thing over and over and over. Stock System: M14x, 1366x768, Nvidia 555mGT, 4gb ram, 64GB SSD. Belkin lapdesk, not pluged in, only used to provide space for stock m14x fan. ----------------------------------------------------------------- 2012-04-30 21:07:01 - bf3 Frames: 3419 - Time: 89248ms - Avg: 38.309 - Min: 31 - Max: 44 (CPU/STOCK, GPU/STOCK,MEDIUM, 1366X768) 2012-04-30 21:10:24 - bf3 Frames: 3316 - Time: 71667ms - Avg: 46.270 - Min: 40 - Max: 52 (CPU/STOCK, GPU/750/1000,MEDIUM, 1366X768) 2012-04-30 21:17:59 - bf3 Frames: 2666 - Time: 68859ms - Avg: 38.717 - Min: 32 - Max: 44 (CPU/4 THREADS, GPU/STOCK,MEDIUM,1366X768) 2012-04-30 21:20:16 - bf3 Frames: 3202 - Time: 68438ms - Avg: 46.787 - Min: 38 - Max: 54 (CPU/4 THREADS, GPU/750/1000,MEDIUM, 1366X768) 2012-04-30 21:22:48 - bf3 Frames: 3839 - Time: 79638ms - Avg: 48.206 - Min: 39 - Max: 55 (CPU/4 THREADS, GPU/790/1000,MEDIUM, 1366X768) 2012-04-30 21:25:36 - bf3 Frames: 3992 - Time: 82447ms - Avg: 48.419 - Min: 38 - Max: 56 (CPU/4 THREADS, GPU/790/1050,MEDIUM, 1366X768) 2012-04-30 23:01:44 - bf3 Frames: 3580 - Time: 77049ms - Avg: 46.464 - Min: 38 - Max: 58 (CPU/8 THREAD TURBO DISABLED, GPU/750/1000,MEDIUM, 1366X768) **A01 VOLT MOD BIOS** 2012-04-30 23:05:15 - bf3 Frames: 4147 - Time: 79872ms - Avg: 51.921 - Min: 42 - Max: 70 (CPU/8 THREAD TURBO DISABLED, GPU/850/1080,MEDIUM, 1366X768) **A01 VOLT MOD BIOS** Pics... Conclusion - If you want to get the most out of BF3, turn off turbo on the CPU and get the GPU clock as high as you can. Repaste with IC Diamond or other quality TIM maker, make sure you notebook fan is clean, and PLAY!

 1 point
 -
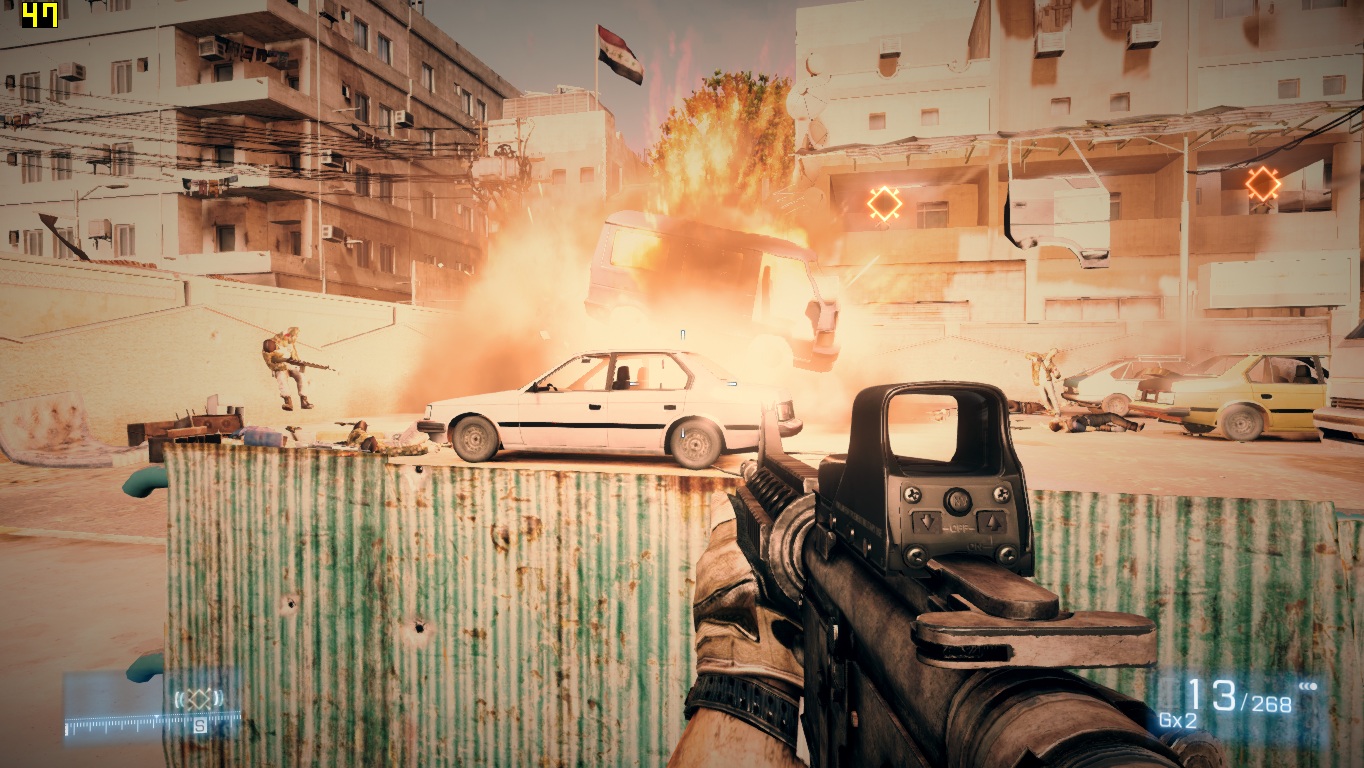
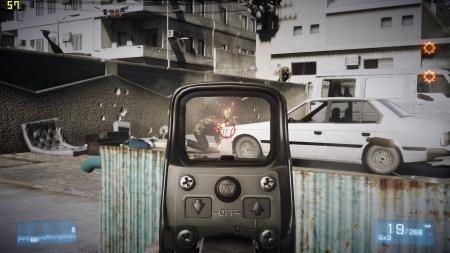
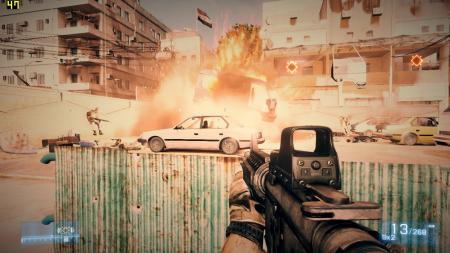
32 man infantry server Full. Game settings - Custom - Texture, Details Mesh ->> Ultra Shadows ->> Low AA ->> Off AF ->> Off, 1366x768 Benchmarked at 800/900 Peak GPU temp, 71c, CPU temp 85c 8thread turbo disabled. 2012-05-01 22:09:09 - bf3 Frames: 62855 - Time: 1179180ms - Avg: 53.304 - Min: 0 - Max: 127 2012-05-01 22:28:50 - bf3 Frames: 3832 - Time: 69436ms - Avg: 55.188 - Min: 37 - Max: 127 2012-05-01 22:30:01 - bf3 Frames: 6124 - Time: 119419ms - Avg: 51.282 - Min: 36 - Max: 79 2012-05-01 22:32:02 - bf3 Frames: 72226 - Time: 1371202ms - Avg: 52.673 - Min: 0 - Max: 153 Had to back the clocks back because I was pushing 80c last night and earlier this evening and didn't know why... Duh.. .clean fan completely and voila. 71c avg at 800/900 during this session.1 point
-
Followed the instructions.............AND GOT IT RUNNING () Thanks guys My problem was caused by TRIXX not properly disabling ULPS and so causing other OC'ing software to crash. Now everything is great and i can now look forward to benching my way to new hardware1 point
-
Uh sorry to hear that. I know this is not the solution you are looking for but... since I have never played HoN and played a bit of League of Legends and Dota2 may I recommended those games instead? They both work perfectly fine on R2. One thing I can think of is that some game may lock at 60FPS if you enabled "vsync" to prevent possible screen tearing. Also I think I am using 12.3 Catalyst driver (not at home atm so I can't check).1 point
-
All fixed I couldn't be happier.. All this new hardware, reinstalled windows and it solved all my problems. And the new bios, I did have BSOD's but after I flashed to A10 haven't seen one since! mw86 you've been a HUGE help and I can't thank you enough.1 point
-
Hey, glad it worked! I changed the thread title to include [fixed]. Yes, screens can be a pain to swap. I swapped 2 LCDs so far (one on Thinkpad, one of Dell XPS) and both times it was very frustrating. So many plastic things that needed to be "popped" lol.1 point
-
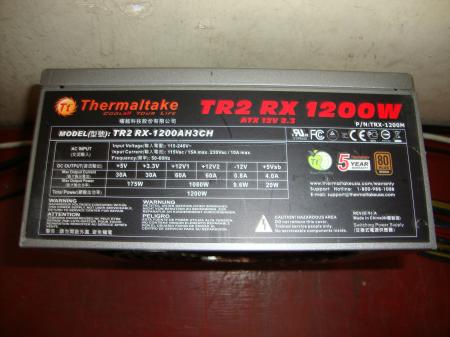
Fujipoly Premium System Builder Thermal Pad - 1/4 Sheet - 150 x 100 x 0.5 - Thermal Conductivity 6.0 W/mK - FrozenCPU.com Fujipoly Premium System Builder Thermal Pad - 1/4 Sheet - 150 x 100 x 1.0 - Thermal Conductivity 6.0 W/mK - FrozenCPU.com Arctic Cooling MX-4 Super High Performance Non-Conductive Thermal Compound (4g) - FrozenCPU.com Tuniq TX-4 High Performance Thermal Grease - 3.0g - FrozenCPU.com Shin-Etsu X23-7783D Silicone Thermal Compound - 1g - FrozenCPU.com1 point