Leaderboard


Popular Content
Showing content with the highest reputation on 12/03/12 in all areas
-
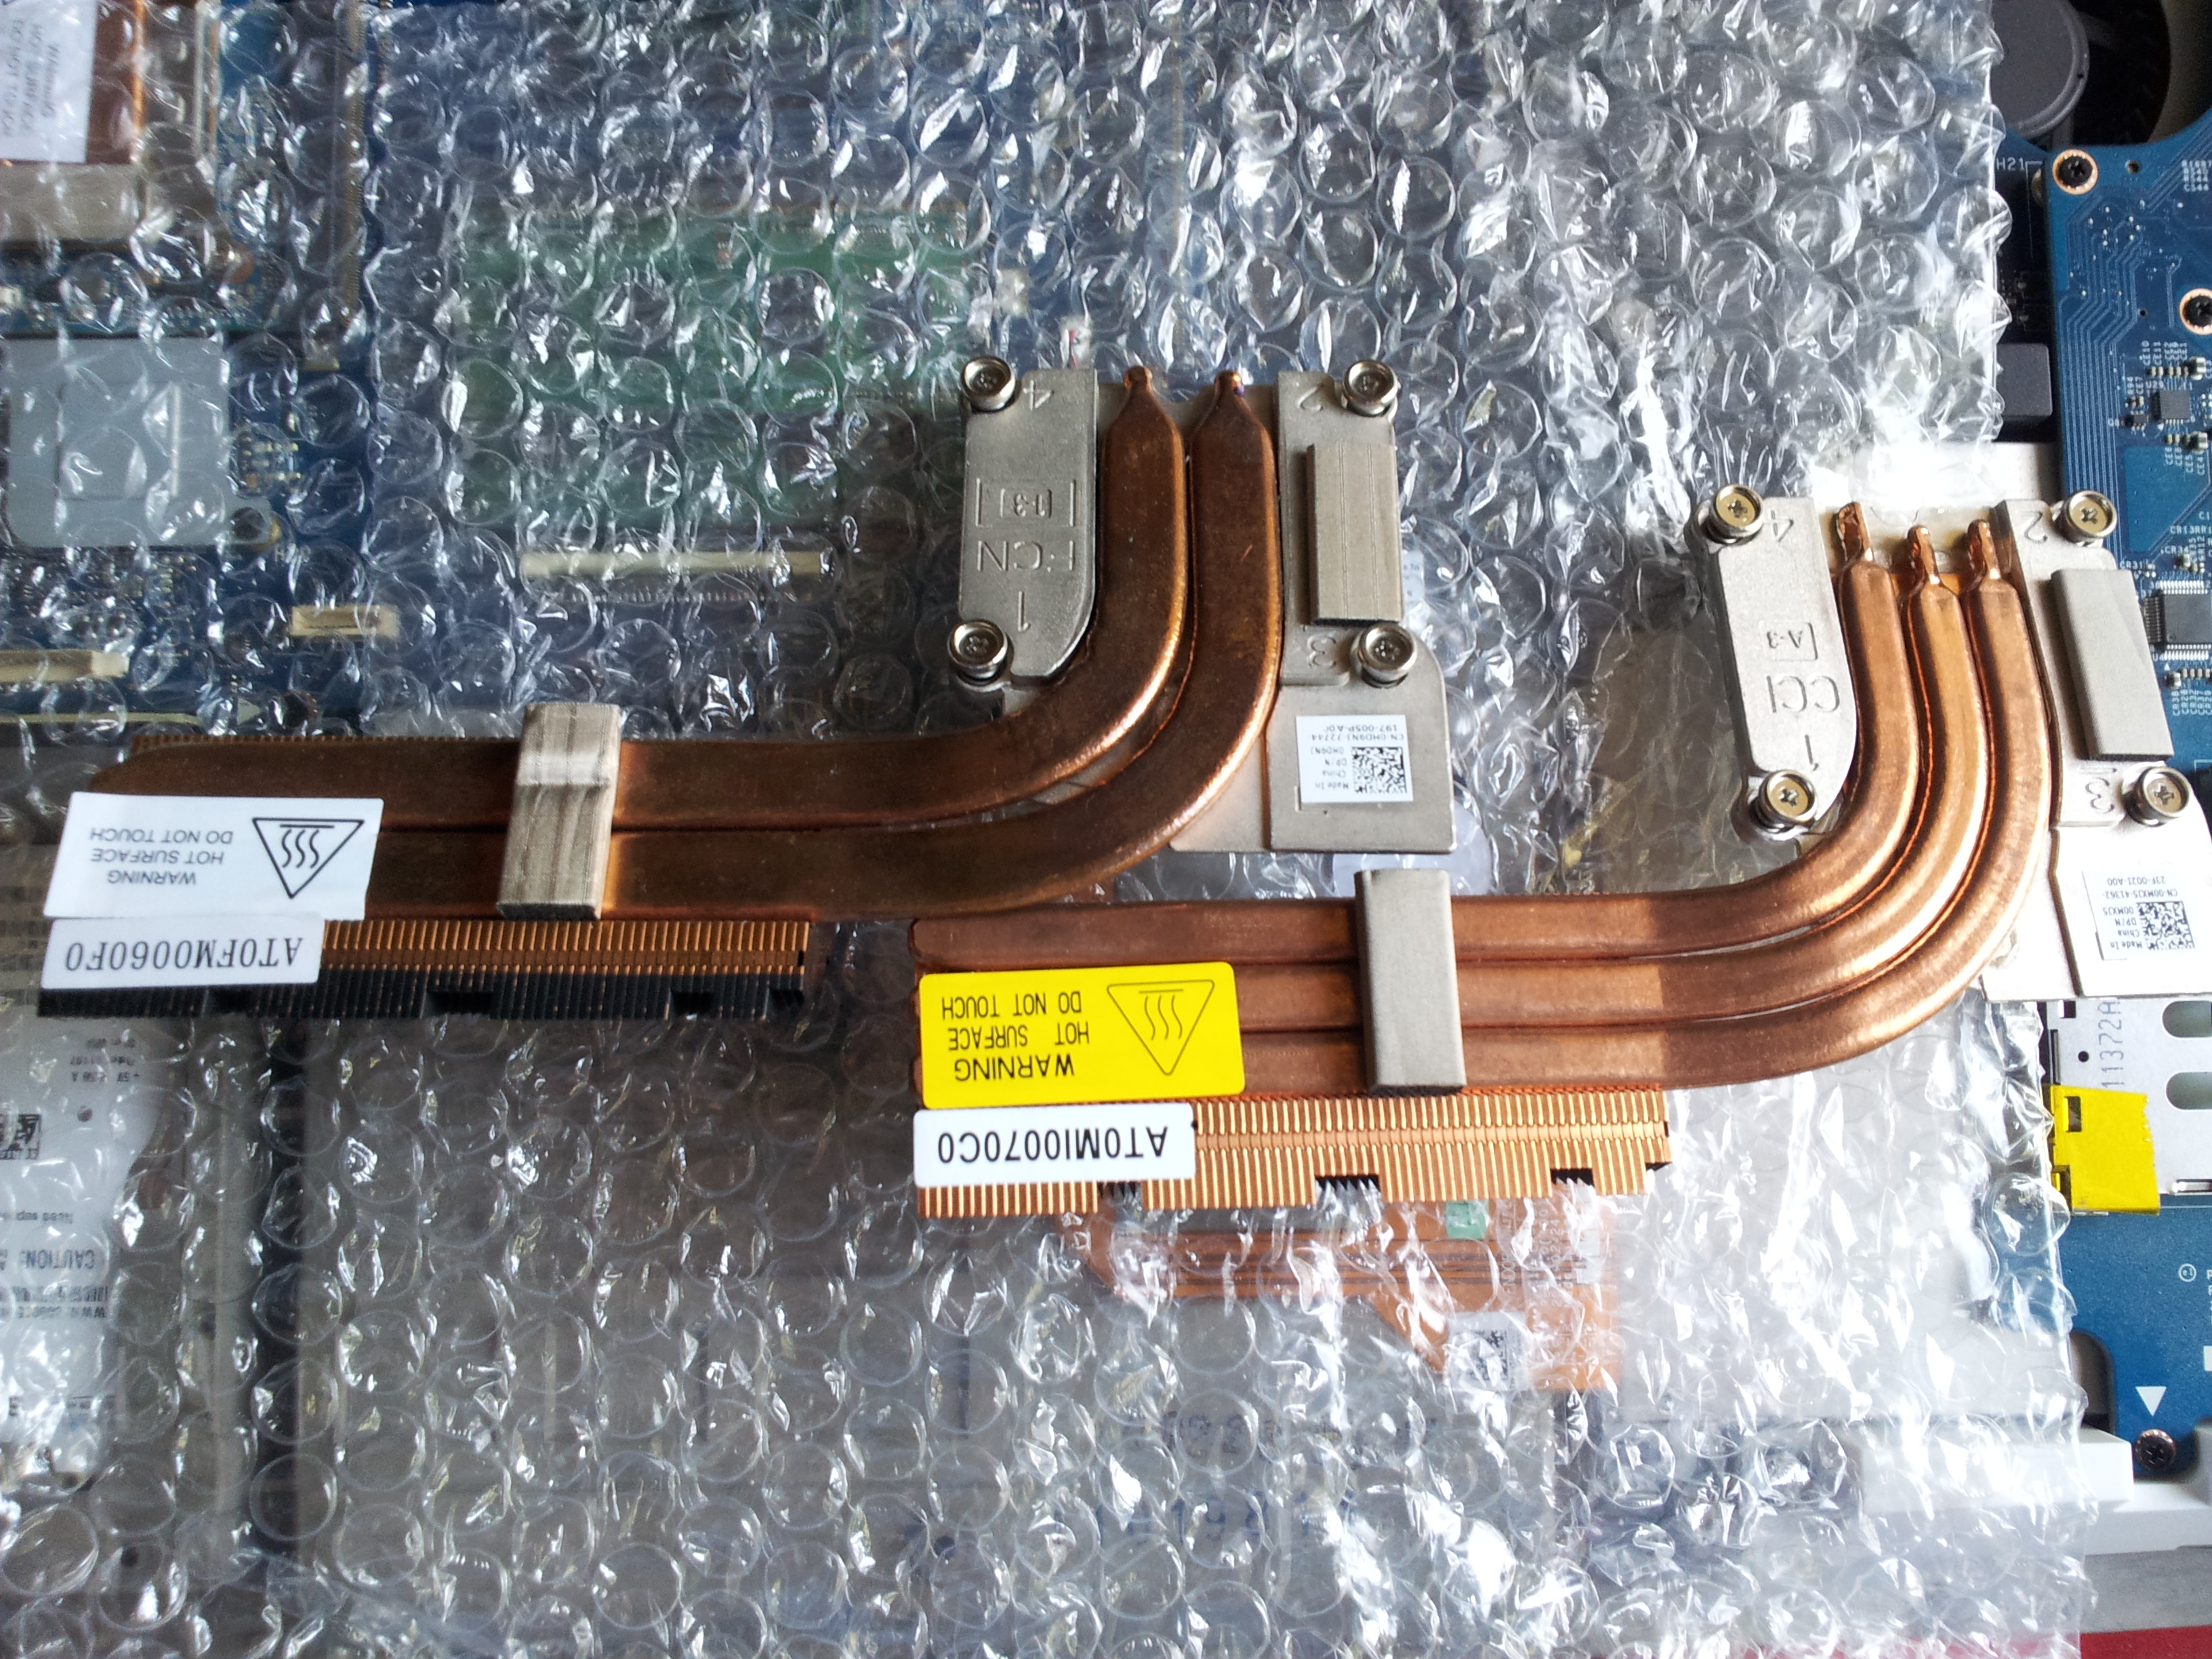
********** * This is only for systems with Intel chipsets. * * It still won't work for all of them, but for some it does. * This article is meant as an explanation for interested / advanced users. Since some of the more recent bios mods require the tool described below in order to allow flashing, I decided to share some information about it. Also I really don't like how users get locked out of their own hardware, this is a way to circumvent a couple of the more recent restrictions of certain systems. I hope this will be useful to some of you. If you know other ways to get around the current firmware updating restrictions (per software), please let me know. The problem: With the appearance of Windows 8 and Microsoft's requirement for OEMs to support 'secure boot' in order to get the Win8 certificate for their machines, a lot of the most recent systems (notebooks and desktops) use now firmware which is digitally signed. Since secure boot looses its purpose if firmware updates aren't verified and protected as well, the latest UEFI implementations come with a secure firmware upgrading procedure which makes sure that only properly signed and unmodified images can be flashed. This updating protections is active even if you don't enable secure boot. These two pictures explain the idea behind secure firmware updating very clearly: On the second picture you can see that the system verifies the firmware image even before it loads the drivers required for the flash. For bios modders or people who want to use modified firmware, the consequences of this are severe. It simply isn't possible anymore to flash digitally signed bios which have been modified, there's no way around the signature, at least not with the usual tools. The solution (at least for some systems): The only way to get around those new restrictions is to directly program the firmware flash memory and therefore leave out the verifying of the image. In Intel systems the flash chip is directly wired to the PCH, and it can be accessed by an Intel utility called Flash Programming Tool. It's a very powerful application which supports the most common flash memory chips. The requirement for it to work on a system are the following: - BIOS region of the flash memory must have write permissions - The OEM or BIOS vendor omitted to set an additional flash lock. - You can't flash an encapsulated firmware image, only the pure bios region. You will have access to the BIOS region for obvious reasons, but the second point can only be figured out by trying to flash a BIOS. If the tool comes up with an 'Error 28', download the attached 'prr' utility, as well as the DOS version of the flash tool. Put both on an USB drive which can boot DOS, boot from it and execute the prr.exe, if it manages to remove the protection on your system it will tell you 'ready to flash', in this case go ahead and directly flash with fpt, without rebooting before doing so. If prr can't remove the protection you're most likely out of luck, even though might be ways for certain systems, but the chances are pretty small. In order to flash a BIOS you will need to remove the capsule from the firmware image provided by your system manufacturer. You only want to update the bios. Then flash it by using this command: fptw64 -f FILE -bios (FILE stands for the image you want to flash) ***WARNING*** This tool is only for very advanced users. If you mess up it will override your BIOS without a warning or waiting for you to confirm. This means you can easily brick your system beyond any chance of recovery. You most likely don't need this tool. My BIOS mods which require this application for flashing will always come with a .bat file which will do the flashing for you. Again, for 99.9% of the users there's no need to mess with this. This version of the tool works only for 7 series chipsets. *InBeforeOmgMyYystemWontBootAnymore* The tool provided here by svl7 (prr2.exe and former prr.exe) may not be hosted anywhere outside of Tech|Inferno without the previous approval of the author. FPT_DOS.zip Fptw64.zip prr2.zip

 1 point
 -
. So... Dell/Alienware managed to confuse a lot of users with their latest BIOS updates from last week. Version A08 of the M14x R2 as well as the M17x R4 and also A07 of the M18x R2 made a quick appearance on the Dell support site, only to vanish again shortly after - apparently to be replaced with A09 respectively A08. To make the confusion perfect, Dellienware once more decided not to publish any change log, not even a tiny bit of useful information. (I already bothered some Dell reps with this, but no success so far... they're always telling that my emails will be forwarded to the proper people...). Anyway, even though severe, I don't want to discuss the change log problem at this place. So what's up with those new BIOS? It's hard to miss that some numbers are missing between the last bios update and the current releases. Anyone who's slightly familiar with software updates and naming will realize that this is already and indication that quite some changes have been made - obvious, right? Huge parts of the firmware got revised and new modules were added as well. To keep it short, the bios (or UEFI to be more precise) is now officially Windows 8 ready. You may have already read that Microsoft requires the OEMs to have certain functions in the UEFI available (namely Secure Boot) in order get the systems 'Windows 8 certified'. Just to quickly clarify something, you don't need a 'Windows 8 certified' machine in order to run Windows 8, neither do you require Secure Boot, but the OEMs are pretty keen on this certificate as customers seem to prefer systems with certain stickers on them. What's this Secure Boot stuff? And how does this affect me? Secure boot is a protocol, a part of the UEFI, designed to ensure that a system gets booted in a so-called trusted state. This means a state that is known to be secure, that the firmware code has not been tampered with and is a direct copy which comes from a trusted source (e.g. the manufacturer of the used UEFI variation). Secure boot handles this with a system of different functions and interfaces as well as a key system. It makes sure that all external images have to pass a predefined authentication before they get executed. It is designed to prevent attacks which target the firmware to OS handoff. What secure boot won't do is protecting the firmware from direct attacks, e.g. manipulated bios updates and similar ... and this is where we come to secure firmware updating. Some of you may have noticed or read that coming from an 'old' bios version it is no longer possible aynmore to (easily) downgrade to an earlier version once you have flashed A08/A07 or later. This is because Dellienware decided to implement a way to verify firmware updates, in the case of the Insyde UEFI it is 'secure flash'. The UEFI image, the drivers which are required at boot etc. are all digitally signed. Now if you want to update your BIOS, this is what happens (simplified): - Flash utility checks the firmware image for integrity. - If ok, the image gets sent to the system - System reboots, starts the pre-uefi environment and starts the authentication process on the file which is to be flashed - If this check passes, and only then, the software environment for the flash gets launched, firmware gets updated. I have to admit that secure boot without implementing a method for secure firmware updating makes pretty much no sense at all, so it's obvious that this would come sooner or later, especially with Microsofts requirement for the Win8 certification. The consequence of this is that the user gets locked out of his own system. A (hobbyist like me) is no longer able to tweak the firmware of his system in order to use hardware the way he wants. Same goes for benchers, power users, hardware enthusiasts etc. who like to flash a modified bios in order to get access to disabled settings or activate certain CPU extensions which the system manufacturer locked out. The digital signing which gets used in UEFI is really sophisticated, so don't even ask about creating own signatures or revers engineering it. This is the end of bios modding (and especially easy flashing) as we know it. While I have hope that it will be able to find some workarounds for the current AW systems, I have reasons to believe that it will be much more difficult to achieve this with a system which comes with the secure boot function implemented by stock. One thing is for sure, if you intend to use a modified firmware, secure boot needs to be disabled ...but it is obvious that the issue with the secure firmware update (in our case 'secure flash') persists, even with secure boot turned off (for the reasons mentioned above). I don't want to read all this / To much technical details, what are the conclusions of all this for me? Do you use / want to use a modified bios on a current AW system (M14xR2, M17x R4, M18xR2)? If no - doesn't really matter for you, just go ahead and update to the latest bios which Dell provides for your system. If yes... - If you're still on an 'old' BIOS (pre-A08/A07 when looking at the official releases) then you can for example stay there and flash forth and back between a modified and stock bios, as long as the stuff you flashes predates A08 respectively A07 (again, I'm only talking about public, official releases). If you want to update to the latest version, keep in mind that you won't be able to easily downgrade anymore once you're on one of those new bios. You won't be able to easily flash a modified version either, unless you directly flash a modified when coming from an 'old' bios. In this case the mod will flash fine, but the consequences are the same, you won't be able to downgrade anymore easily, neither will you be able to just flash a newer modified bios. And if you already flashed a unmodified new bios and want to get a modified one... shit happens. Contact me in the corresponding thread of your model and we might be able figure out something. Let me know if you have any questions, some explanations might not be sufficient if you're not a bit familiar with all this stuff.1 point
-
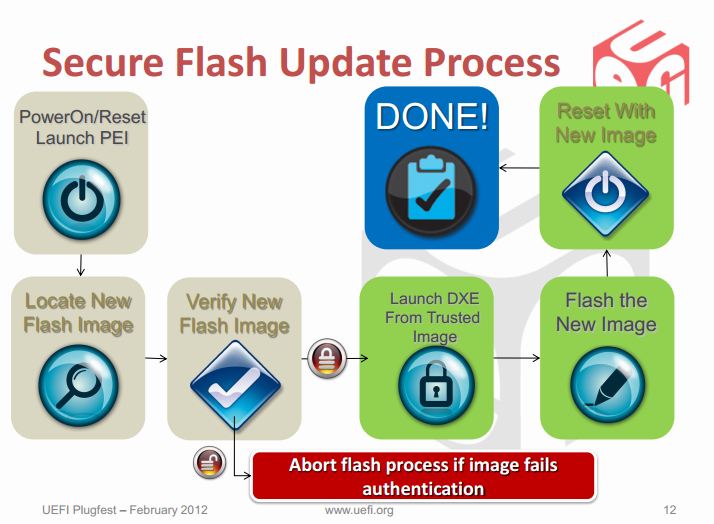
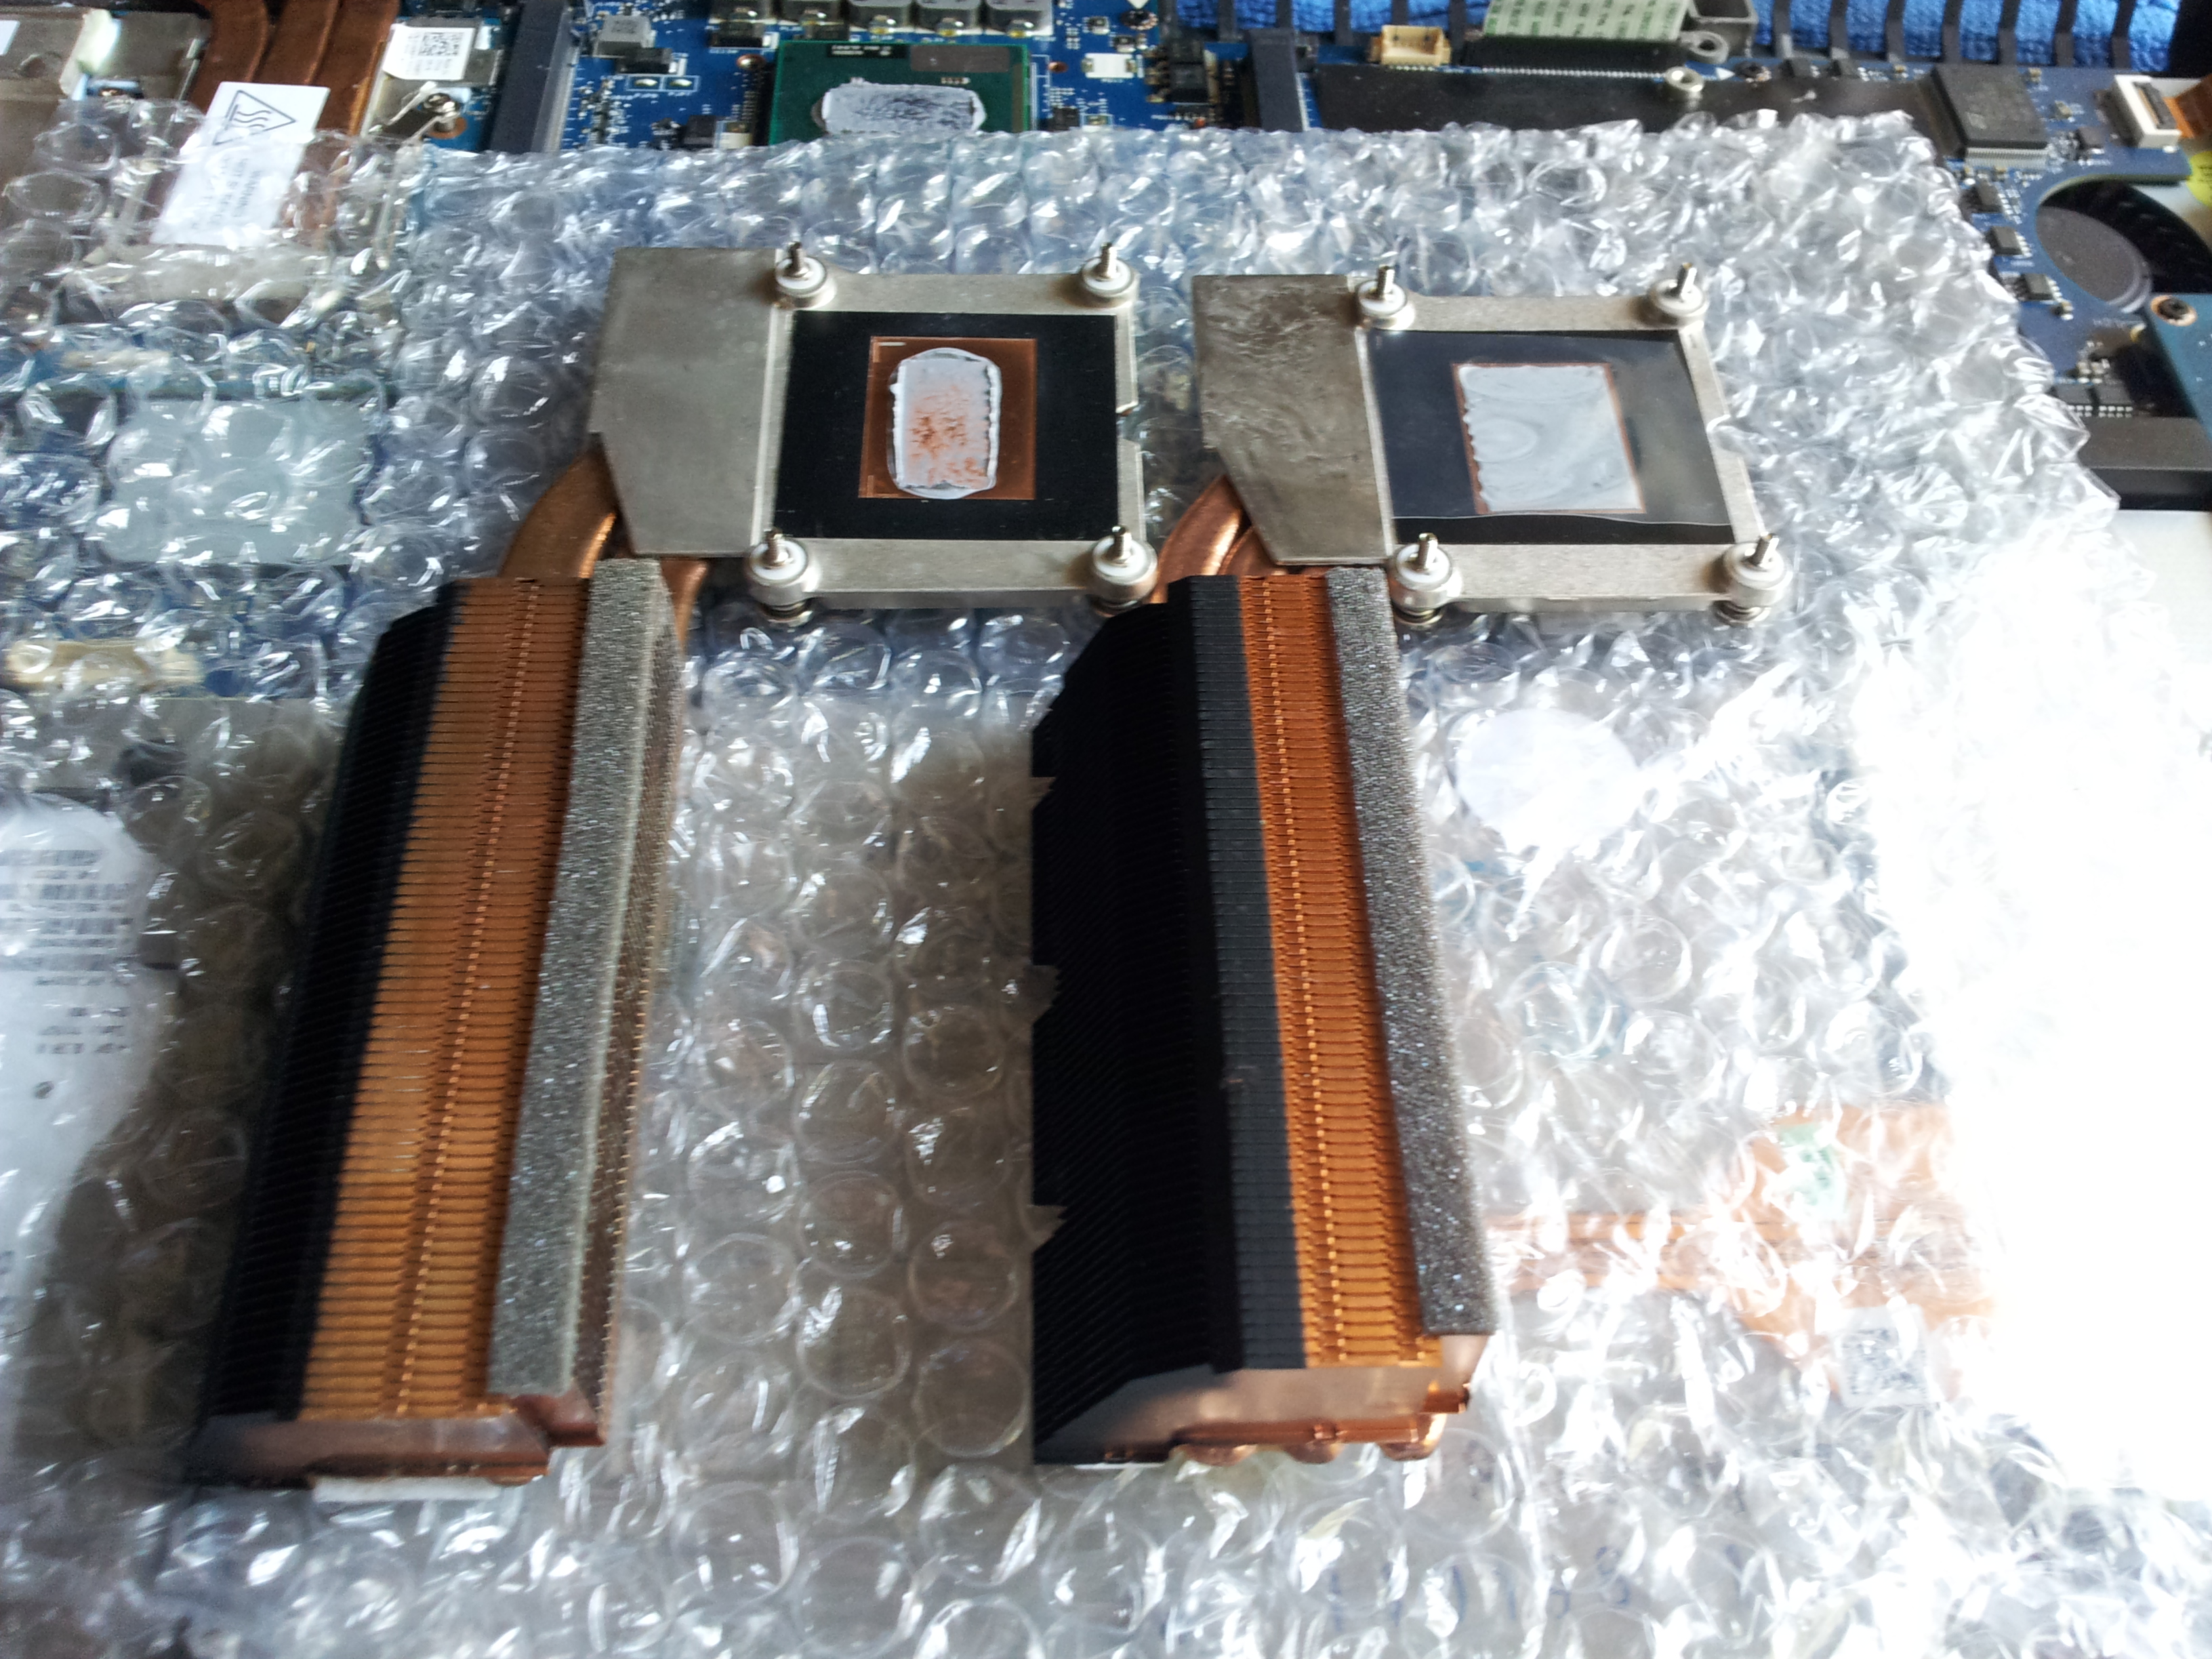
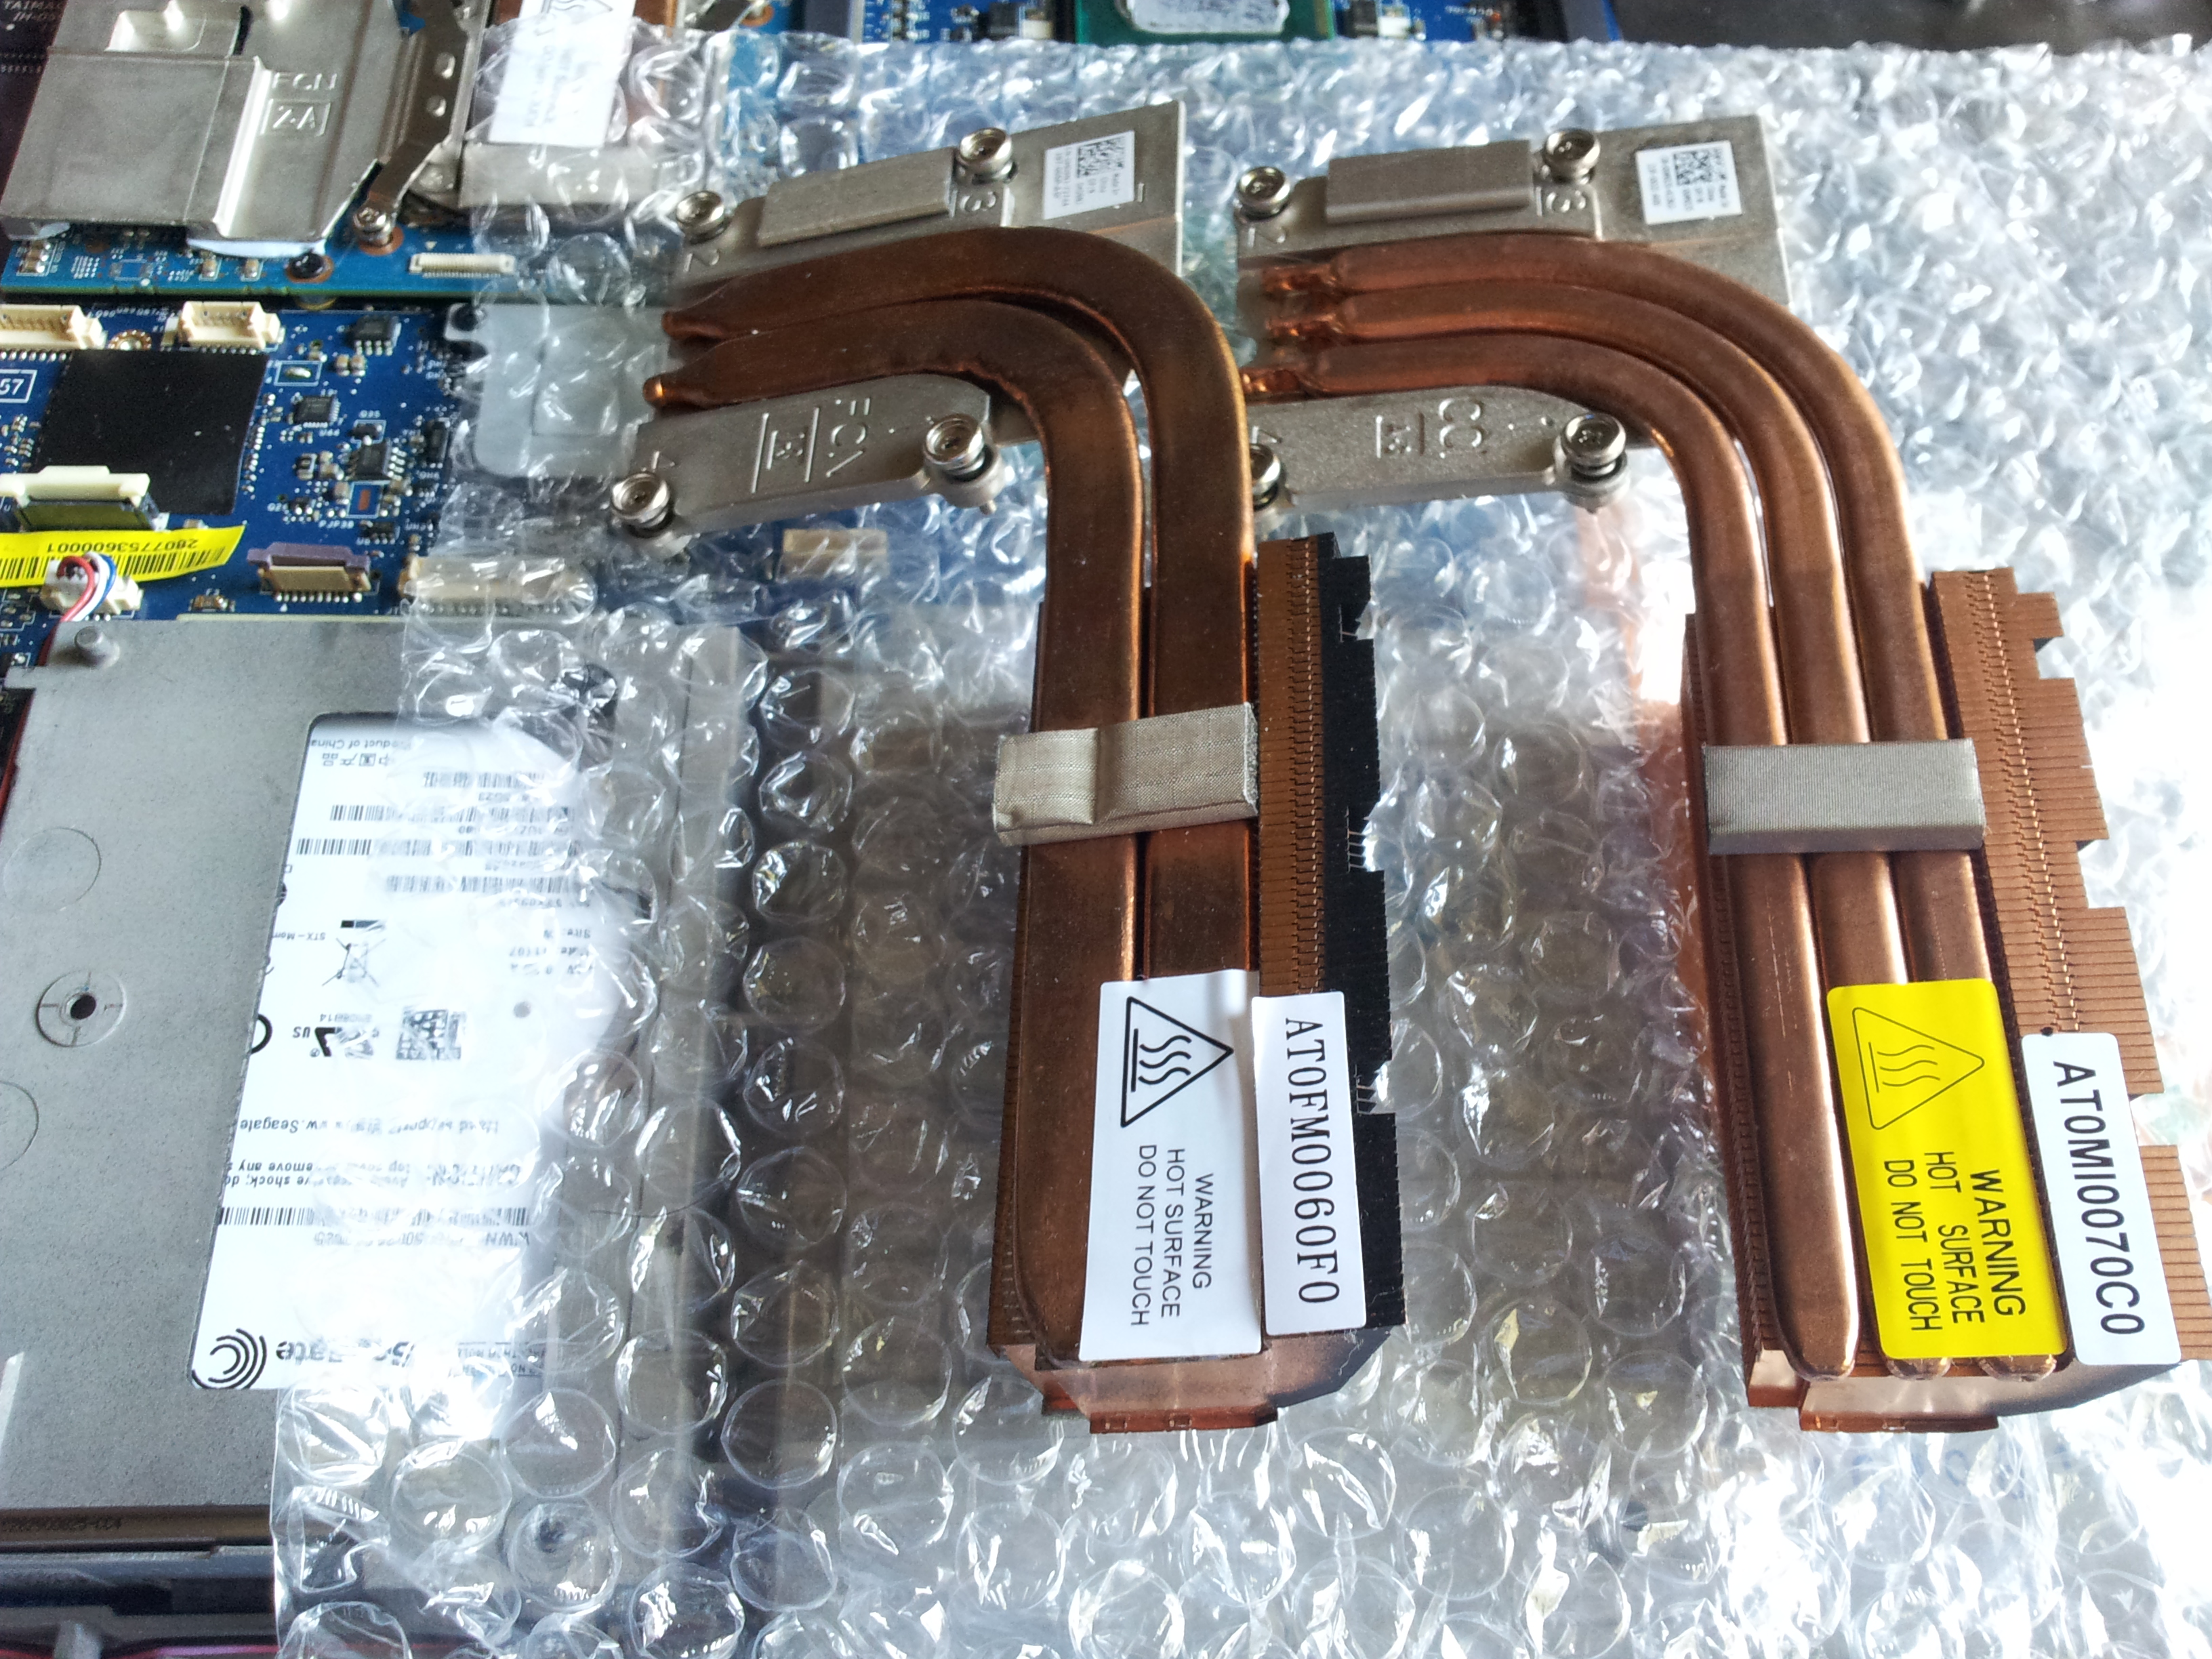
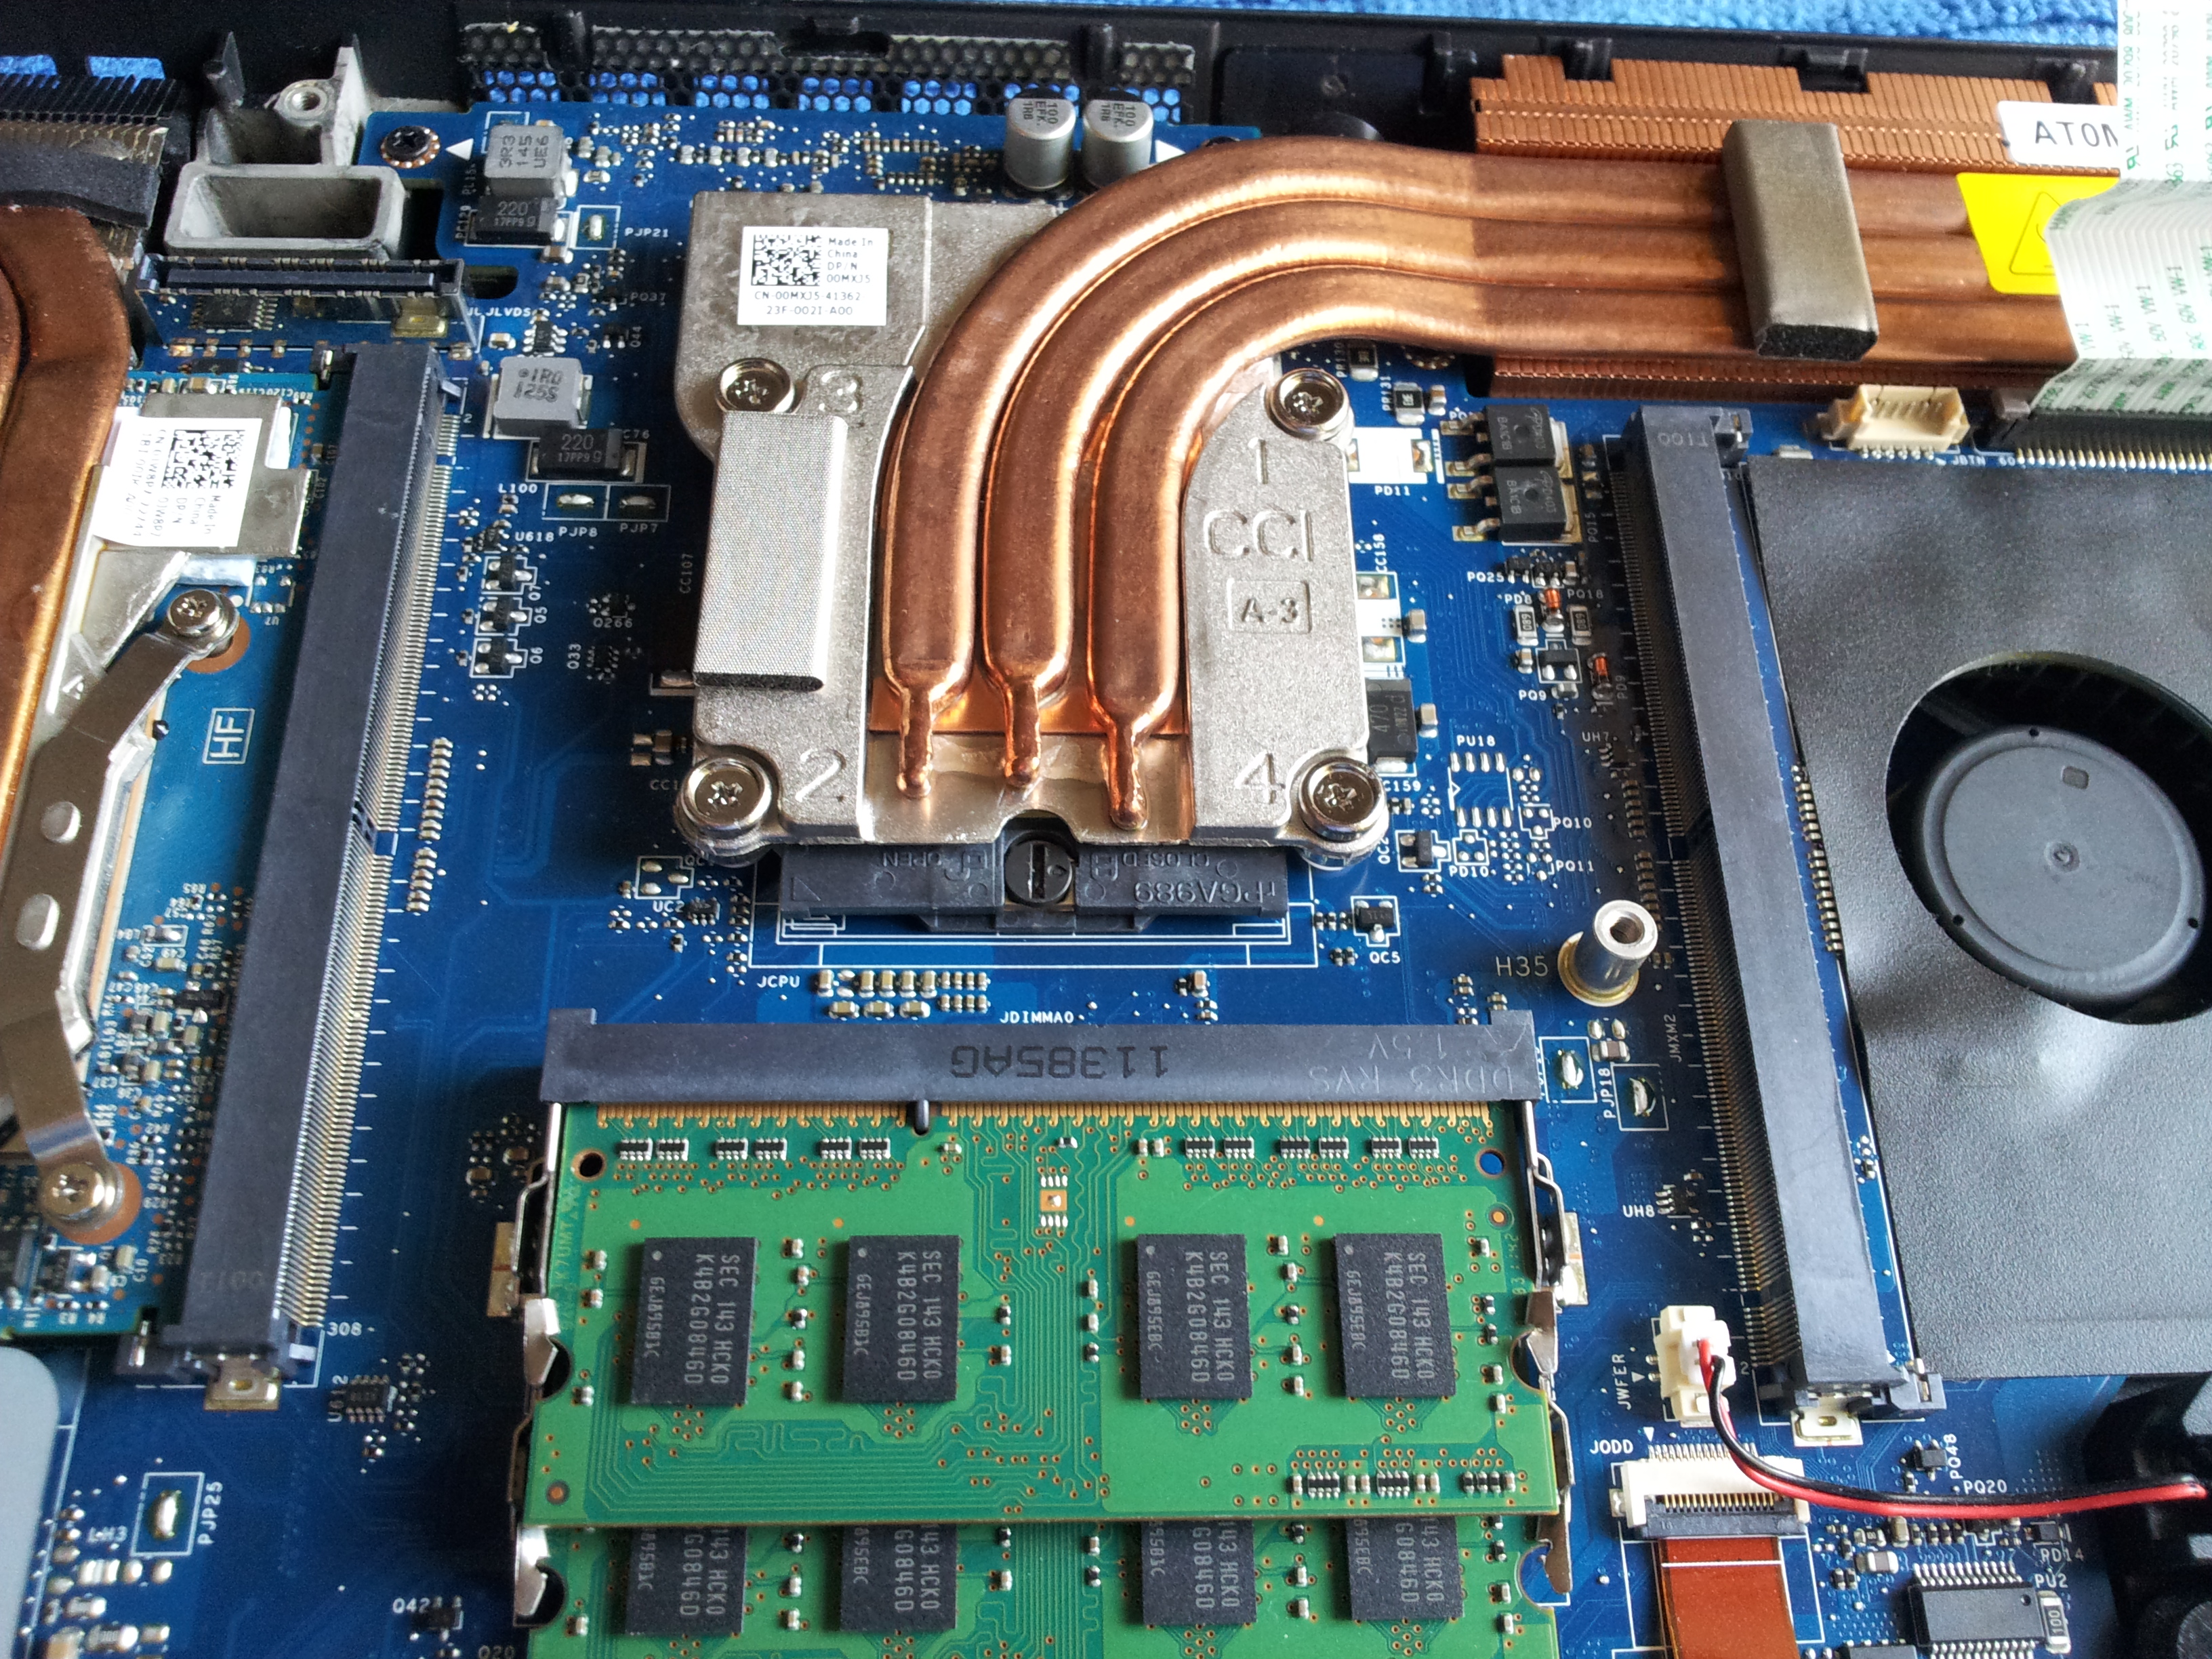
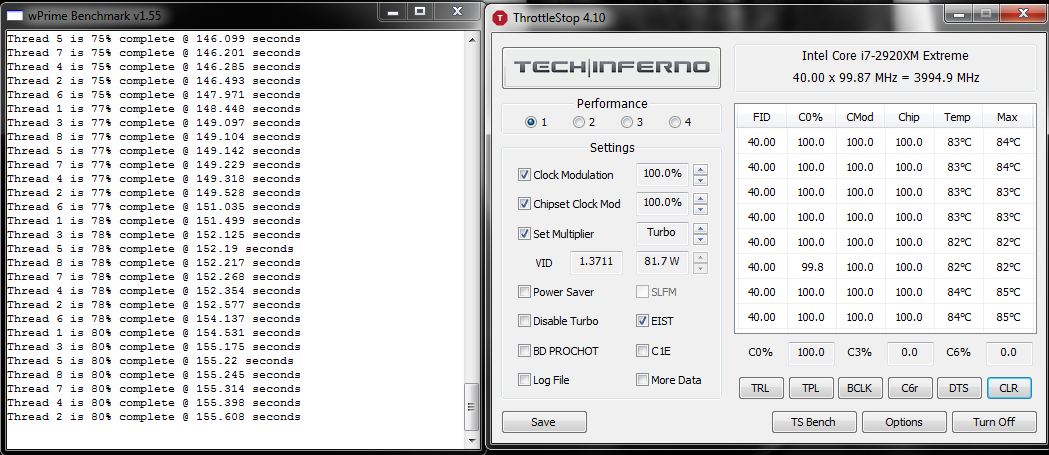
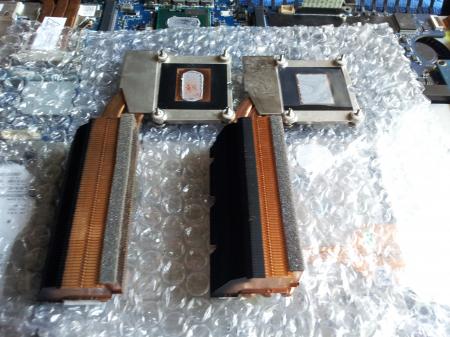
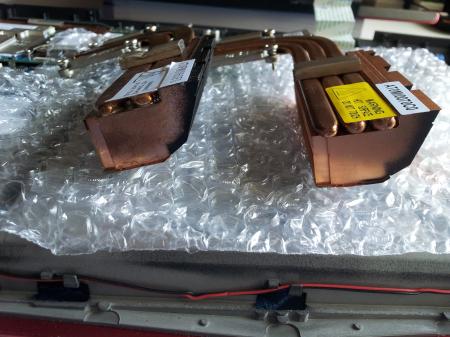
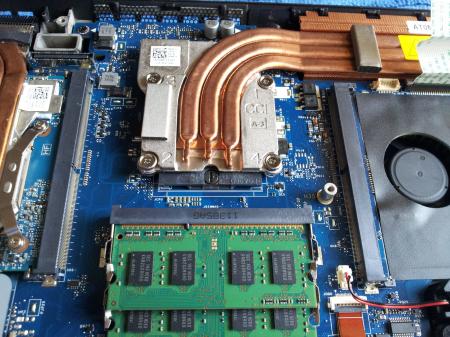
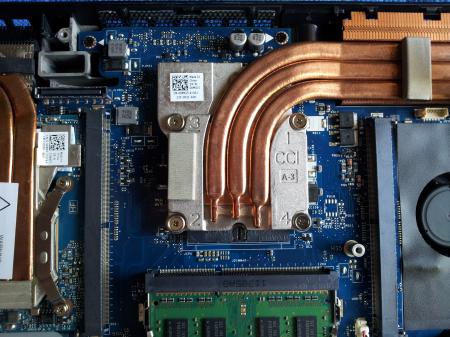
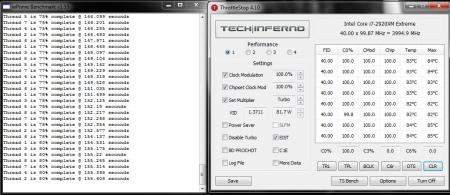
I ordered the M18x-R2 triple pipe CPU sink from Alienware last week and today it finally arrived. Since I had a new palm rest + control cover sitting around to install, I figured I'd get them all out of the way at the same time. Initially I was a bit skeptical about how it would perform vs the 2 pipe CPU sink I already had since the 2 pipe CPU sink has thicker pipes vs the 3 pipe one. However, after installing it (and sticking with the Dell thermal paste), I was simply blown away by the results! The 2 pipe CPU sink with FRESH MX-4 running at 4 GHz would often yield temperatures ranging from 92-98C and was simply not feasible for daily use in this hot Arizona weather so I had to drop my clocks to 3.8 GHz. However, with the 3 pipe CPU cooler, this has all changed and I think I can easily go above 4 GHz. The best part about this upgrade is that the CPU does not throttle to base multiplier after extended use, instead it stays at a constant 4 GHz so performance is markedly improved with sustained load times. Here's some installation photos + comparison shots of the 2 pipe vs 3 pipe: Performance and temperature at 4 GHz: M18x triple pipe cpu cooler part number: 0MXJ5, cost is around $32. Special Thanks: @Alienware-Pablo_R


 1 point
 -
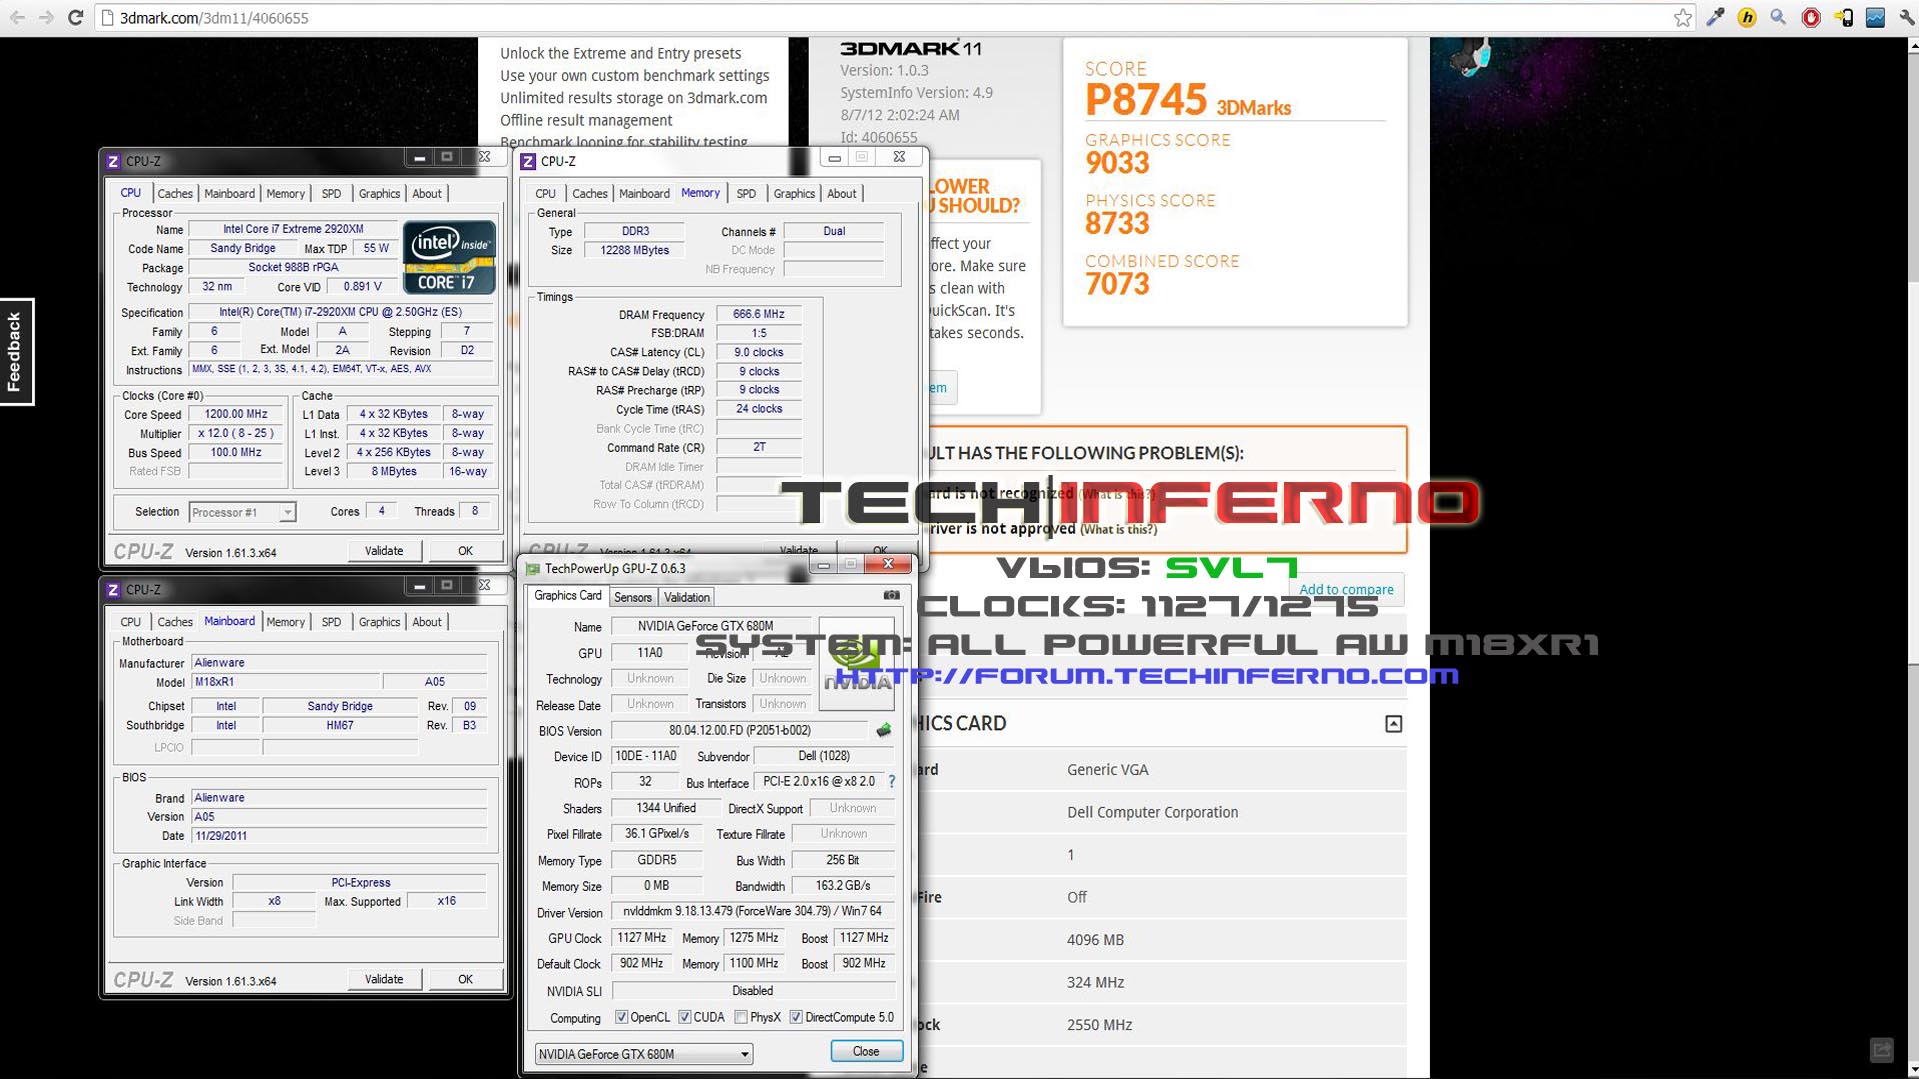
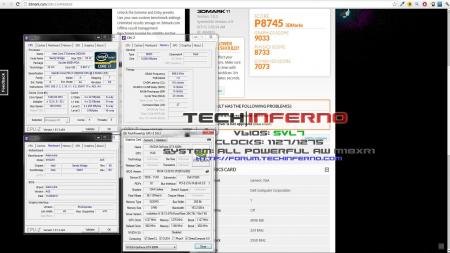
Well we've done it, the M18x-R1 just crossed the 9k GPU barrier with a SINGLE video card! Major props to @svl7 for his vbios, to nVidia for building Kepler (what an amazing GPU) and to Alienware for designing some awesome cooling, without any of the aforementioned this wouldn't be possible.
 1 point
 -
Looks like the new vbios file is a success brother Marco. NVIDIA GeForce GTX 680M video card benchmark result - Intel Core i7-2960XM Processor,Alienware M18xR1 score: P8218 3DMarks NVIDIA GeForce GTX 680M video card benchmark result - Intel Core i7-2960XM Processor,Alienware M18xR1 score: P13614 3DMarks1 point
-
Here's an update. So far so good with the new Dell 680m vbios. No throttling. My 8000k GPU runs in the low 70's @svl7 Sorry for the late donation, I have been busy studying for my finals. Don't get too drunk now1 point
-
I've had a chance to test MeSet.EXE today, with good results. Ok so here is what I have just done: I first put fpt.exe onto a bootable usb drive, and I tried to run the command "fpt -d dump". I got the standard error message "The host CPU does not have read access to the target flash area. To enable read access for this operation you must modify the descriptor settings to give host access to this region.". Then I ran MeSet.EXE, the notebook turned off and then back on and started beeping (it was still usable). So I tried the same command "fpt -d dump". This time it worked. I will attach the dump to this post.DUMP.zip Now I just have to read back through the thread and see what I can do, it's really good to know that I don't need a hardware mod or a key combo, all I need is MEset.exe. ______________________________________________________________________ Update time. I have modded my bios image following the guide in the OP, it's attached hereflashnow.zip. Then I restarted my notebook, ran meset.exe in dos, restarted again, ran the following command in dos "fpt -me -f flashnow.bin". I took a photo of the result. But I have no change in intel XTU, no bclk overclock, nothing new at all.1 point
-
Quantity Item Number Description 1 000DICE Box containing 10kg of dry ice, cut in 10x15x5cm blocks Should help those high CPU temps you get at 5GHz :D1 point