Leaderboard


Popular Content
Showing content with the highest reputation on 03/17/16 in all areas
-
My eGPU requirements are solely for daVinci Resolve on OS X to boost render times and size of files that can be rendered without the dreaded GPU Is Full message. No gaming, no monitor. Can’t get any simpler. The eGPU is to run on either a MacBook Pro Retina, 15in Mid 2015, AMD Radeon R9 M370X, and a iMac 27in Late 2013, Nvidia GeForce GTX 780M. Parts EVGA GTX 980 Ti Hybrid - Wanted a quite card and the Hybrid is spec’ed a little higher than a standard GTX Ti. Highpoint RocketStor 6361A - have had some success with Highpoint in the past and liked the neat power hook up via molex connection. Price was the same for me as the AiKiTo. And the finished results with the parts supplied looks very neat. Silverstone SFX-L 80+ Gold 500W Modular Power Supply - got it because I new it would fit and the modular cables keep the case neat. Silverstone Milo ML08-H - looks like its about the smallest case to fit a 10.5” card, ridiculously oversized cooling system, PCIe card and power supply. Comes with handle for and extra $10. The handle is not very comfortable. Not carrying to work on the bus any time soon. Build (in pictures)........ First up are some images of the Highpoint card with visual measurements. I had to make some educated guesses about dimensions and only just got it right. Hope these help. Test build and connected to the MBP. Downloaded the latest CUDA drivers for the laptop and ran goalque’s installation script https://www.techinferno.com/index.php?/forums/topic/7989-script-automating-the-installation-of-egpu-on-os-x-inc-display-output/. Rebooted the laptop and there was the 980 ti in the OS X systems report. Ran Resolve and it recognised the card and rendered at approx 3 times the speed of the non eGPU render. Sweet! Initial test fit. Tried to work out the best place to feed hoses through the space that is usually occupied by the motherboard. Little guy is Danbot. He pops up occasionally to give you a size reference. Stripped down Highpoint with modular molex connected. PCIe riser from Silverstone case and BONUS thunderbolt end plate from Highpoint. Riser attached to card. Note pen marks for cut out. And the flip side with riser poking through. Test fit of Highpoint. Pop rivet near the Made in China prevented me from test fitting it fully. Also, I removed the USB, audio and switch loom from the bottom centre of case. They were never going to be needed! Case cutting. Weapon of choice. You can see I wrapped the whole thing in plastic to try and contain the spread of metal filings. Waste of time - they go everywhere! Blew it all out with an air compressor. Okay now that pop rivet is gone - final test fit prior to case cut part 2. Note the markings for the Thunderbolt cut out. Do not do this! You will see why at the end. Case cut, and bracket for the cooling fitted. It was just 2 bits of aluminium bent at 90 degrees and pop riveted to the case. Sounds simple enough but took a while to get the 105mm x 105mm hole pattern all lined up for the fan. Aluminium is quite flexible. Splashed a bit of matte black paint on to stop the rust. My version of the paperclip trick. Soldered and heat shinked a couple of female pins I had lying around. Power supply in Highpoint card in. Nice fit. Everything lines up. With Highpoint card in place there is a roughly 12mm gap between the card and case. If I was not going to be moving the case around I would have let it float but as it might take some knocks I wanted to screw it to the case. So found some card risers (think that’s what they are called) and screwed them into two holes I drilled into the case. Now I know the gap - some precision engineering. And fitted to the Highpoint first, then screw to the case. Card in. Note the 4 pins for power. They just stuck out a little too much for me to leave alone. So I cut the hole in the case to make some room and (maybe) help with airflow to keep the card cool as it has no direct fans. Top view. Everything lines up. Card in. You can’t see it easily but I decided to secure the riser to the GPU with a bit of wire and a cable tie because every time I removed the card the riser was left in the Highpoint, which then had to be removed to take out the Highpoint . And they all came in and out a lot. The first casualty. Stupid fabric hose. Hooked it on the case in one of the early fits and they NEVER slide back down again - only up. The fraying is from my many attempts to push it back down. The radiator fan. Flipped. Took me a while to work this out. You want cool air sucking in to the case through the filtered side panel, and no matter how I tried, there was just not enough length on the hoses to fit the radiator with the fan on the filter side. Also with the radiator in the middle of the case the hose bends were too tight. Solution, take the fan off and put it on the other side of the radiator so it sucks air through instead of blowing it, as is the EVGA default set up. Protection for the hoses as they are hard against the metal edge. Its filed smooth but just to be safe. Used some 15mm irrigation hose slit down the middle and cable ties. Everything in. Cable tied the hoses to the case to clear the fan. I’ll never need to open this case again. Yeh, right! Finished. Well kind of. Just took this picture. What you don’t see are any pictures of the complete strip strip down when I discovered that my really neat cut out for the Thunderbolt connections prevented them seating properly (by the thickness of the case). Obvious in hindsight. Also, as I had it apart, I decided to put the LED’s back in and power them off the PSU in series with a 560 Ohm resistor. 1/. they look cool and 2/. they let me know that I have left it on. Again in hindsight, I should have powered 1 off the Highpoint fan so I would know when the card itself was on. Left the case open where the motherboard sits to let as much air out as possible. And the revised Thunderbolt opening Benchmarks. I don’t think that they are that different to what others are reporting. I have 3 computers that I have access to. iMac Late 2013 27" GTX 780M (4 G RAM) MacBook Pro Mid 2015 R9 M370X (2 G RAM) iMac Late 2012 27" GTX 680MX (2 G RAM) Octane Benchmark Trench (Standard System) faster is better. MBP N/A (no CUDA), iMac 2012 3'48", iMac 2014 4'25" Octane Benchmark Trench (eGPU Headless) The results are the same with a monitor attached. MBP 1'13", iMac 2012 56", iMac 2013 57" Heaven (Standard System/eGPU Headless) Score/FPS MBP 311/12.3, iMac 2012 555/22, iMac 2013 540/21.4 Heaven (eGPU) Score/FPS MBP 1770/70.3, iMac 2012 1413/56, iMac 2013 1638/65 FurMark 2560x1140 (Standard System/eGPU Headless) Score/FPS MBP 1536/25, iMac 2012 1798/29, iMac 2013 1579/16 FurMark 2560x1140 (eGPU) Score/FPS MBP 6841/114, iMac 2012 3647/60, iMac 2013 6521/108 Resolve 12.3 (Standard System) FPS* MBP 2.57, iMac 2012 5.04, iMac 2013 5.63 Resolve 12.3 (eGPU Headless) FPS MBP 8.01, iMac 2012 6.12, iMac 2013 6.06 *Rendering 4992x2496 cineform to 4992x2496 ProRes 4:2:2HQ (7Nodes, 3 Keys with Blur and 3 windows with Blurs). The iMacs are Thunderbolt 1 and the MBP is Thunderbolt 2 so that probably goes some way to explaining the difference in the results. Its taken a bit of research and some advice from Blackmagic to come to the conclusion that the lower CUDA results on the iMacs on Resolve, are a result of lower bandwidth and not a conflict with the internal NVIDIA GPU’s. Note that the Octane benchmark is faster on the iMac. Is it leveraging both the internal GPU and the eGPU? Thanks to all that have posted before me and special thanks goalque. That script makes this whole process very simple.2 points
-
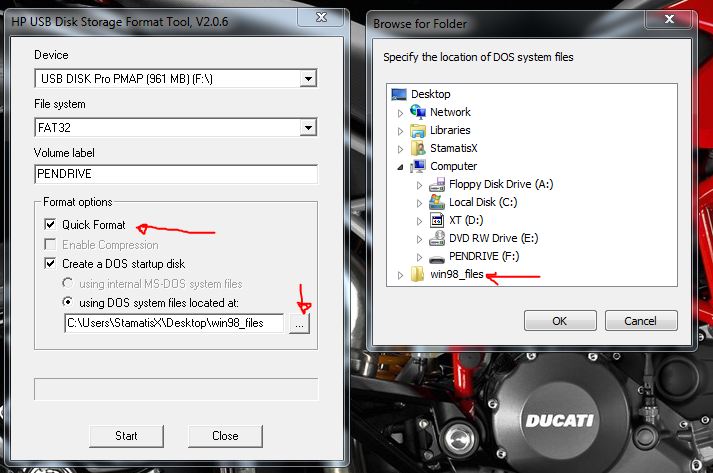
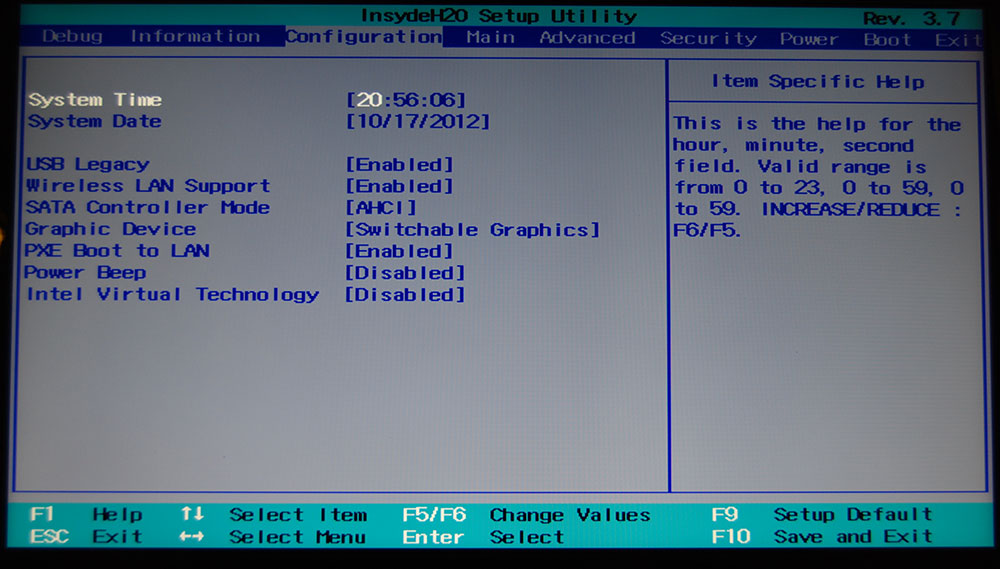
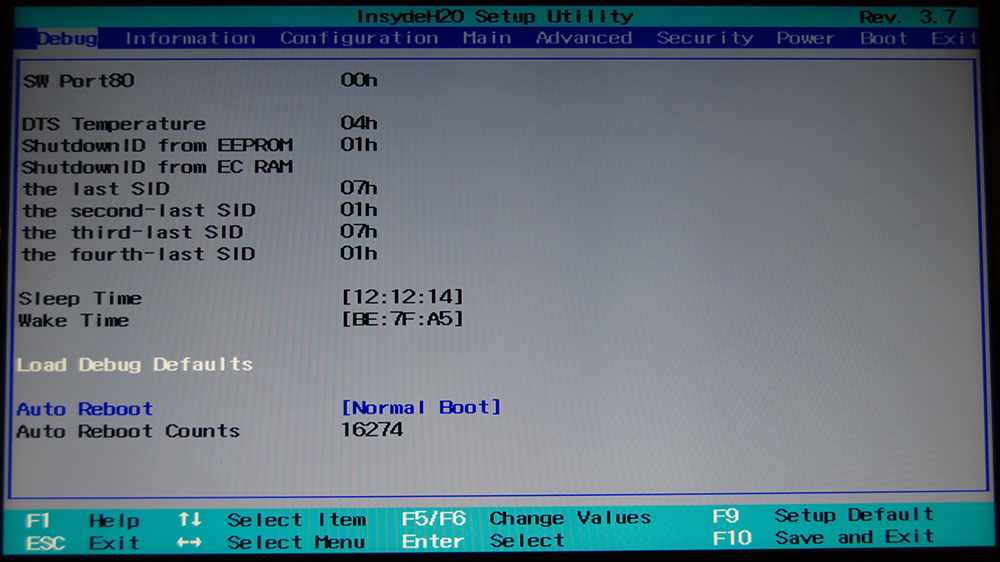
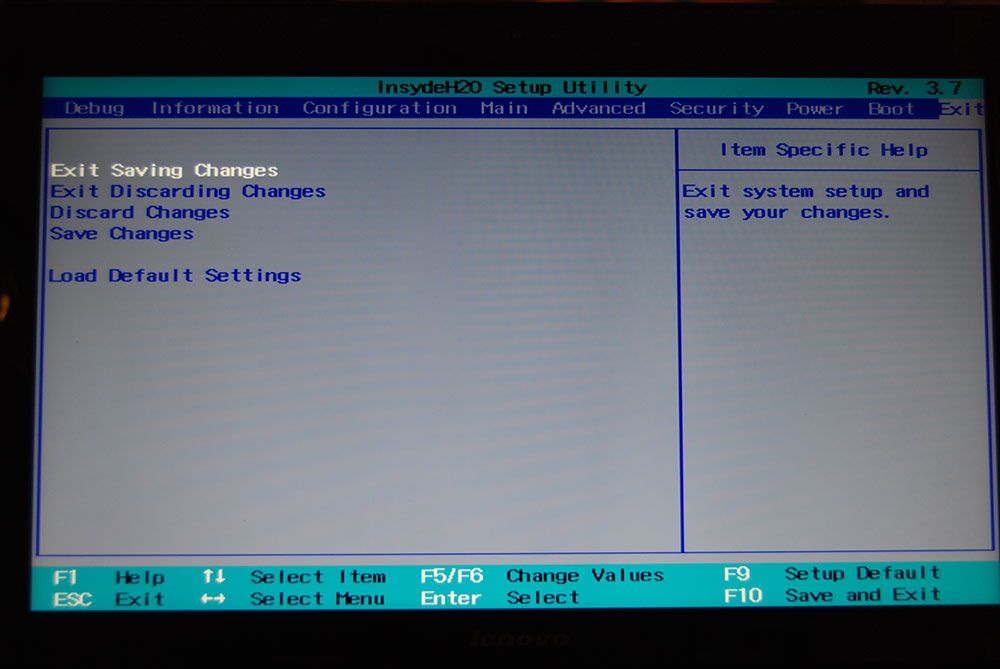
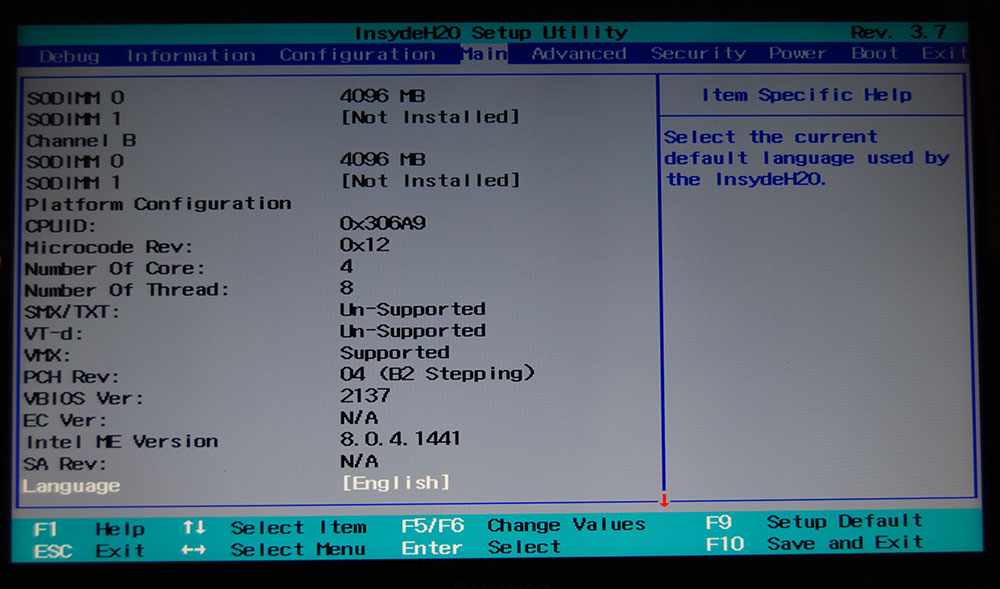
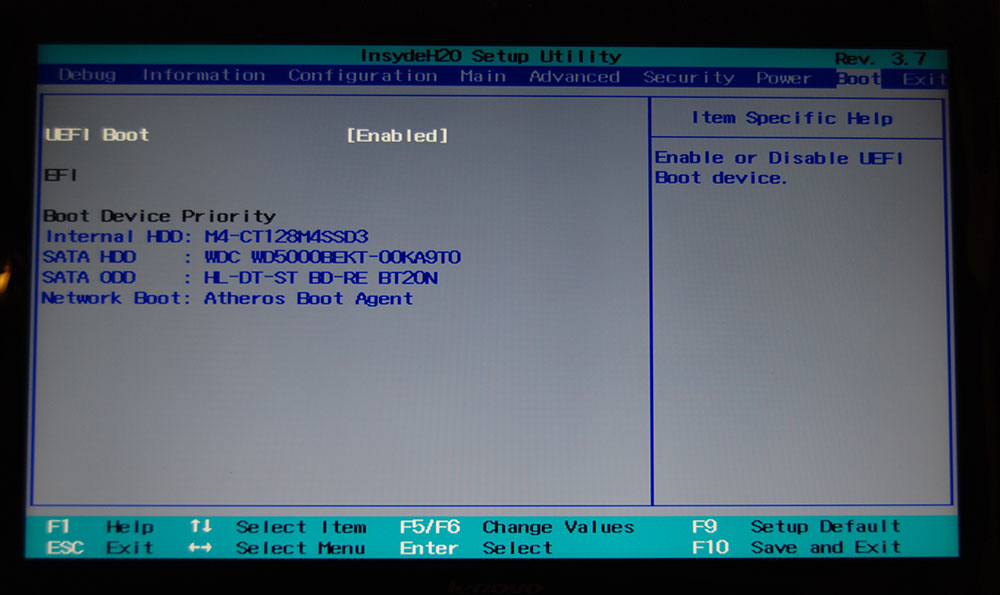
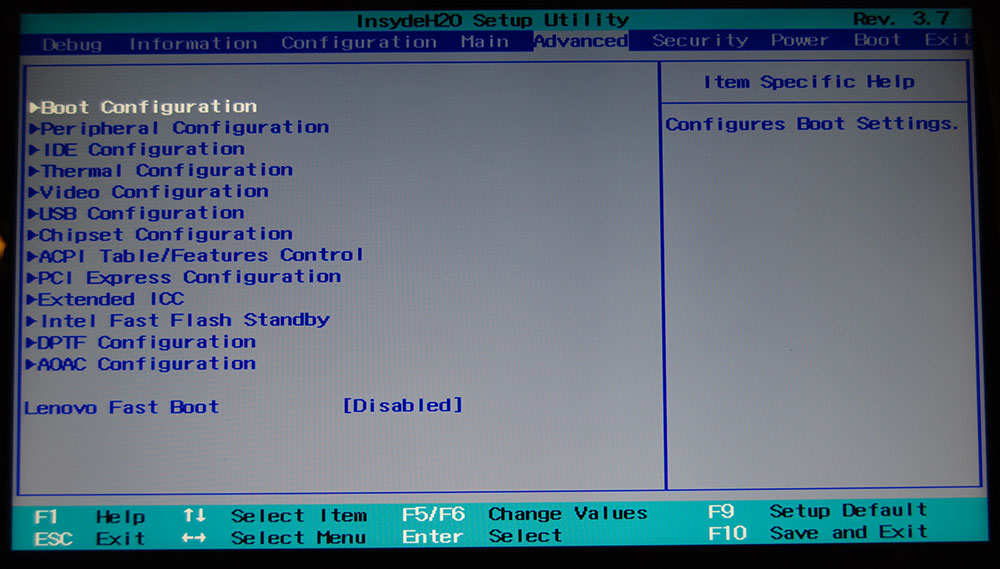
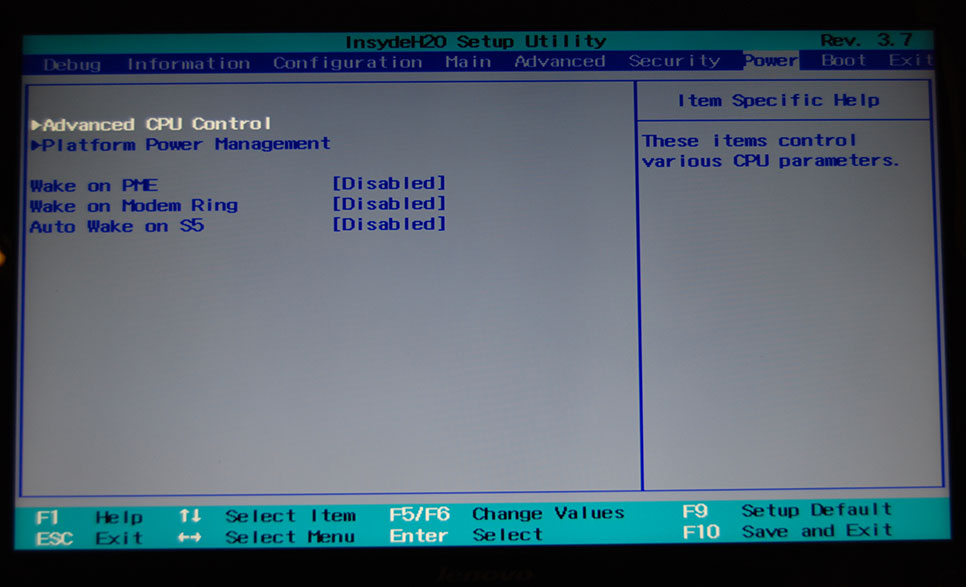
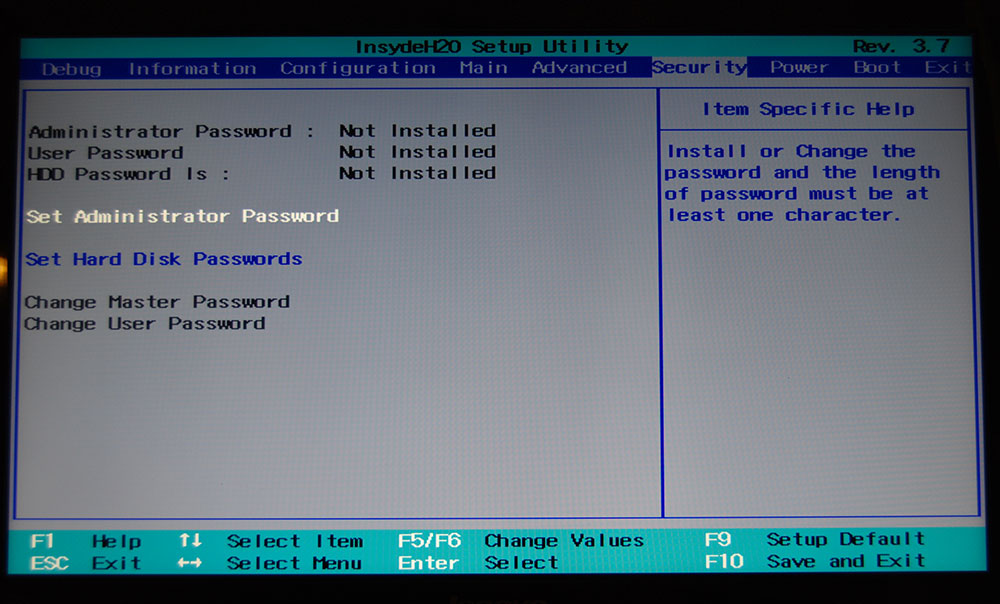
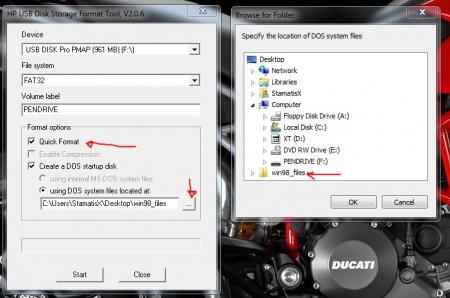
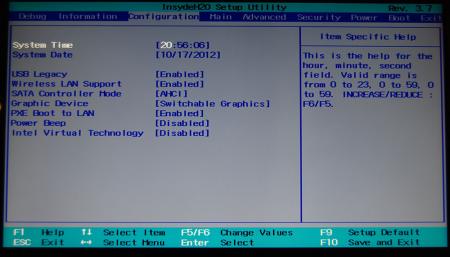
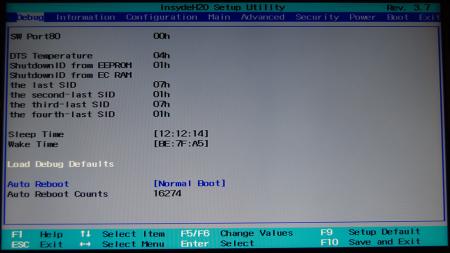
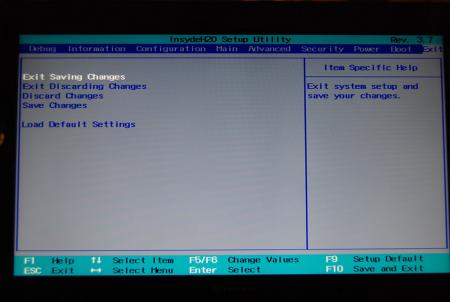
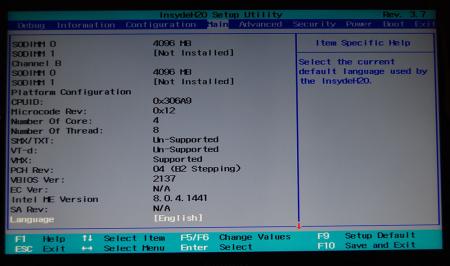
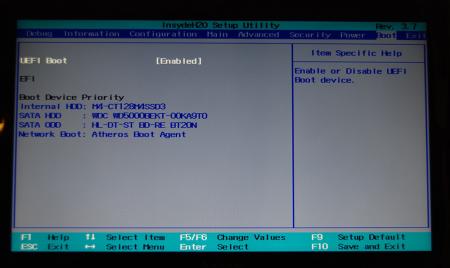
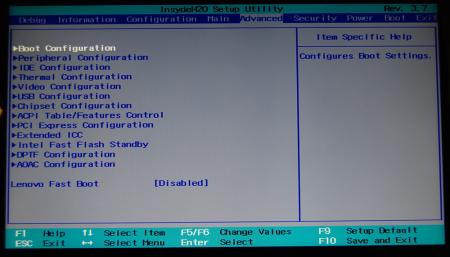
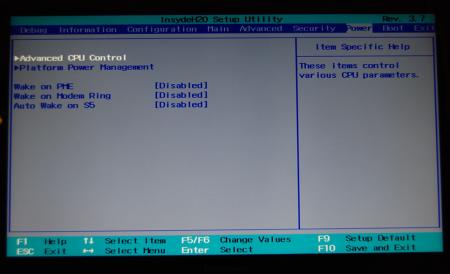
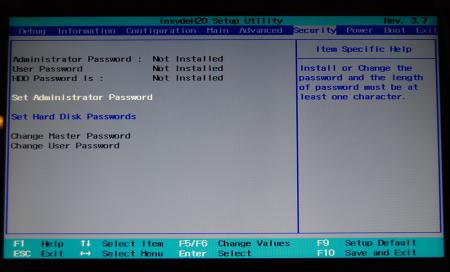
Lenovo Y500 - 'unlocked' BIOS / wwan-wlan whitelist removal The Lenovo Y580 / Y480 comes with a pretty locked down BIOS, and in addition to this with a whitelist which prevents the user from getting 3rd-party wwan/wlan cards to work properly. The modified BIOS versions here will take care of this. Keep in mind that not necessarily all options available in the modified bios will work. Some might not do anything at all, others could possibly leave your system in a state which will prevent it from booting. Use care when changing stuff in the modified bios, don't touch things you're not familiar with. Use all the mods and software posted here on your own risk. NOTE: This will only flash the bios region. It won't reset the nvars set in the bios. While it is technically possible to update from v2.0x to v8.01 by using the method described below, I can't really recommend it since the EC of your system won't get updated. While it might work (possibly even without any issues) I can't recommend it. Therefore if you're on v2.0x and want to update, the better option is to wait until Lenovo provides an official 8.xx firmware update with EC and BIOS. You can then still flash the modified version as described below, once you're on a proper v8.xx firmware. Attached you'll find a modified version of the Y580 / Y480 BIOS v8.01 (5DCN90WW). ----------------------------------------- >> For users with a v2.0x BIOS: << Download links Old version: Current 2.0x version: Lenovo Y580 / Y480 BIOS v2.07 (5DCN40WW) -> unlocked, whitelist removed, Nvidia 660m @ 1GHz default 3d clocks Flash with the included InsydeFlash utility. ----------------------------------------- >> Instructions for v8.0x BIOS users: << The attached BIOS ("Lenovo Y580 - Y480 BIOS v8.01 (5DCN90WW) - Mod") is unlocked, whitelist stuff removed and the 660m is tweaked to 1GHz default 3d core clock. The only way I know of which allows you to flash the modified BIOS for v8.01 users does unfortunately also describe certain information which you don't want to loose (serials, Windows licencse etc.). Don't worry, I got it all sorted out, but due to this the flashing procedure is a bit more complicated than usual. Make sure you follow the instructions carefully. Download the flash tool, for flashing you'll need the DOS version, but for creating the backup of your current BIOS the Win64 version will do as well, and it is faster. Get the prr tool as well. Grab the modified BIOS you want to flash and the Y580-Y480_BiosFix tool. Create a backup of your current BIOS using the flash tool you downloaded (first step) by runing the included backup.bat, or by using the Win or Dos version flash tool with this command: -d BackupBiosY500.bin -bios If you get and 'Error 104', grab 'Error 104' fix and replace the original fparts file with it. . Make sure you have the modified bios which you want to flash, the bios backup you just created and the "Y580-Y480_BiosFix" tool in the same folder. Run the Y580-Y480_BiosFix tool, follow the instructions on the screen. Enter the name of the files correctly, else you'll get an error. It will create a new file for you and will be named after the modified bios file you specified, with 'Fix' appended to it. Here's a screenshot of the tool in use (Y580 version looks the same). In the case shown here it will create a file called "modifiedBiosFix.bin" which you can find in the folder where you run the tool. Use that one for flashing. Put the fixed BIOS, the prr.exe tool and the fpt.exe (along with the fparts.txt file) on the root of your prepared DOS bootable USB drive, restart your system and boot from that drive. Execut the prr.exe, if you don't get an error message continue by pressing enter. Then flash the bios by using this command (filename.bin obviously needs to be replaced with the name of the file you want to flash). If you can't remember the name of your file, use the command dir to display all the files on your drive. Flash with this: fpt.exe -f filename.bin -bios NOTE: The name of the BIOS file mustn't exceed eight characters (not counting the extension)! That's a DOS limit, so make sure the name of your file isn't too long. Wait until the process is done. After flashing it will verify the data, in case there's something wrong with the flashed data it will tell you. In that case don't reboot, just flash again. It might look a bit complicated at first, but that's the easiest way I could think of. Let me know if anything is unclear. The attached v8.0x modified versions include: - unlocked menus - whitelist removed (wwan / wlan) - Nvidia 660m 'GHz edition' - 1000MHz default 3d clocks >> Here's the 'buy me a beer' link in case you like this. Modding makes me thirsty << Use at your own risk, you are responsible for your system and the changes you make on it. My programs come with absolutely no warranty to the extend permitted by applicable law. Thanks @X0pas1 for testing, and for some pics - see below: I'd appreciate it if someone could also post some pictures of the more interesting sub-menus, e.g. advanced CPU control, video settings and similar. UPDATE 1/17/16 DOWNLOAD LINK FOR FILES REFERENCED IN THIS POST:
 1 point
 -
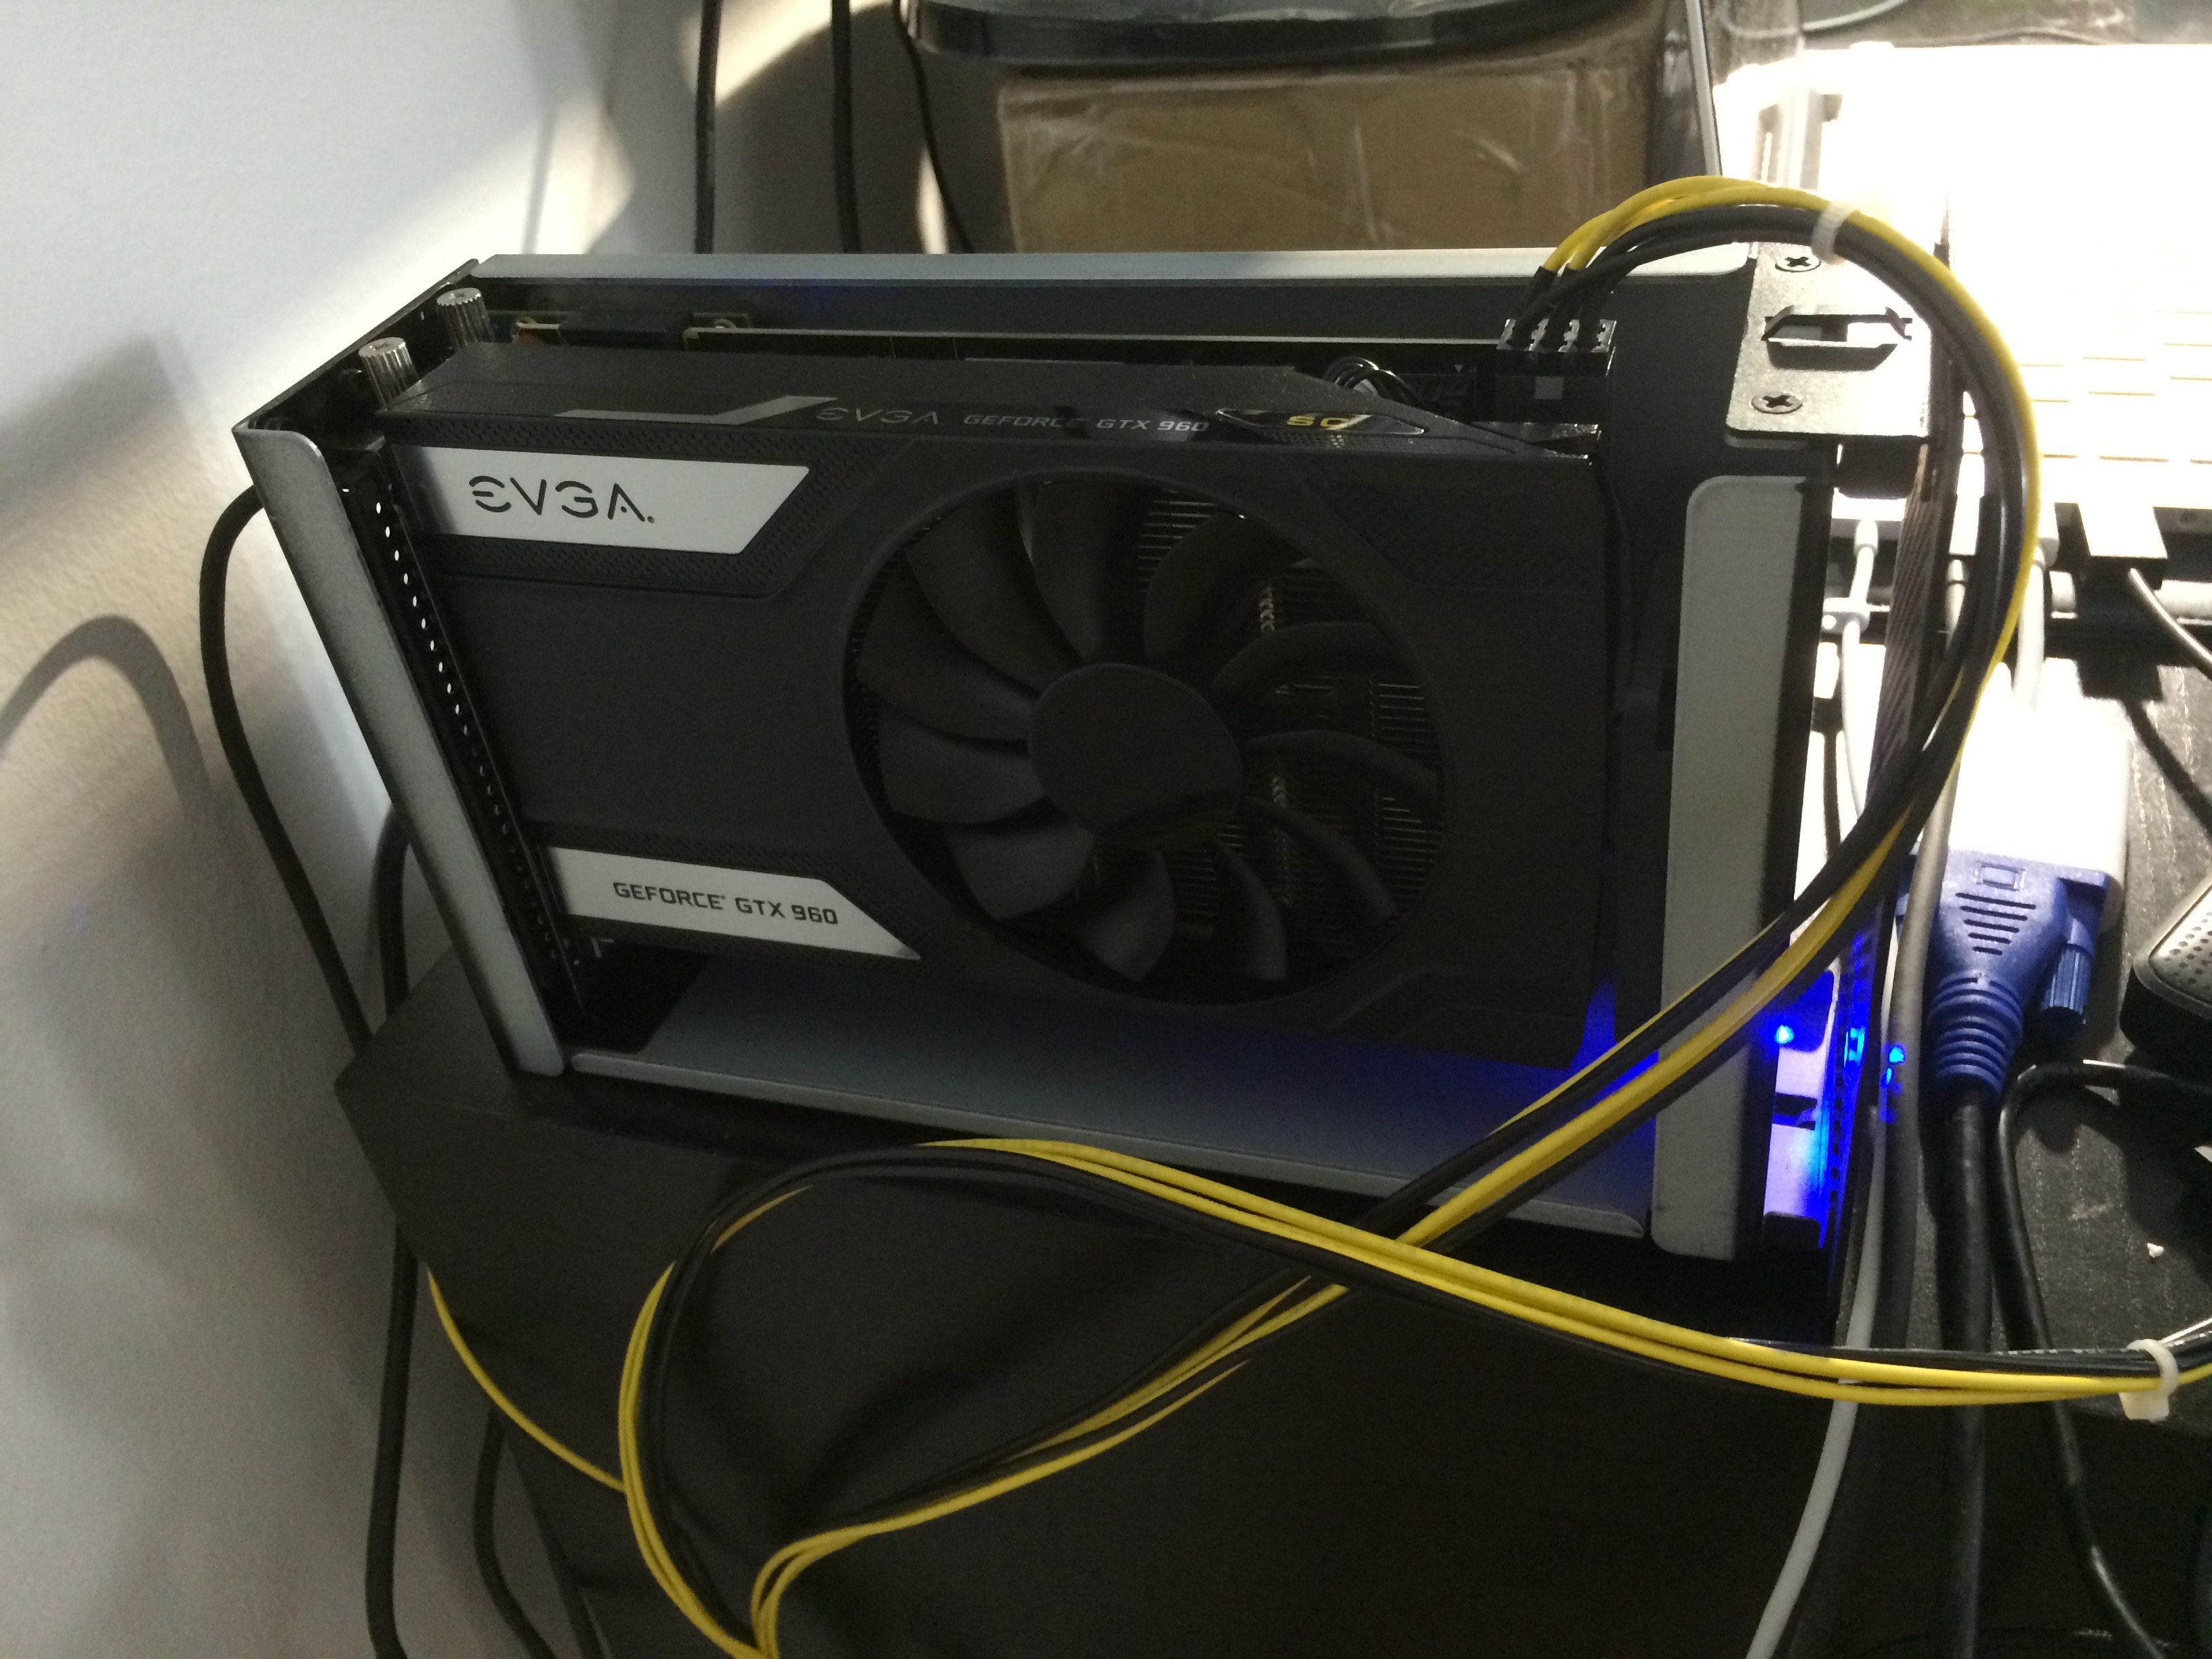
Hey guys, I've finally decided to get myself a eGPU set-up to have a better gaming experience for myself. My set up is an easy plug & play type of set-up, so regarding hardware I am pretty much a noob. I've read many forum posts saying 2015 Macbook Pro 13" is giving a lot of users "spinning wheel" problem. I, myself, had this issue, but after writing down alternative procedures every time for a week, I think I have a solution for those who carry this Macbook (I've actually uninstalled and reinstalled Windows 10/8.1 so many times that now if I see the windows set-up logo, I cringe a little). I will start off with the hardware first, but as I mentioned above, this was a plug & play; therefore, I think it would be best to read other similar guides to find an alternative. (DA-2 cables were from eBay and they are not on sale anymore) Hardware: AKiTiO Thunder2 PCIe Box EVGA GTX 960 2 GB SC (ITX version) Dell DA-2 AC Adapter Akitio Egpu 8 Pin to 2 x PCI E 6 Pin Super Low Profile No Latch 1 x Barrel | eBay (This is not for sale anymore) Hardware Preparation 1. Open and slide out the AKiTiO Thunder2 PCIe box and insert your desired GPU (Has to be a single fan in order to fit inside of the chassis without modification, eg) ASUS GTX 970 Mini, EVGA GTX 960, Gigabyte GTX 960/970 ITX) 2. Plug the cables into appropriate sockets(?). 3. Do not power on the eGPU or connect it to your Macbook until you have everything set up on the software side of things on Windows 10 Software Preparation 1. Install Windows 8.1/Windows 10 via Boot Camp 2. Install Boot Camp drivers 3. Update your Windows 8.1/10 to the latest version via Windows Update 4. Download the latest nVidia driver (BUT do not open the .exe) - Mine is running under 362.00. I tried 364.51 and noticed that it was being inconsistent so I pretty much threw this away. Please read the following before you proceed with your set up. Let's Connect (Only Applicable to 2015 13" Macbook Pro's) 1. Power on the eGPU. 2. Boot your Macbook to Windows 8.1/10 2. Plug the TB2 connector to the Macbook 3. Open Device Manager 4. If everything is done right, then there should be a tag under display saying "Microsoft Basic Display Adapter" - This means that the connection is established between your Macbook and the Thunder2 5. Once you check that the Macbook detects your eGPU, open up the driver .exe that you downloaded and run it as administrator. 6. Press Agree Terms of Service, and click Custom Installation. Make sure you've checked everything and press Install. 7. Once the installation is complete, the driver wizard will ask you to restart your computer. Press "Restart now" 8. Wait until it restarts. (Always press Alt after to get into boot selection menu) ** Now this step is very tricky. For Windows 8.1 users, the computer should restart without touching any of the connection, but for windows 10, the restart might freeze at a black screen. - If your computer freezes (ie. black screen, but your backlit keyboard is still lit), then force shutdown the Macbook. - Turn off the eGPU and make sure it's completely off. (ie. no green light from Thunder2) Do not disconnect your TB2. - Wait 10-15s and power on the eGPU - Turn on your Macbook and go to boot selection (If you have a black screen, simply force shutdown and power off the eGPU. Then unplug the TB2 and boot into OSX. Log in then shutdown. Repeat above steps afterward) - You may get stuck at the spinning wheel. If this happens to you just force shutdown and make sure Windows repair isn't causing this problem. Then try again. (I got mine working after my 2nd attempt) 9. If everything works, then your Macbook should be able to detect your GPU with a proper driver. Check this under device manager. Now, some of you may ask how they will be able to go back and forth between OS X and windows, here are the steps that I took. Windows -> OS X 1. Click "Shutdown" (DO NOT CLICK "RESTART" - This gave me a bad result, causing me to reinstall Windows again) 2. Power off the eGPU once the Macbook is fully shutdown 3. Unplug TB2 connector once the AkiTiO box is fully powered off 4. Turn on and boot into OS X via boot selection OS X -> Windows 1. Power on your eGPU 2. Turn on your Macbook and go to the boot selection 3. Select Windows and wait until the spinning wheel shows up. 4. As soon as it shows up, plug in the TB2 (The timing is crucial) (** If you have a infinite spinning wheel, simply try again, but ideally this should not happen) I hope this guide has been helpful to you. This is more of a boot-guide than a hardware set up. As I was reading the forum threads, many people were having issues with the 2015 13" Macbook pros. I hope my method will solve your issue. Please write down below to let me know if it worked or not. I've tested this on both Windows 8.1 and Windows 10 and it has worked 100% of the time (Replicated this three times each. ie. fresh installed Windows three times each) Thanks for reading and here is a potato pic of my eGPU hardware. New guide with GTX 1070 is here : -Creativie
 1 point
 -
Ordering ready-to-use cables for Dell DA-2 and Akitio Thunder2 from AntronST: Send an email to [email protected] with the following information: Paypal email address Physical Address Phone number Part # / quantity The part numbers for the two different types of cables are as follows: 2x6-pin version ($20): Part #: AeGPU8P2PCIE6SLPBARREL 2x6+2-pin version ($24): Part #: AeGPU8P2PCIE6+2BARREL They will then invoice you for the cable. Antron have less than 10 of the 6-pins as far as I have gathered and a similar amount of the others so this will not necessarily last long. Good luck!1 point
-
About 15,6 Samsung FHD there been one during prototype phase Samsung 156HL01-102 (SDC324C) (it's better than current LG but worse than old 15,6 inch AUO) http://www.notebookcheck.net/Schenker-XMG-P506-Clevo-P651RE-Notebook-Review.152021.0.html1 point
-
I don’t care what he writes on their small delusional island. Can freely circulate there and repeat the same fantasy story. Friends from Netstor Technology have done a huge favour by testing the script, and I’ll give them the first version of my EFI application in the coming weeks. It’s mainly developed for learning the early boot process of Mac computers. You don’t have to install rEFInd at all; all you need is the EFI file and the USB stick. No modification is needed for the Mac. The first version provides option to chain load both OS X and Windows, and automates a long awaited feature on Windows.1 point
-
Of course.There's exist expections but based on atheros/intel.Anyway people who bought those wi-fi cards from lenovo directly says they aren't working.Whitelist appers. There's no problem to use in the modded bios.Just follow instructions.1 point
-
It's fine, that's well within spec. Your GPU will start throttling at 97C to prevent damage. It's only temperatures over 100C that could be harmful if sustained for long periods of time.1 point