Leaderboard


Popular Content
Showing content with the highest reputation on 04/08/15 in all areas
-
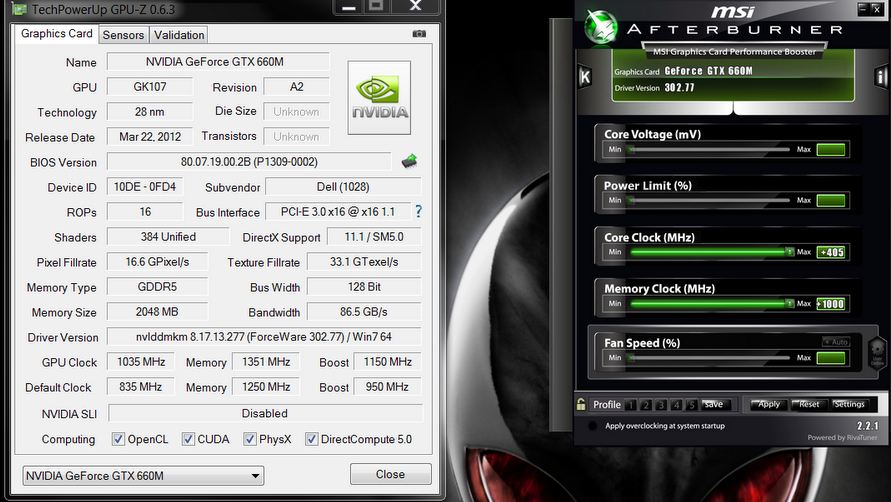
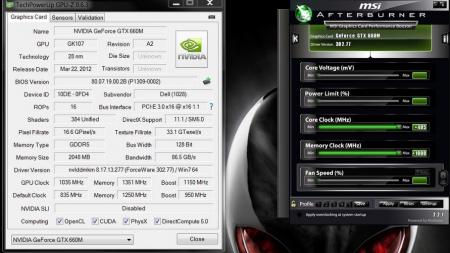
UPDATE: ALL DOWNLOADS LISTED IN THIS POST FOUND HERE. Nvidia 'Kepler' GPUs - modified VBIOS files >>> NOTE: More versions (including voltage mods) exclusive for T|I users can be found in the second post. <<< The 'Kepler' GPUs from Nvidia perform really well, even at increased clocks speeds they stay quite cool - a perfect behavior when it comes to overclocking and improving the performance. Unfortunately the mobile GPUs suffer from an artificial +135MHz core overclocking limit, so you can't go higher by using tools like Nvidia Inspector and similar. The modified VBIOS files listed here have this limit unlocked, some have increased stock clocks or tweaked voltages. Just refer to the description. All files have been modified by myself, if you like them feel free to buy me a drink, donation link can be found below GTX 660m: 660m_OC_edition__VBIOS_[DELL].zip- comes with unlocked software overclocking limits 660m_GHz-Edition_overvolted_VBIOS_[DELL].zip - default 3d clock 1000MHz, base boost 1200MHz,, memory (3d) 1350MHz, increased 3d voltage undervolted editions possible, depends on interest, tba Some screenshots: GTX 680m: Clevo_680m_-_80.04.33.00.10_'OCedition'_revised_01.zip Dell_680m_-_80.04.33.00.32_'OCedition'_revised_00.zip Increased software overclocking limits & optimized for no throttling. Read the included 'Read me' file before flashing. Instructions: I recommend flashing under DOS using nvflash . Donation link in case you want to buy me a beer Thanks and cheers! More to come. Testers: Thanks @eliteone (Dell 660m), @littleone562 (Dell 680m) For all mods: Use at your own risk.
 1 point
 -
I followed the youtube video Lenovo Y400 Y500 Full Disassembly - YouTube. However, the video was probably created with a prototype y500 because some of the layout of the laptop did not match mine. Most noticeably is that there are *three* screws holding the keyboard down not *two*, I almost ripped the keyboard trying to pull it off with one screw still in there. Also, a few of the ribbons are located in different places which I think is an improvement over the y500 in the video. Finally, the hardest part of the entire process was to remove the back cover because it is held on by plastic tabs facing in different directions so the best way is to wiggle it left and right while lifting and not lift directly up. That is just regular white thermal paste on the heatsinks. The OEM thermal paste resembled AS5 in color and thickness and I recommend that it be left alone if the temperatures are good. I have since replaced the cheap stuff I put on there with AS5 and still have not seen the temperatures I saw when it was stock (still 3-5C higher). Here is what I did to stop the twitchy touchpad (issue is well documented in the Lenovo support forum) and the random extra characters the keyboard would add while typing (less known issue).1 point
-
Yes No drop Freq1 point
-
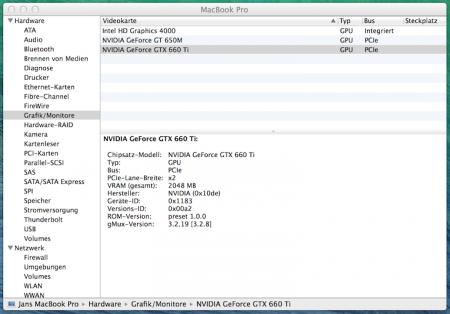
Just to clarify: my MPB is equipped with the AMD 6750M graphics, and not Nvidia GT 650M. Not sure if it matters though. Also it might be too early to say it's perfectly stable, since I haven't been benchmarking it much yet. Will try to run some more test this weekend. Still waiting for Indigo 4 in order to really utilise the raw OpenCL power the card possesses - will be interesting. Furthermore, the Indigo developers are working on a benchmarking application (probably similar to Luxmark), which will allow easy comparing between different CPU's and GPU's in Windows, Mac and Linux. About the OpenCL performance: AMD have a history of being stronger in that departement, though apparently extra cache memory in the Maxwell cards give them impressive performance - including midrange cards like the 750 Ti. Read more here: Indigo Renderer Forum • View topic - Really pure GPU rendering due to slow CPU1 point
-
look log gpuz GPU-Z Sensor Log.txt1 point
-
I have to revise my previous statements: You are right, it really does. I looked so hard for "profiles", that i missed "create shortcuts".1 point
-
1 point
-
@Kommando: u can easily make profiles to switch between settings in nvidia inspector.....been using it ever since i got my machine Sent from my Nexus 5 using Tapatalk1 point
-
J95, I went back and removed the 350.05 driver my buddy helped me install, and started over. I installed the two lines you listed, but I put them in the nv_displ.inf file and it did not work. I then realized that those lines looked like the ones in the nvdm.inf file, and when I put them in there it installed without a problem. SLI is working and everything looks okay (fingers crossed). I could not find the line %NVIDIA_DEV.13C%=Section146. PCI\VEN_10DE&DEV_13C0NVIDIA_DEV.13C0, the only thing close had a different section number so I left it as is. Thanks for your help1 point
-
Works flawless using Mavericks. Quick walkthrough: 1. Open Terminal 2. Type/CopyPaste sudo nano /System/Library/Extensions/IONDRVSupport.kext/Info.plist 3. In Nano find all blocks (starting with "<dict>dict") with "<key>CFBundleIdentifier</key>" as first key. ( occurrences: AppleHDAController 1 / IONDRVSupport 3 / NVDAStartup 1 ) 4. Add the following at the end of the recently found blocks (before the ending "</dict>/dict"): <key>IOPCITunnelCompatible</key> <true/> <true><true> 5. Press "Ctrl+X" followed by "Y" 6. Repeat Steps 2-5 using the following commands: sudo nano /System/Library/Extensions/NVDAStartup.kext/Contents/Info.plist sudo nano /System/Library/Extensions/AppleHDA.kext/Contents/PlugIns/AppleHDAController.kext/Contents/Info.plist 7. Type sudo kextcache -system-caches 8. Restart</true></true></true>
 1 point