


DrDriftMP
-
Posts
3 -
Joined
-
Last visited
Content Type
Profiles
Forums
Downloads
Posts posted by DrDriftMP
-
-
On 4/16/2019 at 3:36 PM, Swung Huang said:
There might be 2 versions.
I. Board adapter with acrylic supporting (You can also buy the supporting part individually and assemble it to your existing Gerald version of adapter)
II.Adapter with cable and daughter board in a case. It might be expensive, for the PCIe cable is not cheap anyway. I don’t have the time to trial and error, but I can guarantee I ship the things works well.
Won’t begin shipping before June.
I’m preparing for an exam and I had to spend all my time into it.
 will be back then.
(have already send the pics of my design in this thread. Just browse the previous pages of the thread if you want to take a look at it)
I certainly have interest in buying one when it will be avaliable, please keep us posted and good luck with your exams!
-
On 3/13/2018 at 2:51 AM, High_Voltage said:
In case you own a Lenovo Y410p or Y510p laptop, you might be interested in upgrading its performance by installing an external graphics card. Ultrabay eGPU adapter designed by @gerald was proven to be a convenient plug-and-play option to do exactly that. However, for a long time only an AMD-branded GPUs could be used due to limitations in the Lenovo's stock BIOS. The purpose of the modified firmware presented here is to expand the range of available GPUs by enabling Nvidia support on Gerald's Ultrabay eGPU adapter.
Huge thanks to:
- @MWichni - For efficiently assisting me during the development of this mod. By flashing dozens of BIOS builds over the course of several weeks and thoroughly describing the effects observed (or the lack thereof), he enabled me to fully understand necessary parts in BIOS structure and come up with a final solution.
- @svl7 - Whose unlocked BIOS / Whitelist mod has served as a basis for this modification. His discovery of a security hole in V2.07 BIOS has provided us with a convenient BIOS flashing method that does not require a physical programmer. The Unlocked BIOS and WLAN whitelist mods originally designed by him are also implemented in this BIOS mod.
- @gerald - For designing the aforementioned adapter. Without it, all this work would make very little sense.
Key features:
- Resolves the "40-second reboot" issue normally encountered while using Nvidia graphics cards with Ultrabay eGPU adapter, thus allowing all Nvidia cards to be used.
- Based on the latest V3.08 BIOS.
- Includes Svl7's WLAN whitelist removal mod - for the convenience of aftermarket WLAN card users.
- Includes Svl7's BIOS debug menu mod - for the ease of experimentation with newly available features, e.g. attempting to use Nvidia Optimus to pass eGPU video back to laptop's display.
NB! Svl7's Debug Menu is not a toy! It contains a lot of options that are either not supported or partially supported by the hardware platform and/or can disturb its normal operation or prevent the PC from booting up at all. Any of the entries not originally present in the stock BIOS should be modified at your own risk!
DISCLAIMER:
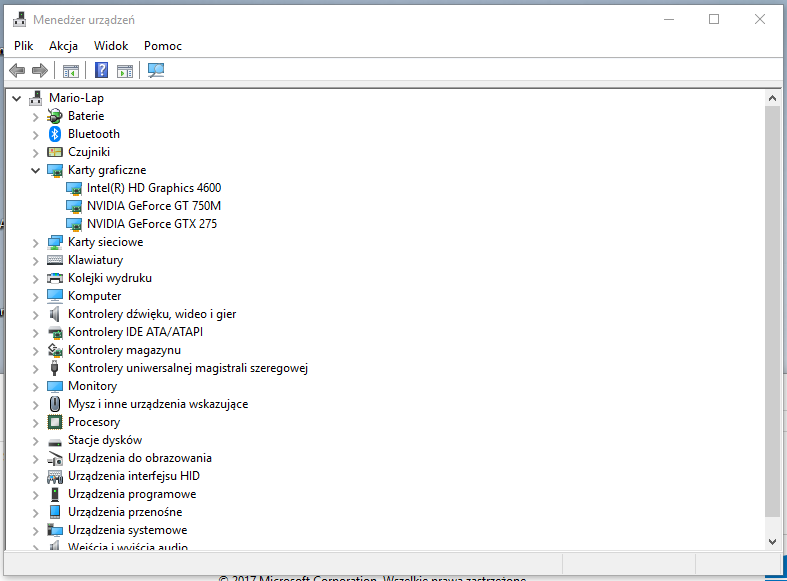
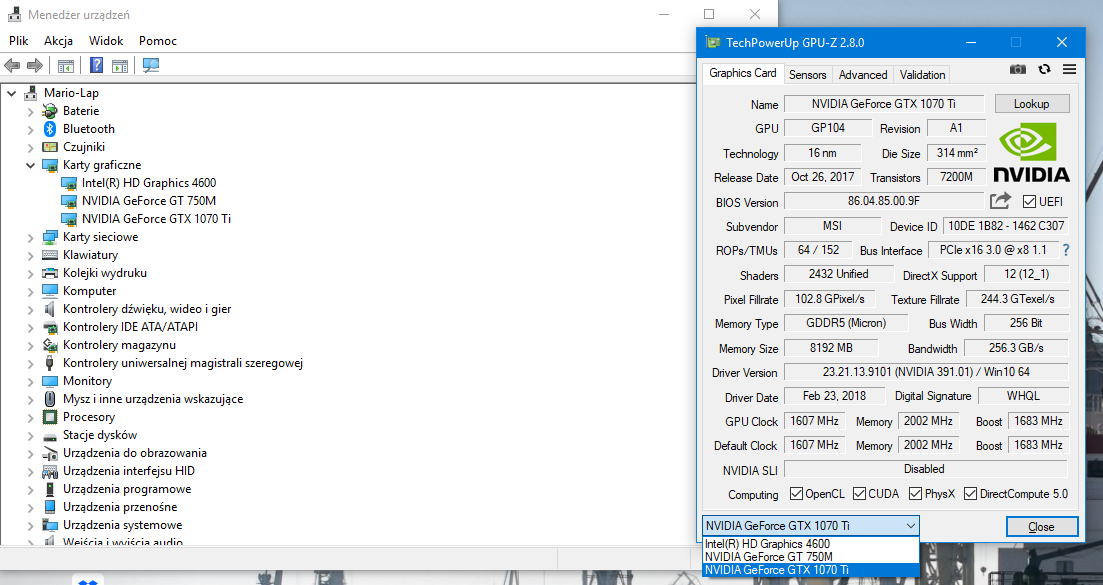
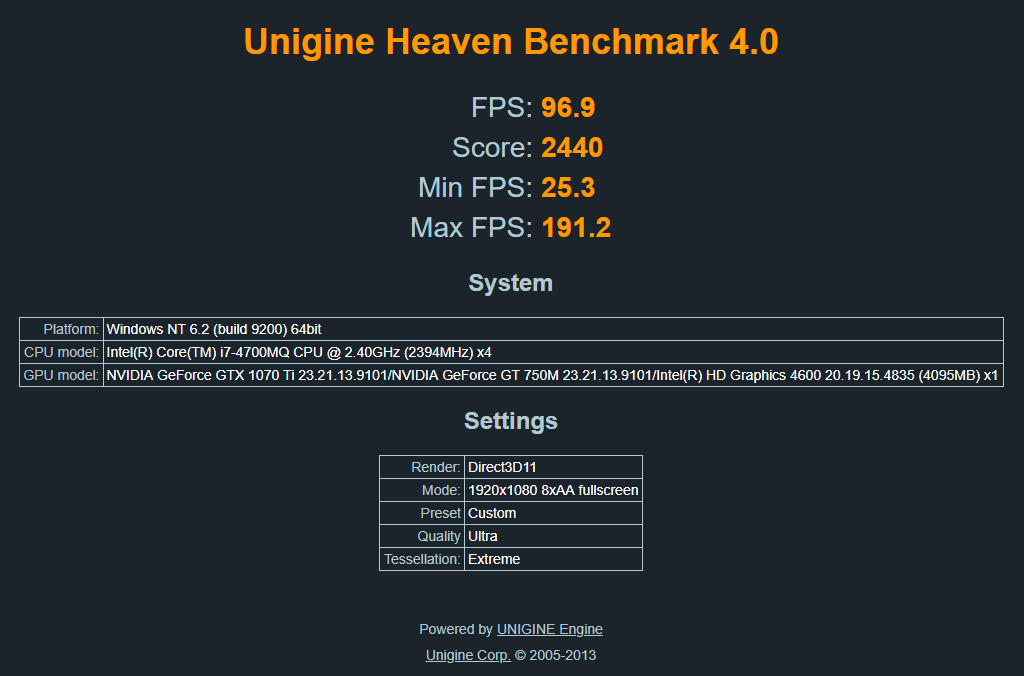
ANY MODIFICATIONS YOU ARE APPLYING TO YOUR HARDWARE ARE PERFORMED AT YOUR OWN RISK! AUTHOR OF THIS MOD DOES NOT HOLD ANY LIABILITY FOR LOSS OR DAMAGE RELATED TO USING THIS SOFTWARE.Screenshots:
Installation instructions:
WARNING:
BEFORE INITIATING ANY FLASHING PROCESS, MAKE SURE THAT THE AC POWER IS CONNECTED AND THE BATTERY HAS AT LEAST 20% CHARGE LEFT. AN UNPLANNED POWER-OFF DURING FLASHING PROCESS IS GUARANTEED TO RESULT IN A BRICKED MOTHERBOARD.
- Install fresh, unmodified V3.08 BIOS. The installation file can be found on official Lenovo product support page for your PC.
- Enter the BIOS settings (by hitting F2 during boot) and enable BIOS Back Flash option.
- Following the instructions here, download and use Rufus utility to create a bootable USB drive running FreeDOS.
- Copy the CONTENTS of THIS_GOES_TO_DOS_FLASH_FIRST folder into the root of your FreeDOS flash drive.
- Download Universal BIOS Backup Toolkit 2.0, then by running program as Administrator, read your BIOS dump and save it as backup.bin.
- Place a copy of the backup.bin into PATCHERS folder.
- Depending on whether your system is GT750m-based or GT755m-based, run corresponding patcher.
- Carefully study patcher's output. If the patcher reports success, MDDED308.bin file will be created in the same folder.
- Once you've acquired MDDED308.bin, copy it to the root of your FreeDOS flash drive as well.
- Install stock V2.07 BIOS (Provided). This is a necessary step because later versions of BIOS contain additional flash-protect features.
- Connect your FreeDOS USB drive to the PC, reboot into BIOS. In BIOS boot settings change Boot mode from UEFI to Legacy Support, and Boot priority to Legacy first. Press F10 to save and exit.
- Once you have booted into DOS environment, type BIOS and press Enter to flash BIOS.
- Then, once finished, type EC and hit Enter in order to flash the EC.
- Once the EC flash is over, the system will reboot. Both BIOS and EC versions should now be V3.08. Svl7's advanced menu should be accessible at this point.
- Enjoy your modded BIOS!
- Should you ever decide to revert to Stock BIOS, simply flash the original V3.08 BIOS using the official update file provided by Lenovo.
If things don't go right:
In case BIOS flash process was interrupted or didn't go as planned and your computer is unable to boot anymore, don't panic! The DOS flash drive you've created is conveniently supplied with the Crisis Recovery file. Just follow the instructions below in order to perform the Crisis Recovery:
- Disconnect both battery and the AC power from your computer.
- Connect your flash drive to the USB3 port closest to the HDMI port.
- Reconnect the AC power cable while holding Win+R key combination.
- While continuing to hold the keys, turn on the PC.
- After some time, the access indicator on your flash drive will start blinking. At this point you can release the keys.
- Your PC will spin the fans and beep occasionally during the course of several minutes.
- After the operation is complete, you should be able to boot again.
It has also been observed that very rarely some users experience problems while flashing the EC. The system would report "DOS memory buffer 2 allocate failed" error. If this is your case, just reboot the system. You will stay at the EC version 2.07 which although is not recommended, doesn't seem to have any negative effect on the PC. If you still want to attempt flashing the EC to the latest version, you could try preparing Svl7's original DOS flash drive instead of Rufus FreeDOS one.
Error 43:
If you intend using the GTX10XX-series Nvidia card as the eGPU (which you probably do), you are very likely to encounter the infamous Error 43 in Windows Device Manager. This is a widely known issue in the eGPU community and is not related to this particular mod in any way. Following this guide thoroughly will in most cases resolve the Error 43 issue.
Download:
Get your copy here!
P.S.:
Version of this mod for Lenovo Y400/Y500 models is coming soon!
Hi, did you ever released version of this BIOS for Y500? I was searching before writing here but I can only find old BIOS by @svl7
Lenovo Y410p/Y510p BIOS mod to enable Nvidia eGPU support
in Lenovo
Posted
God, I am blind, I was looking on that. Thank you very much!