Search the Community
Showing results for tags 'upgrade'.
-
 Yea im new to this site but i found info i browsed usefull even before i joined because im looking for a good upgrade for my M15x alienware laptop for december (christmas / birthday) instead of getting an entirley new system which would cost alot of money cause i like aiming for laptops due to the fact i got the space for this thing and desktops even though cheap are stationary. so due to that fact ,till i get the space eventually for a desktop i want to try and see the upgrades i can get for this laptop. and this is my problem, i dont really know what would be compatible with the laptop so ima just say the upgrades im looking to get, the specs of my current cpu, and price range. So what im looking for is increased RAM (if possible), a new graphics card, and a new hard drive. (any other suggestions i will exept too if you think somthing else would be nice also, or in place of one of my suggestions). My basic specs are: Operating System: Windows 7 Home Premium 64-bit (6.1, Build 7601) Service Pack 1 (7601.win7sp1_gdr.120830-0333) Language: English (Regional Setting: English) System Manufacturer: Alienware System Model: M15x BIOS: Ver A09 1.00 Processor: Intel® Core i3 CPU M 370 @ 2.40GHz (4 CPUs), ~2.4GHz Memory: 4096MB RAM Available OS Memory: 4020MB RAM DirectX Version: DirectX 11 NVIDIA GeForce GTX 460M and the price range really for total upgrades im lookin for is about less then 500$- maybe little over (but mostly lookin to go cheaper if anyone knows any deals) NOTE: txt attachment is if your interested in my full specs. DxDiag.txt
 -
 There are many places that talk about the idea of using the 2013 Alienware 18 screen panel or screen assembly on the previous m18x r1 & r2. What I would like to find out, definitively, is could this panel be transplanted into the older generation which honestly isn't the best quality. Alienware 18 has a PLS based screen made by Samsung, which will have all around a better picture as compared to most TN based panels (especially the one found in the m18x). What needs to be discovered: - Alienware 18 screen connector (after this has been answered we can continue to the next set of questions) Is it LVDS 40 pin? Something else? Next up: - Alienware 18 screen assembly dimensions and construction Is it possible to just use the entire 18 screen assembly? **PICTURES! **MEASUREMENTS! This should just about cover what we would need to then allow me, or someone else, to proceed with actual testing. Everyone's help would greatly be appreciated!
 -
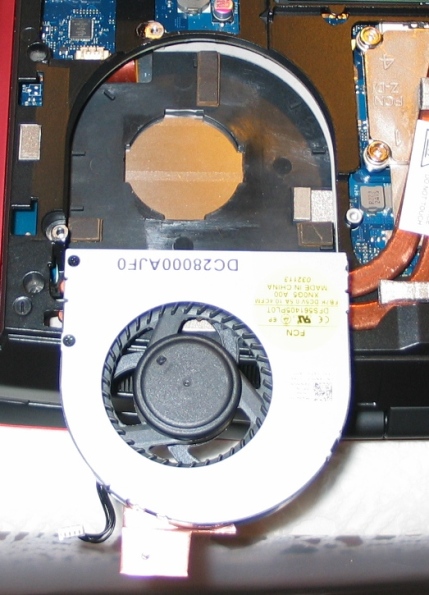
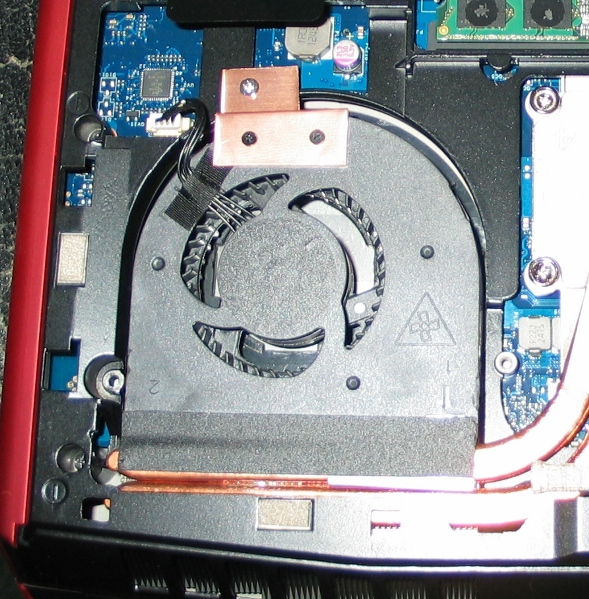
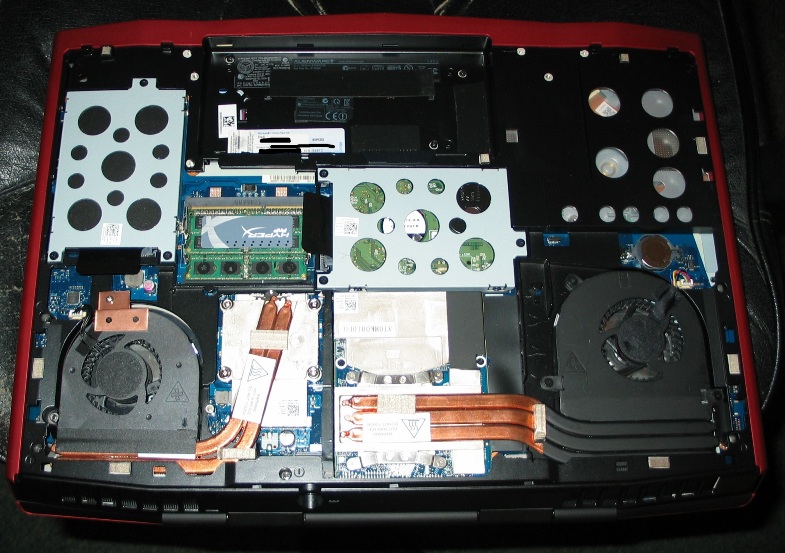
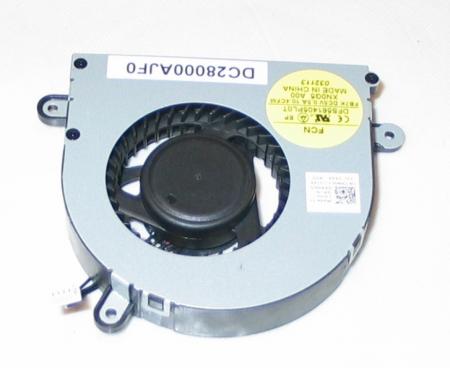
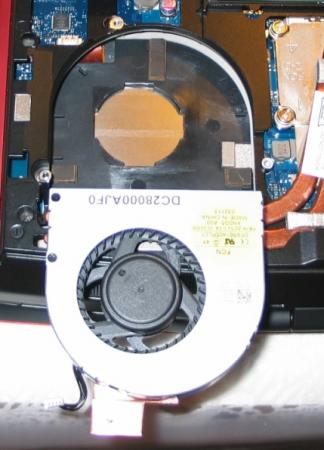
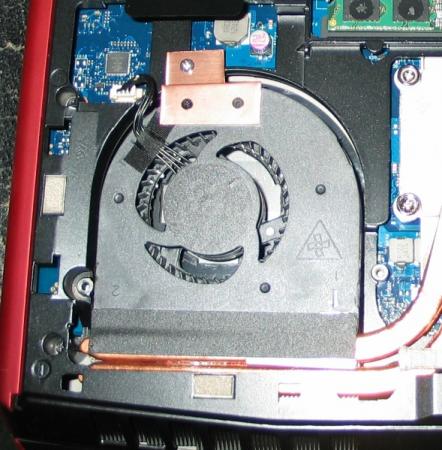
CPU Fan Upgrade Procedure for M17x R3/R4 (2.0CFM->10.4CFM!)<o:p></o:p> My original CPU fan was adequate (not great but adequate) fora 3740qm CPU @ 3.7GHz but when I upgraded to a 3920xm CPU and overclocked to4.1GHz x 4 cores, I needed more cooling - a lot more. Running a 60-second CPU stress test on all four cores in Intel XTU, with a 65watt CPU TDP programmed, and a core voltage of 1.351v, the difference is asfollows: · With original fan, system runs @ 4.1GHz for ~28 seconds before dropping to3.5-3.7GHz because of heat. On longerstress tests, it DOES NOT recover from this reduced speed state becausecooling is not adequate. Core Max: 92-95Celsius. · With this fan mod, system runs @ 4.1GHz for ~55 seconds before dropping to 3.7GHzbecause of heat. On longer stress tests,it DOES recover from this reducedspeed state and spikes of ~4GHz are seen for the remaining duration of thetest. Core Max: 92 Celsius every time. <o:p> </o:p> So here are the stepswith some pictures: 1. Procure an M14x R2 fan. It MUST be an R2 fan!! The fan blade design is clearly different so usemy picture as a reference. There are many eBay sellers, for example, selling the R1 fan as an "M14x series fan," implying that bothrevisions use the same fan - which is not true. The R1's fan has a 2CFM sticker rating while the R2's has 10.4! The markings to search for are: XN0G5 and/or DC28000AJF0. I got mine here: http://www.aliexpress.com/store/product/Cooling-Fan-for-Dell-Alienware-M14x-XN0G5/207462_647373968.html Note: Do not just swap the M14x's fan blade into your existing M17x fanshroud. I tried that first and it doesnot increase airflow. You need the newblade AND the new shroud for this to be effective. 2. Remove your original CPU fan. There are three screws that hold it in. Also disconnect its power jack from themotherboard. While you have access, youmight want to blast that exposed exhaust port with some compressed air to makesure everything is clean. 3. Notice the three mounting brackets that protrudefrom the sides of the fan shroud in the picture from Step 1. You'll need to cut them off so the shroudwill fit. I used a Dremel with agrinding wheel. There's also one smallblack screw in the corner with the yellow sticker. You'll need to remove it and grind down thatprotrusion as well. Save that screw forlater btw. 4. Make spacers/pads to hold the new fan up. The factory pieces will not line up so you'llwant something under the fan for clearance and to allow air intake from theunderside. I used small pieces of arubber material called Dynamat but padded mirror tape would work, as would manylayers of electrical tape placed on top of each other. It doesn't matter what you use - as long asit won't melt - and you'll want it to have a small footprint so it doesn'tblock airflow. I made my pads abouttwice the height of the factory material. Higher pads will allow for greater clearance and more air intake - justbe sure the fan still lines up with the heatsink and the case closes over it. This picture shows the three pads I made, and the fan shroud with its originalmounts ground off. 5. Create a mounting bracket to secure the fanshroud at the point farthest from the exhaust port. You could optionally fabricate mounts to lineup to all three screw threads on the case, but with my sturdy rubber pads andthe tape that will be included on the exhaust side if you buy your fan new, Iwas fine with only one new mount. Note: Leavethat tape covered until the end of Step 7. I used a thin piece of copper but any metal is fine. Bend the metal so it lines up to both the topof the fan shroud and the point above the screw thread on the case. Mark how it sits on the fan shroud and drill twotiny holes (1/16" bit) through the shroud-side of the mount. Now place the mount on the shroud using yourmarkings and VERY CAREFULLY drill further so that you have holes going throughthe plastic as well. Do not push hardand do not hit the fan blade within! Drill a slightly larger hole on the case-side of your mount where itwill line up with the screw thread. Thescrew you saved from Step #3 can be used for one of the shroud-side holes andwill not hit the fan blade within. Ifyou can come up with another similar screw, use it for the second hole. If not, you can take one of the other twofrom the shroud assembly if you want. It's also held together with clips so it won't fall apart. One of the three screws that held in youroriginal fan shroud can be used for the other (case side) of the mount. 6. Thoroughly blow off your new shroud inside andout with compressed air to remove any stray plastic scraps from the machiningprocess. 7. Fit everything up, making sure the fan sitsflush on all the pads you've made. Makesure it lines up with the heatsink and isn't too high or too low into thecase. Adjust pads as necessary. Once you're satisfied, screw in your mount tohold the fan in place. Now lift up thetape on the exhaust side (which should still be covered) and remove thecovering. Carefully fold the sticky partdown onto the copper heatsink pipes to secure that side of the assembly. 8. Plug in the fan's power jack. Again, ignore the connector being a differentcolor. It fits and it works withoutmodification or programming. 9. Close your unit up and enjoy!! So there it is! Let me know how this works out for you guys if you try it - and what you think about the procedure itself. Suggestions/questions are always welcome! * I obviously assume no liability if you break anything doing this. Informational purposes only, etc, etc, * This procedure replaces the M17x's original CPU fan (and fanshroud) with that of the M14x R2, and yields a greatly increased fanoutput. Both fans use the samemotherboard connector (ignore the color difference of the jack) so all that'sneeded here is to procure an M14x R2 fan, modify the mounting system a bit soit fits, and connect it up - and it works like a charm!

-
Hi all I decided to upgrade my M15X. Current configuration: DDR3 SDRAM 4.096 MB @ 1.333 MHz 1GB NVIDIA® GeForce™ GTX260M 500GB (7,200rpm) Serial ATA Hard Drive Intel® Core™ i7 Processor 720QM Im looking for nVidia gtx 670M and gtx675M, but no idea what works better on my laptop, I was read some issues about power supply (75W or 100W), about throttling and about incompatibilities. Im reading your posts, and get more and more doubts, can somebody help me? Thank you so much!
-
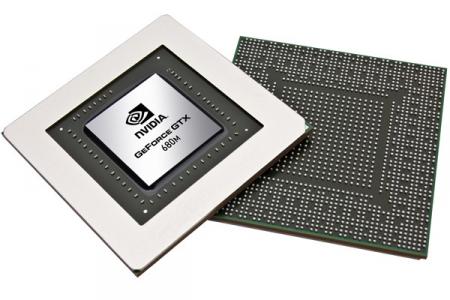
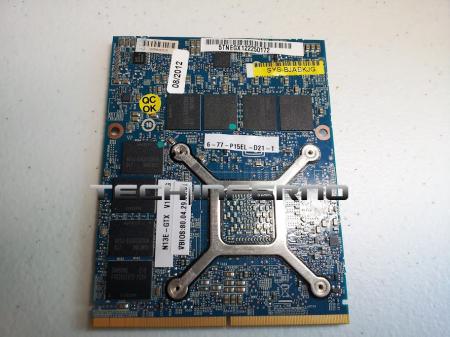
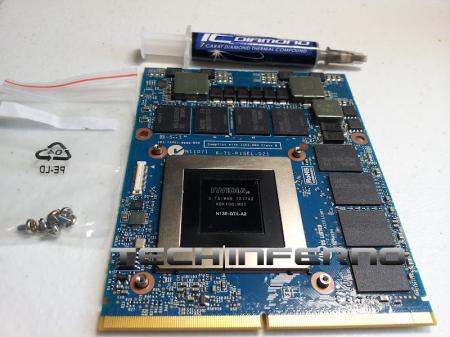
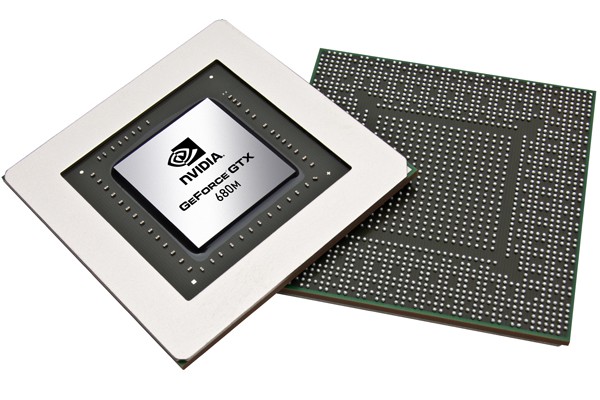
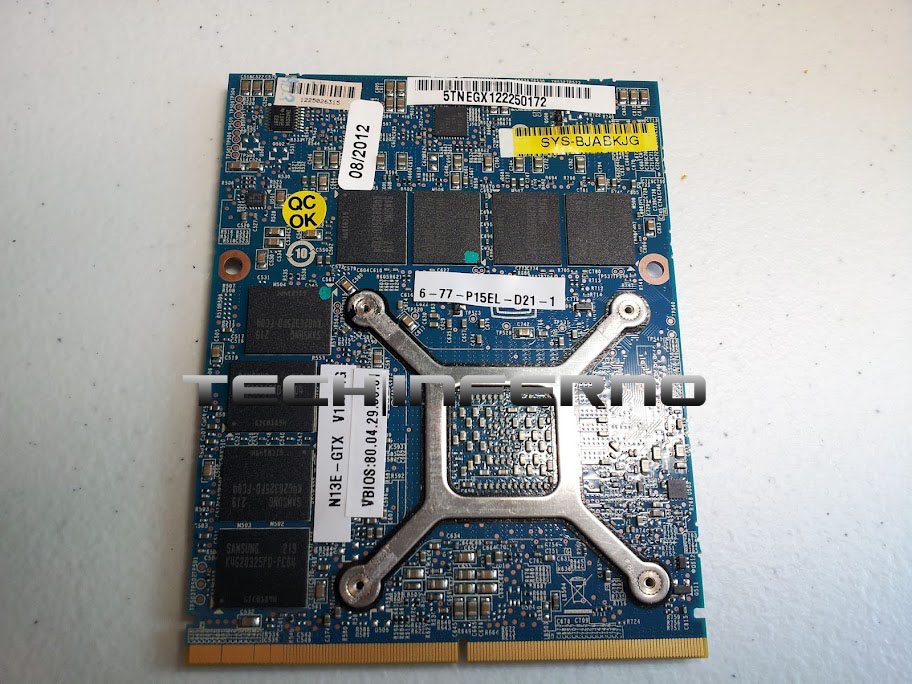
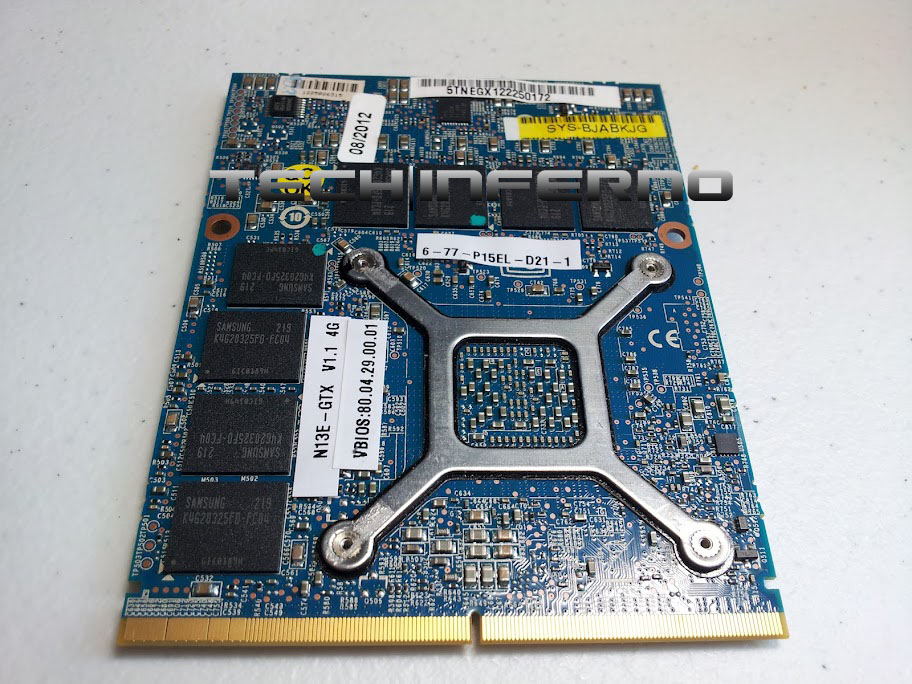
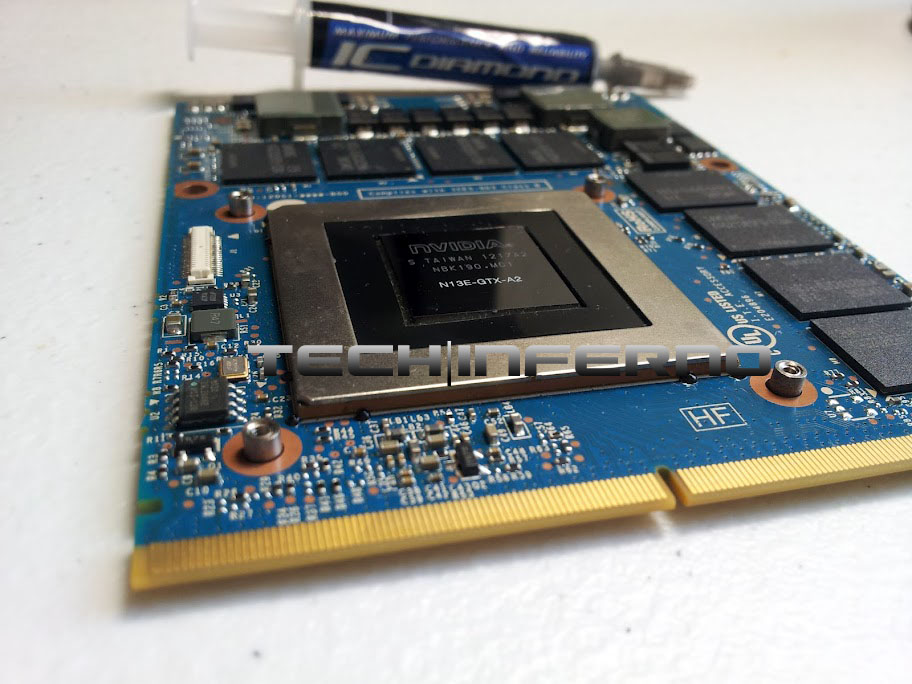
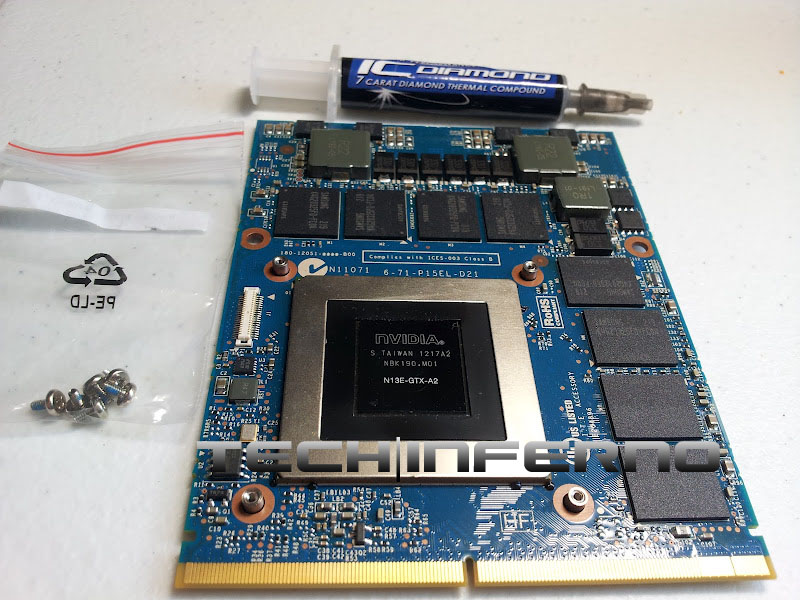
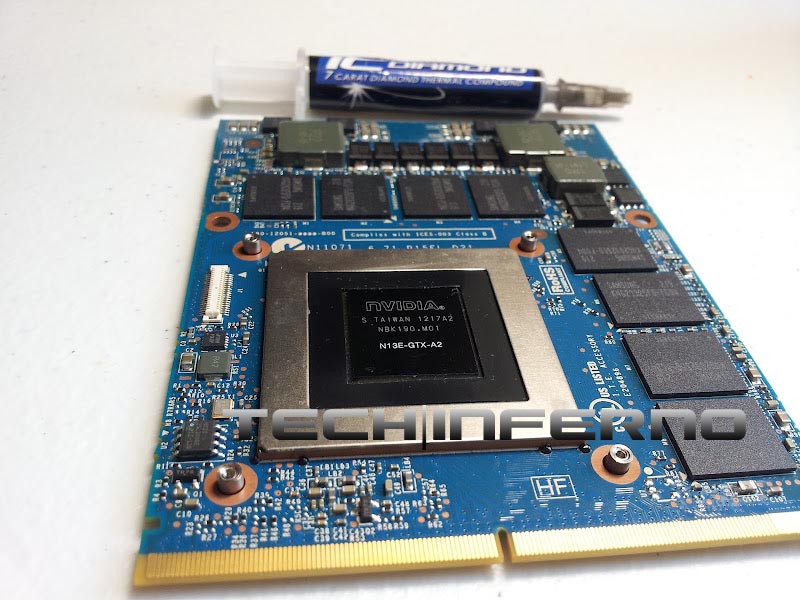
Special thanks: To Eurocom for providing a discounted price to Tech|Inferno. REVIEW IS OUT: nVidia GTX 680M Performance Review | Tech|Inferno We've managed to snag a 680M from Eurocom and will be testing it in an AW M18x-R1 with 2920xm. The video card will hopefully be here this coming week or two. Eventually we'll purchase another for a full SLi review but for now, we'll be doing a 580M SLi vs 680M (single) comparison. Since the Kepler GPU has a huge gaming advantage over the 580M chip, it should be a pretty interesting match-up and something to think about for M18x-R1 users that are looking to upgrade. So what we need from you, the community is feedback on which games and applications you'd like to see tested (sorry svl7, no furmark ). Here is sample of my current games 1. BF3 2. Crysis 2 3. Mafia II 4. Mass Effect 2/3 5. Skyrim 6. Max Payne 3 7. LA Noire 8. Saints Row 3 9. Just Cause 2 10. COD: MW3 11. Darkness II 12. Serious Sam 3 13. Batman Arkham Asylum & City Application list 1. 3DMark Vantage 2. 3DMark 11 3. Sony Vegas GPU render test 4. Unigine Heaven DX11 Not all the games listed above will be tested due to time constraints. Please pick your favorite app/game and reply to this thread. Thanks. Alright poll is closed, the winners are: 1. BF3 2. Skyrim 3. Crysis 2 4. Batman Arkham City 5. Metro2033 (not in the poll but will be tested). In addition I'll be testing the obligatory synthetics such as Vantage + 3DMark 11. If I have time I'll do a cuda render test but that's not important right now. Oh and a few teaser pics for you guys below.