Search the Community
Showing results for tags 'cooling mod'.
-
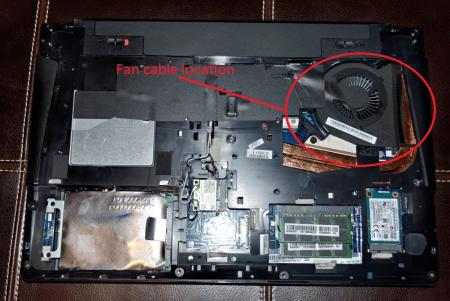
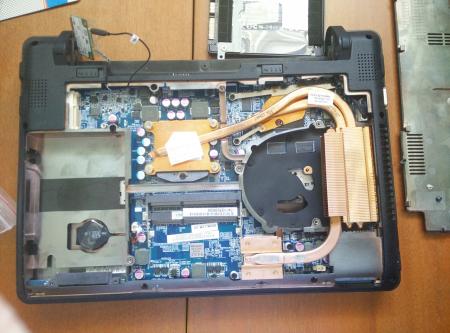
My Y400 ran into some trouble a while back and still isn't fixed but I won't tell what happened to it here as I will post it on a new thread. Simply put, I had to mod the laptop fan so that it would run at 100% speed no matter what. It made the fan run louder but made my temps considerably lower. This is a post to show you how I did the mod. 1. Open up the bottom cover of your Y400 or Y500 2. Locate the cables for the fan. 3. There should be four cables there. One red, one black, one yellow and one brown. 4. Cut the brown wire. The brown wire is for the motherboard to control the fan speed. Once you cut it your laptop fan will run as fast as the dust cleaning process lets it in lenovo's energy management tool. This is the fan's normal speed. It was made to run slower by lenovo to make less noise. I got the image above from this thread: http://forum.techinferno.com/lenovo-ibm/2773-y500-disassembled-pictures.html It shows roughly where the cables should be for the Y400 and Y500.
- 17 replies
-
- 1
-

-
- cooling mod
- fan
-
(and 3 more)
Tagged with:
-
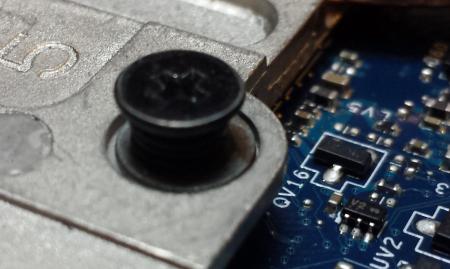
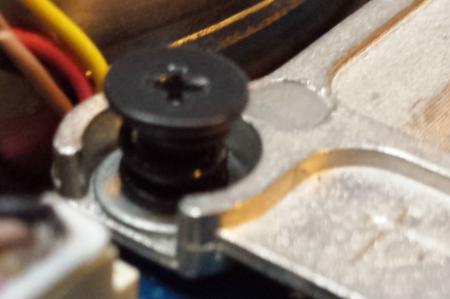
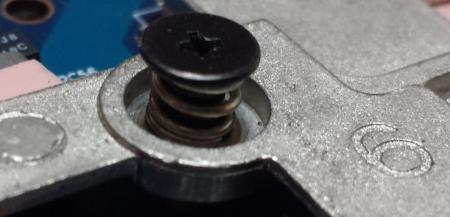
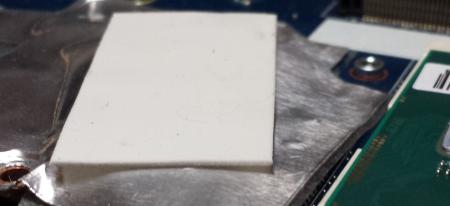
Hi! edit: merged with Conscriptvirus's post so it's easier to follow: This modification is very dangerous, can lead to broken chips. Don't say i didn't warned you... edit: he's right, it is easy Lenovo did a sloppy job with cooler, too much thermal paste, weak springs, overheating and throttling machines... First of all, disassemble the machine. Then do a repaste, with bare minimum amount of thermal paste, and remove cooler again, check thermal paste spread. Remove screws from cooler, by removing little plastik washers, keeping the screws to fall out. My gpu heatsink was not paralllel to motherboard, so the corner without screw was slightly bended upwards. Twist the gpu heatsink, so that corner is pushing gap pad a little bit harder. Be very gentle, you dont want to broke your heatsink. You can check level by putting your heatsink on flat surface with gpu screws removed, cpu screws stays in place for now. Then place a 0,5mm spacer under the spring like seen on the following pictures These are screw number 4 and 5. Screw number 6 is using a weak spring, so use double spacer, or change it to a stronger spring: Put back plastik spacer, so screw stay in place. Do the same process with cpu heatsink. You can do this to ultrabay as well, but take extra caution, since there is no backplate, and it can lead to warped/broken board. Lastly change the gap pad over cpu vrm area, because it is too tick, I used 0,5mm piece: Aaand it's done! Put back heatsink, use as little amount of thermal paste as possible, and enjoy 10-15+ lower temperatures. Spacers was lying around, i had the spring from some old heatsink, so dont have exact types and diameters, but Conscriptvirus did the mod also, his mod is better to look at, spacer perfectly fit into heatsink holes edit: I also did cpu mod, ended up adding a washer to screw 6, despite of changed spring, gained 1C-3C. I can run XTU stress test under 85C with -95mV and 3,4Ghz 4core. GPU and CPU idle is under 50, without notebook stand with fans. Thanks to Conscriptvirus for his effort and pictures. If it worth to be sticky, Mods, please make it one. Regards
- 50 replies
-
- 4
-

-
- cooling mod
- heatsink mod
-
(and 3 more)
Tagged with:
-
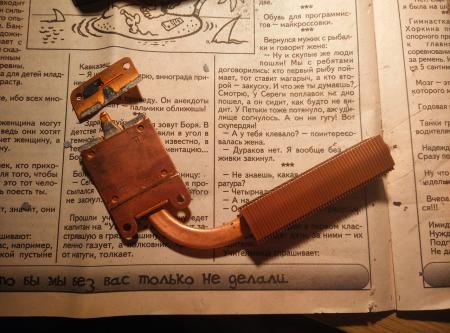
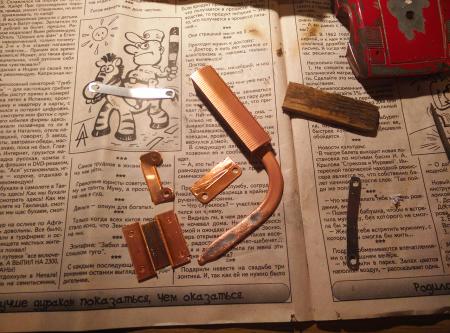
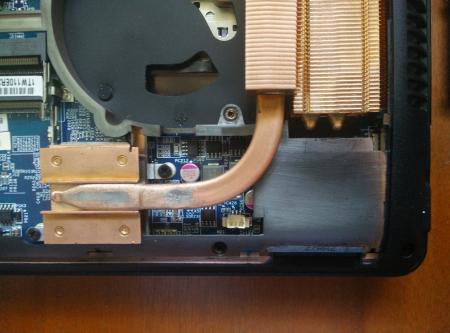
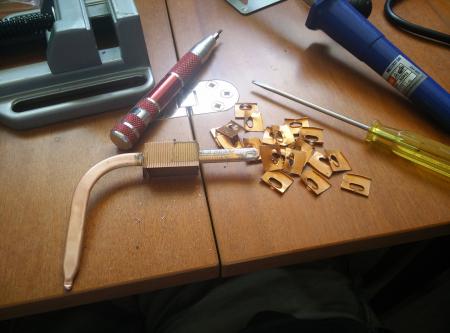
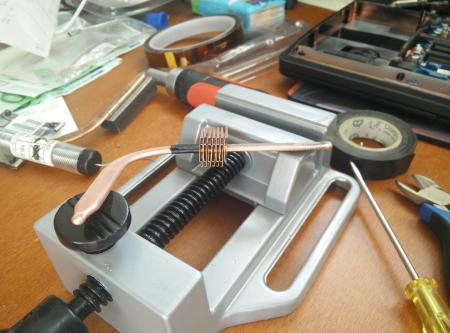
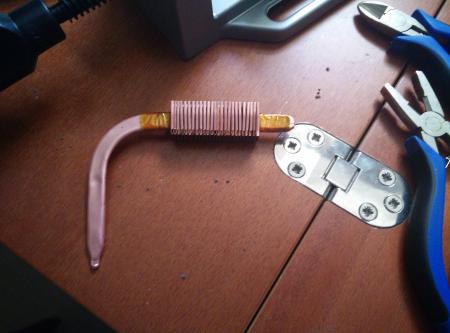
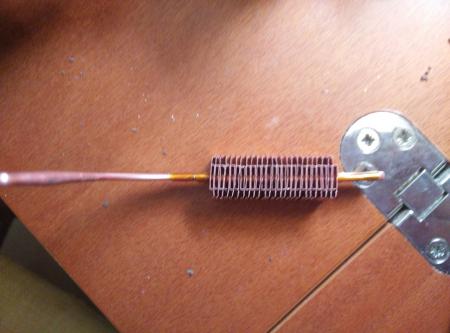
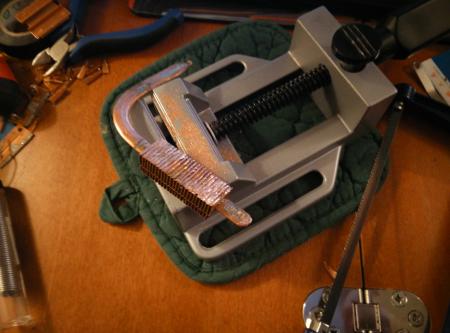
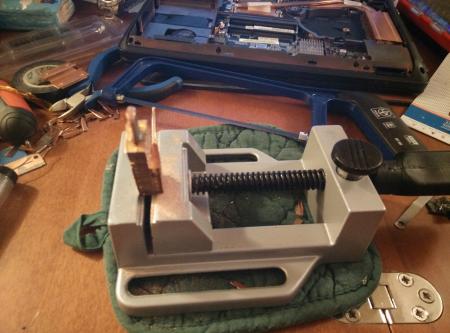
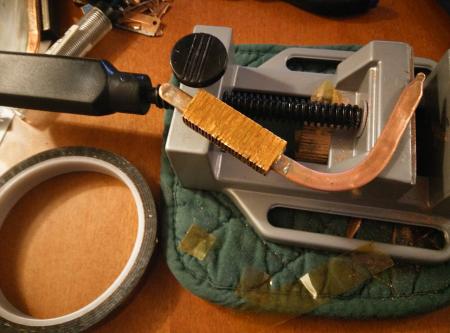
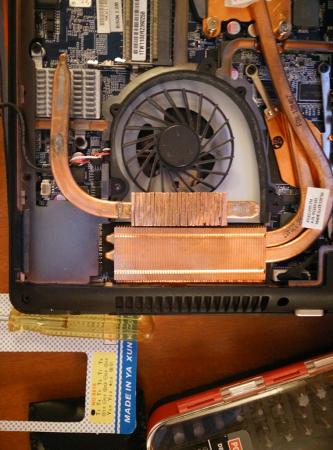
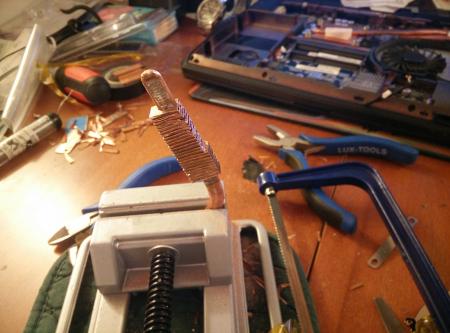
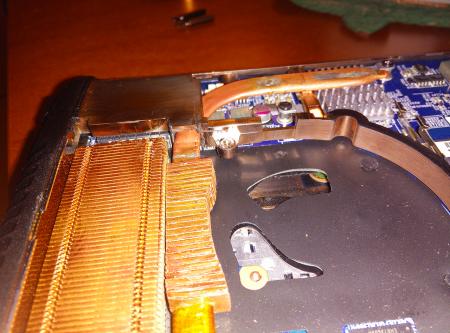
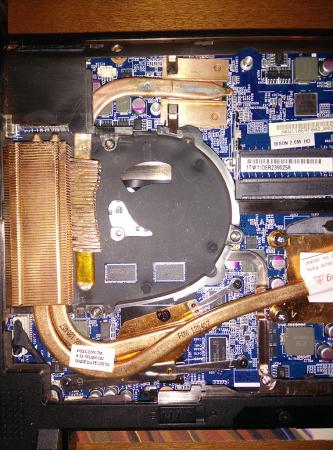
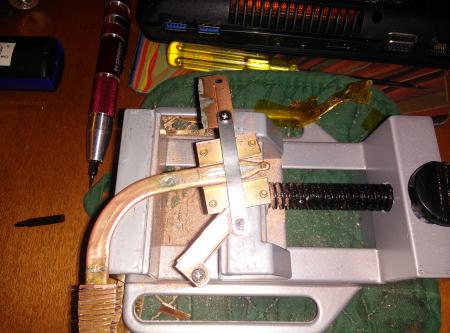
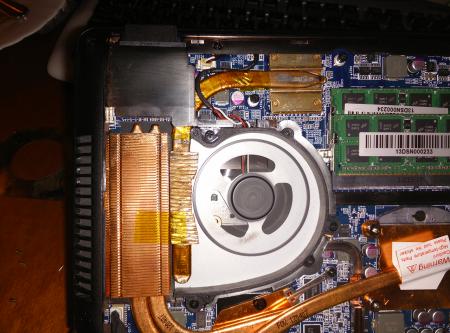
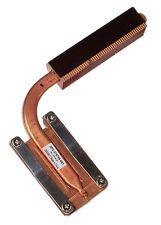
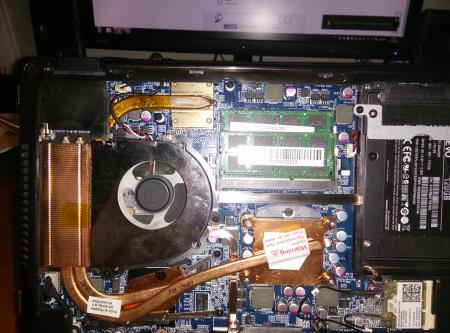
Hi! I was really impressed by Prema's cooling mod and I've decided to make something with PCH in my XMG A102 (Clevo W110ER with i7 3632QM) because it was getting so much that I couldn't hold a finger on it more than 2-3 sec. (there is no thermal sensor in there, so I couldn't measure it) If you are interested only in result please look the second spoiler only. If you are interested in creation process - take a look at the first one also. Creating process: The main idea of my mod is: there must be as few as possible irreversible changes made to notebook. So on the nearest electronic market I've found used heatpipe with radiator from very old HP notebook. Here is the model, if you will want to buy it in internet: SPS: 379799-001. It has perfect size but the platform is on the opposite side and the radiator is too large to place it without cutting. First I wanted to do everything like Prema: attach new heatpipe to Clevo's radiator. But if you will look inside cooler you will see a lot of free void space in there. So I decided to place the new heatpipe with its own radiator right in there between cooler itself and the original radiator so the airflow would blow both radiators. So the first problem was to setup the platform on the opposite side of the heatpipe. I started with cutting on unnecessary parts of the platform because it was to big. After cutting I've decided platform from the heat pipe with heating them and with some force. Here you can see the idea of placing them inside Also I've controlled that no one element would be hurt on the motherboard (here you can see capacitors close to heatpipe) but only plastic. The new heatpipe would be between case and cardreader. Next I had to find a way to cut the radiator so it could feet between cooler and original radiator. After some cups of coffee and about an hour of measurement I decided that the best way to do it is to take off the radiator, reassembly it in a very strange way put it back and cut. Fixed with a thermal scotch and putted on soldering tin wire. After - putted in oven 200 C for 5 min. Cook until ready. After cooking I've started to cut off unnecessary parts. In the end I used the same fixed planks to fix heat pipe to platform, put soldering tin between them and cooked it again to fix them. And here we go. Putted on thermal pad, fixed with notebook case and thermal scotch. Result: After a couple of heavy benchmark tests during the benchmark (no additional cooling). USB ports are all active for heavy copping (including USB 3.0 and cardreader, so SB is busy too): I would like to say many thanks to Prema for his example of using heatpipes. Stay in touch! I am going to do some more mods with my new toy in couple of months. P.S. If you will be really interested in doing something like this yourself, feel free to ask me for help and assistance.
- 4 replies
-
- 2
-

-
- clevo w110er
- cooling improvement
-
(and 2 more)
Tagged with:
-
This cooling mod was originally performed by Ashterfere and is being reproduced here:
- 22 replies
-
- 2
-

-
- alienware
- cooling mod
-
(and 2 more)
Tagged with:


