Leaderboard

Popular Content
Showing content with the highest reputation on 11/23/17 in all areas
-
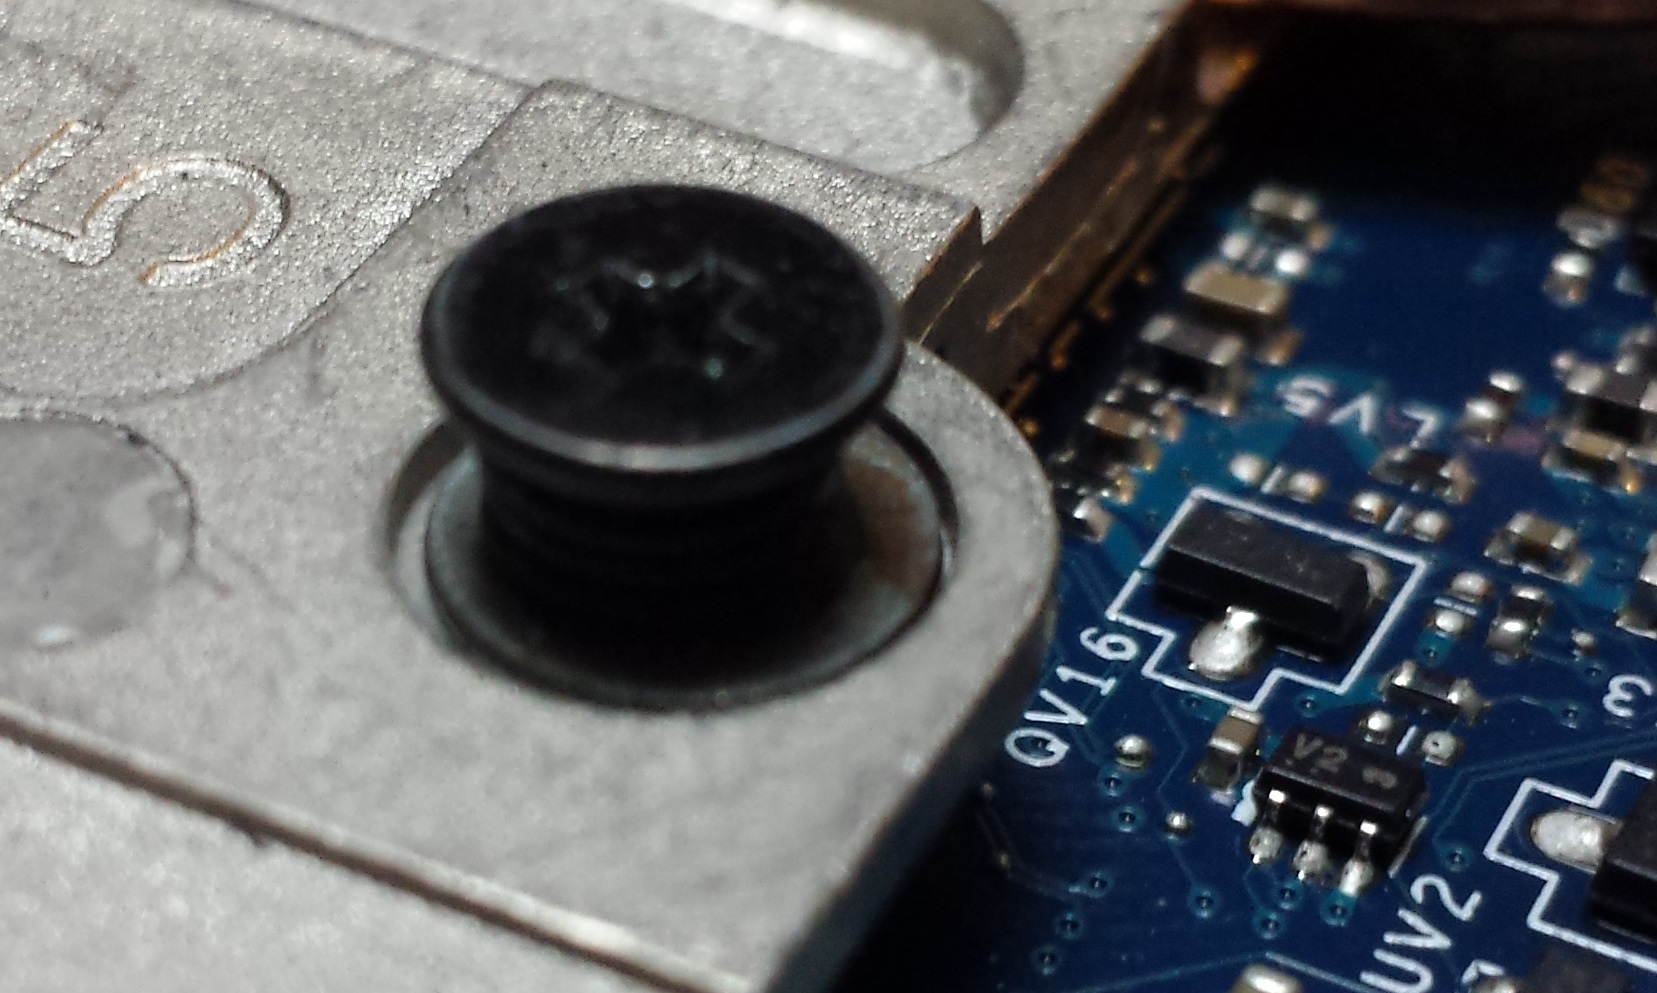
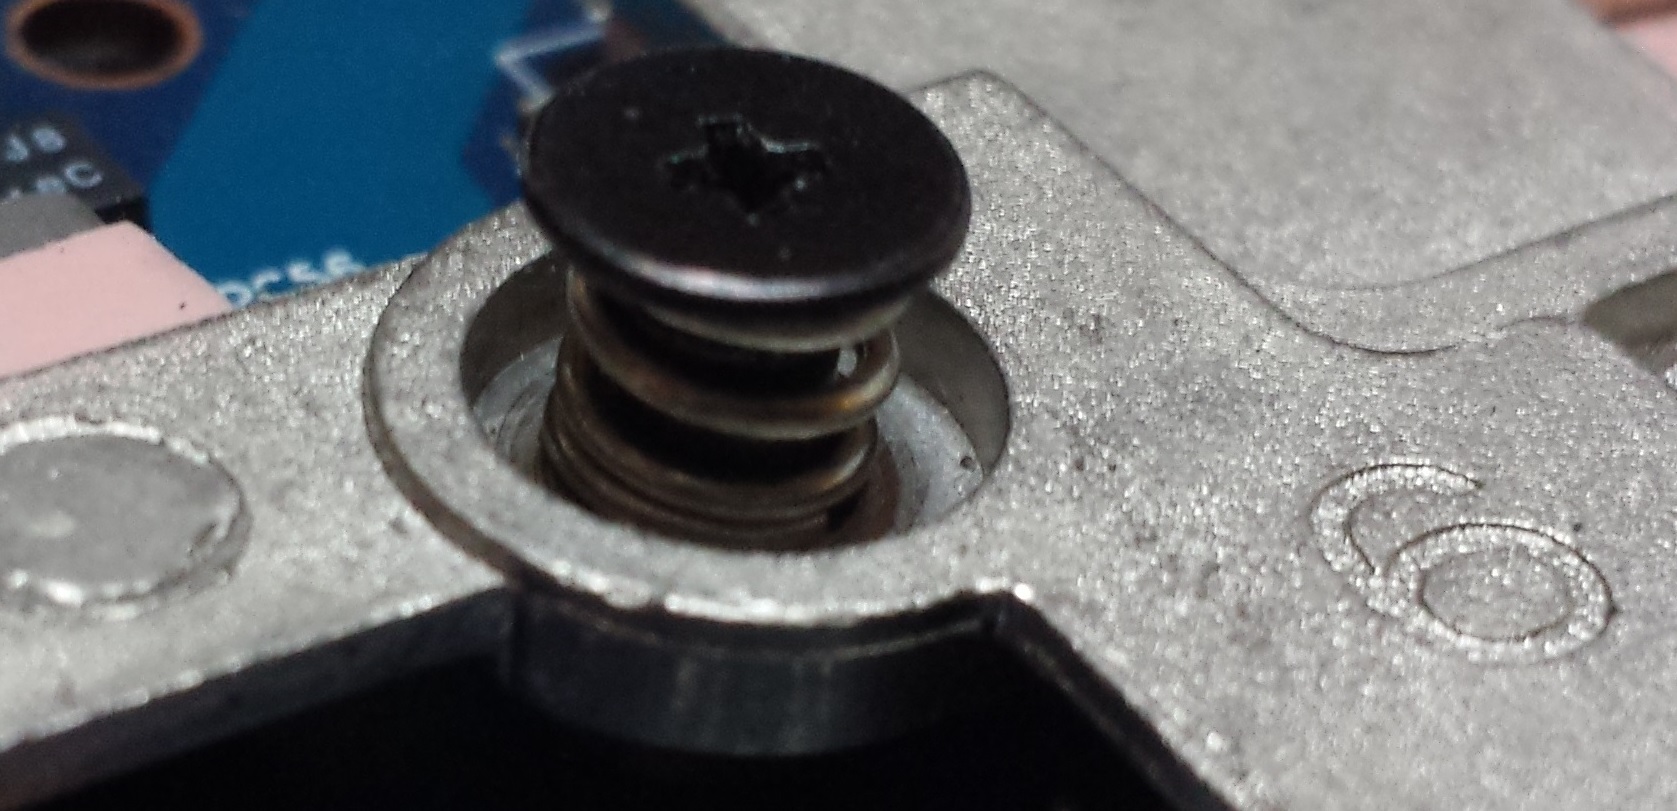
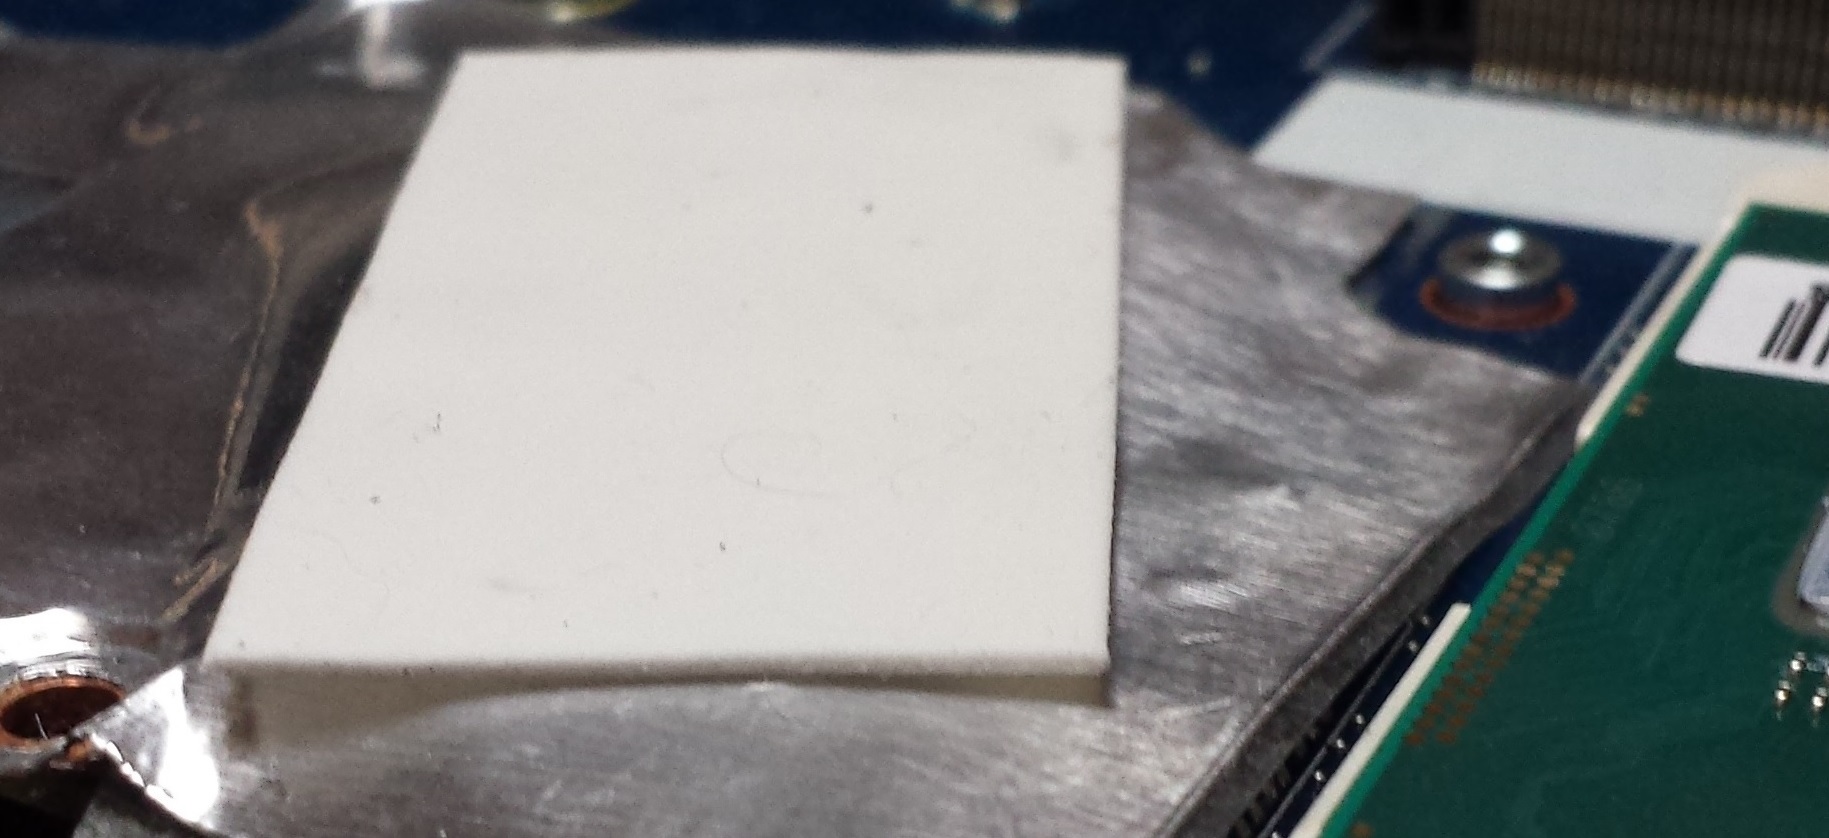
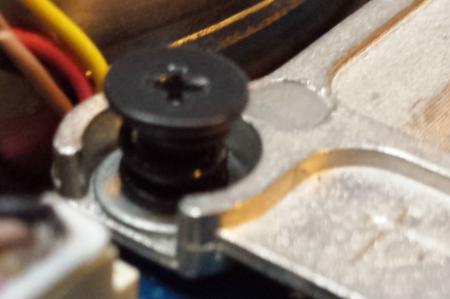
Hi! edit: merged with Conscriptvirus's post so it's easier to follow: This modification is very dangerous, can lead to broken chips. Don't say i didn't warned you... edit: he's right, it is easy Lenovo did a sloppy job with cooler, too much thermal paste, weak springs, overheating and throttling machines... First of all, disassemble the machine. Then do a repaste, with bare minimum amount of thermal paste, and remove cooler again, check thermal paste spread. Remove screws from cooler, by removing little plastik washers, keeping the screws to fall out. My gpu heatsink was not paralllel to motherboard, so the corner without screw was slightly bended upwards. Twist the gpu heatsink, so that corner is pushing gap pad a little bit harder. Be very gentle, you dont want to broke your heatsink. You can check level by putting your heatsink on flat surface with gpu screws removed, cpu screws stays in place for now. Then place a 0,5mm spacer under the spring like seen on the following pictures These are screw number 4 and 5. Screw number 6 is using a weak spring, so use double spacer, or change it to a stronger spring: Put back plastik spacer, so screw stay in place. Do the same process with cpu heatsink. You can do this to ultrabay as well, but take extra caution, since there is no backplate, and it can lead to warped/broken board. Lastly change the gap pad over cpu vrm area, because it is too tick, I used 0,5mm piece: Aaand it's done! Put back heatsink, use as little amount of thermal paste as possible, and enjoy 10-15+ lower temperatures. Spacers was lying around, i had the spring from some old heatsink, so dont have exact types and diameters, but Conscriptvirus did the mod also, his mod is better to look at, spacer perfectly fit into heatsink holes edit: I also did cpu mod, ended up adding a washer to screw 6, despite of changed spring, gained 1C-3C. I can run XTU stress test under 85C with -95mV and 3,4Ghz 4core. GPU and CPU idle is under 50, without notebook stand with fans. Thanks to Conscriptvirus for his effort and pictures. If it worth to be sticky, Mods, please make it one. Regards


 1 point
 -
Since I started to use the Ultrabay eGPU setup(Thanks to Gerald) with the RX 470. I noticed a CPU bottleneck in some games that need some CPU horsepower (Witcher 3, Watchdogs 2, GTA V ...etc). So the first thing I did was to replace the thermal paste and clean the laptop from the inside. I used Arctic MX-4 TP and results were impressive(I got rid of instant thermal throttle of the cheap TP that I had before). However, I was not satisfied because I still can not maintain a constant 3.4 Ghz on all cores without hitting 99c(aka thermal throttle). Next I figured what is the highest clock I can get my cpu to on a single core, 2 cores, 3 cores and 4 cores while keeping temperatures within the acceptable range and set up a custom OC profile(using Throttle stop) with the following settings: * -60mV on the core offset voltage. * Difference multiplier ratios for different core usage as shown in the picture below. The achieved temperatures are really nice hovering in 75-85(4 cores @2.8 Ghz), ~65(single core @3.5Ghz) in CPU intensive games. if a game uses single core, then the CPU will run at 3.5 GHz, if four cores then it will run at a 2.8 Ghz. that way I kept both temperatures and fan noise level in check. However, I'm still looking for a better cooling solution that will allow me to run the CPU at 3.4-3.5 Ghz all the time. Here are couple of ideas that came to my mind: 1- attach another cooler to the heat pipes that are exposed when removing the bottom cover of the laptop (AIO water cooler or air cooler; the AIO is an expensive option but will be easier to mount). 2- same as above but using a custom copper pipes from the exposed heat pipes of the laptop to an external CPU cooler. in other words external heat pipes to a secondary external heatsink. 3- strip the laptops motherboard and mount a water cooler (no idea how to do so, thermal glue or custom bracket?). 4-Give me your idea. I need your help to help me decide which path to go and if there is a better way to do it. I really wanna get the max performance out of my 4700MQ.1 point