thanats007
Registered User-
Posts
83 -
Joined
-
Last visited
-
Days Won
3
thanats007 last won the day on September 23 2012
thanats007 had the most liked content!
About thanats007
- Birthday 03/23/1978
Recent Profile Visitors
The recent visitors block is disabled and is not being shown to other users.
thanats007's Achievements

T|I Semi Advanced (3/7)
57
Reputation
-
my M14x R2 "experimental cooling mod" success!!!
thanats007 replied to thanats007's topic in Alienware M14x / AW 14
I used Phobya XT 7w/mk 1,5mm pads for the 4 GPU chips and 1x 1mm for the GPU`s PCB surface. Good Luck and be careful! -
my M14x R2 "experimental cooling mod" success!!!
thanats007 replied to thanats007's topic in Alienware M14x / AW 14
No the pads have no contact to anything. The idea is to spread the heat to a bigger surface not to let it dissipate somewhere to. The copper shim of the PCH is connected to the lid and the lid has only little contact to the backside of the keyboard metal surface. Some heat may be spread on this big surface but most stays in the shim and the pad. It takes a little longer now for the PCH to go down in temperature but it also rises slower and mostly stays at lower temps than before. If youre using your M14x at high TDP output and switch to lower output phases alot this mod is not too good i guess. But im using it mostly in office mode and with turbo disabled even. -
my M14x R2 "experimental cooling mod" success!!!
thanats007 replied to thanats007's topic in Alienware M14x / AW 14
Sorry for the delay im not too often in this Forum anymore since all issues are solved and im just enjoying my M14x R2 now. Quix is right it will decrease the cooling effect on the fins and therefor the heatpipe. The only sense for this Kind of mod is when you are using additional heatsinks that get cooled that way. In my opinion the loss/advantage of cutting a hole in the fancase for airflow inside is not worth it. The PCB dont need cooling and direct cooling of other parts of the heatpipe is against the cooling system of the pipe where the acetate which get cooled moves into the other direction where the hot acetate comes from. Only the chips/converters need cooling cause they are the components where the energy goes thru and heating takes effect. (sorry for my english) By cooling the fins as Quix is mentioning the cooling system of the pipes would be improved and needs less active cooling = less noise. Maybe this would be a new idea for an even better mod. Heating is the only wear off effect so decreasing or controlling is the way to increase the life of your notebook. Thats why i even did a "every-single-chip/converter-mod" since all of them are affected and add up to overall temperature. -
my M14x R2 "experimental cooling mod" success!!!
thanats007 replied to thanats007's topic in Alienware M14x / AW 14
Well the longest part was the cutting and fitting of the pads for the many voltage converters and chips. Im very used to this notebook since i did alot of repastes / upgrades etc on the M14x R1 and R2. Id say alone for the pads customizations 1-1,5 hours. All in all 2 hours. I didnt count the time so its a raw guess. The disassembly is pretty fast id say 15 min. The reassembly maybe 30 min. But time shouldnt be a factor at doing this. Id recommend taking all the time needed just to be careful and do it precisely. Check every cable 2 times since you dont want to open it again and again. And dont be afraid of the beeps after first startup. Its normal for the M14x that it only starts loading at the 2nd restart. -
my M14x R2 "experimental cooling mod" success!!!
thanats007 replied to thanats007's topic in Alienware M14x / AW 14
Ofc there still is noise but its alot lower since it doesnt turn on hairdryer mode or cap the 5k rpm like before the mod. Still working all good so far. -
my M14x R2 "experimental cooling mod" success!!!
thanats007 replied to thanats007's topic in Alienware M14x / AW 14
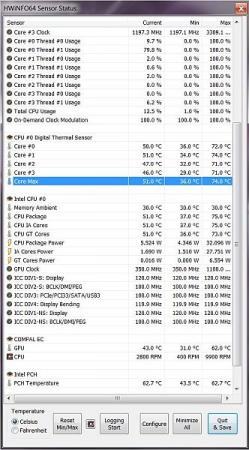
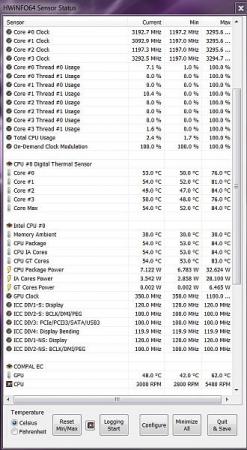
Thanks man! xD Too bad the converters and GPU memory having no sensors for heat measuring since this was the biggest part of my mod. Only the PCH is clearly proven running cooler. I think its all together what makes the CPU running cooler. The tiny copper heatsink maybe some %, the many converter pads, the layer ofc and a little bit the IC Diamond. In the end its a longlivity mod with a great side effect of a cooler running CPU which was the main reason i felt motivated to do any mod at all. The GPU is not running significant cooler than with my MX-4 repaste but i guess the high class pads for the GPU memory is a nice advantage that gives me unmeasurable advantages specially in OCing. I never had throttling since i repasted my M14x R2 right after i got it but now the GPU runs even a bit cooler than with the first repaste. However thank you all for the kind words. If anyone else has any questions or suggestions feel free to ask me - feedback is very welcome. -
my M14x R2 "experimental cooling mod" success!!!
thanats007 posted a topic in Alienware M14x / AW 14
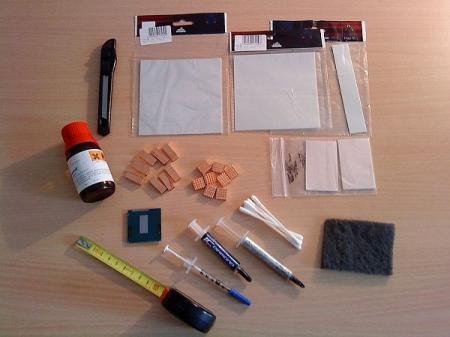
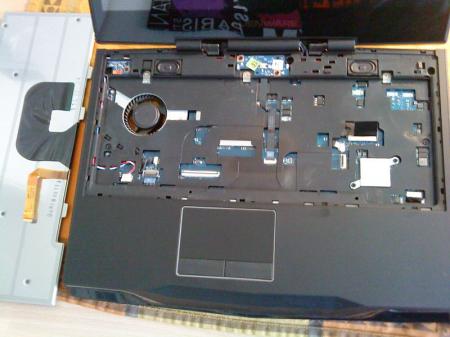
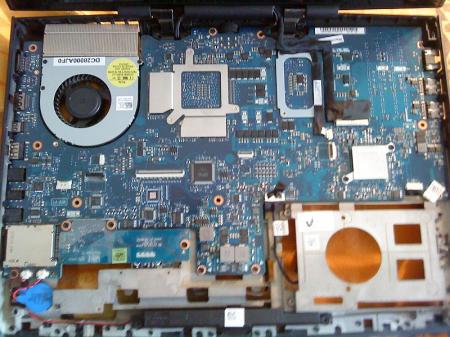
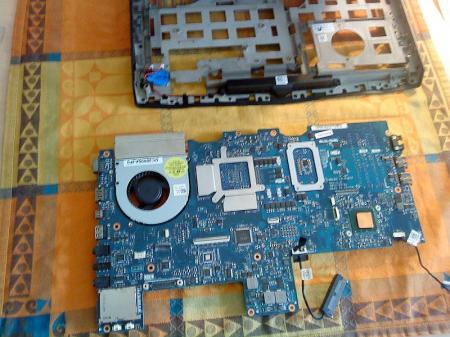
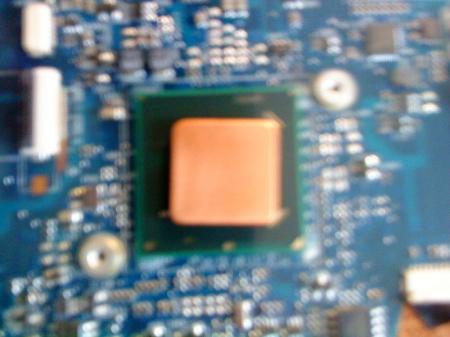
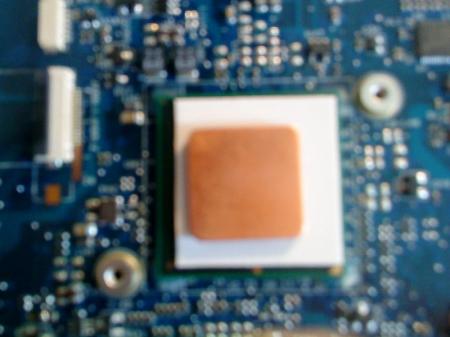
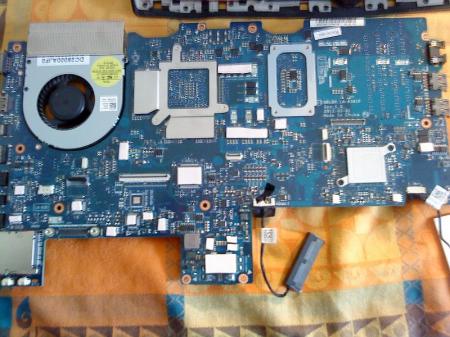
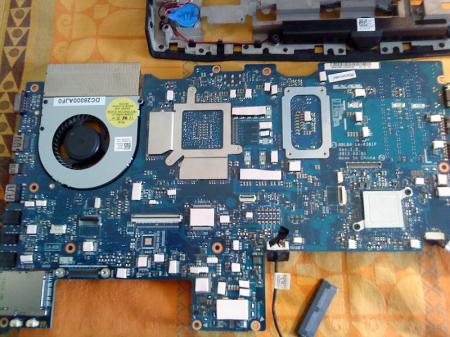
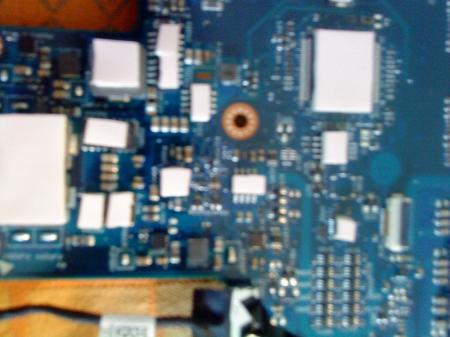
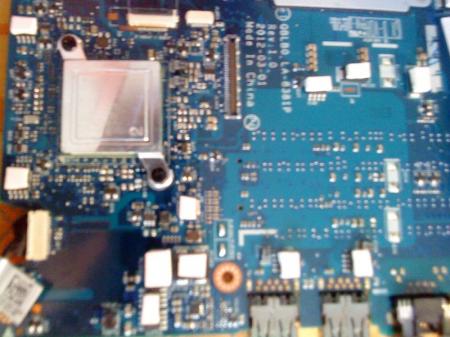
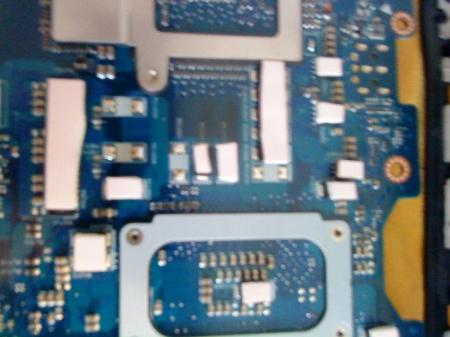
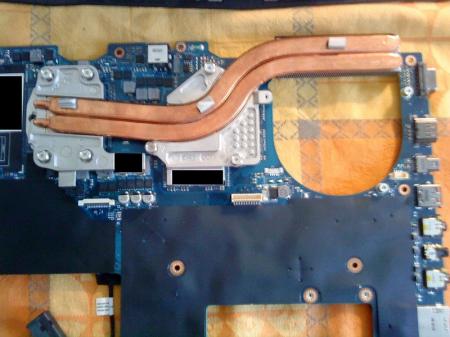
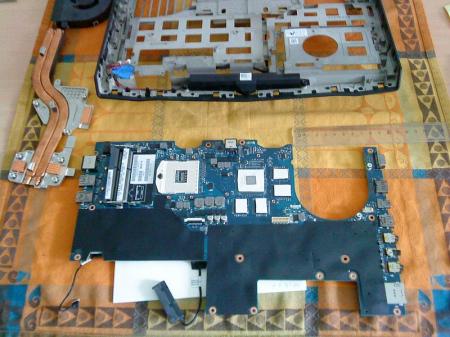
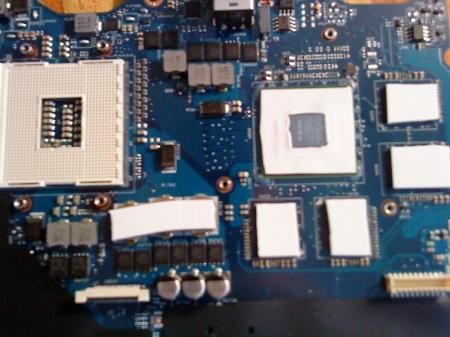
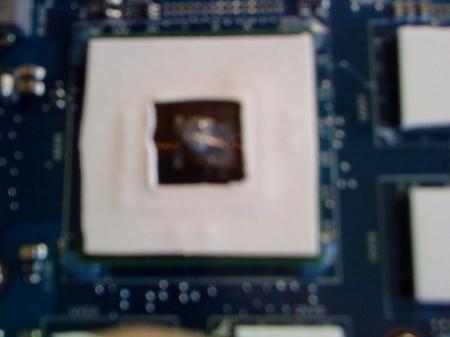
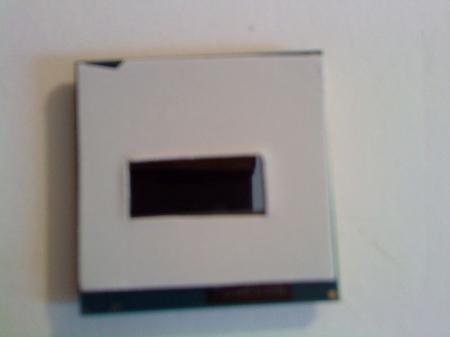
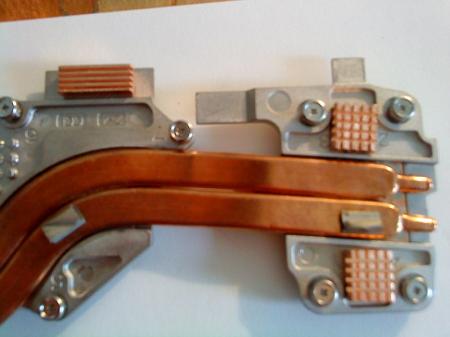
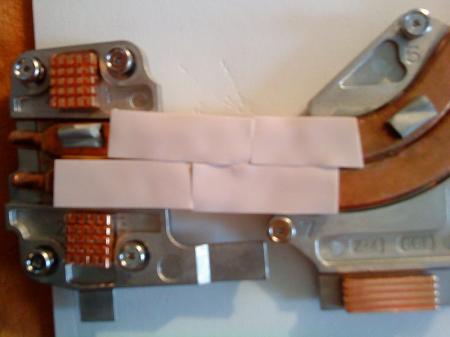
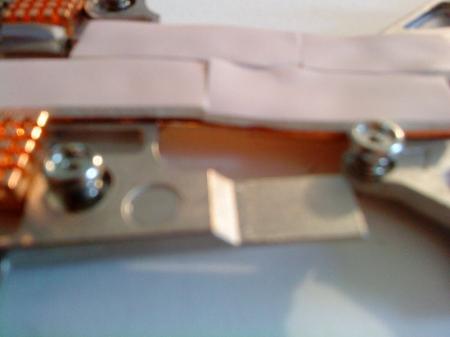
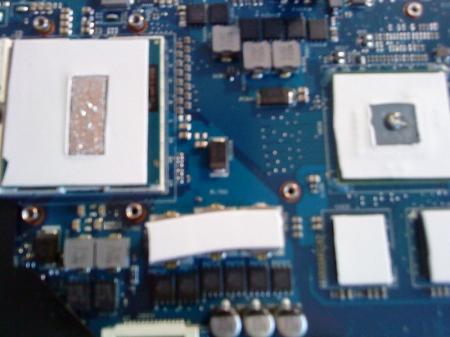
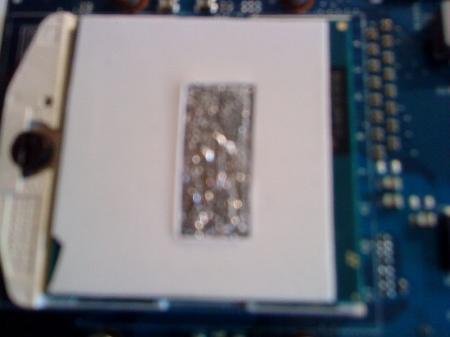
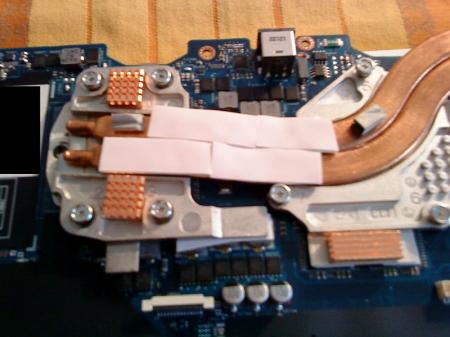
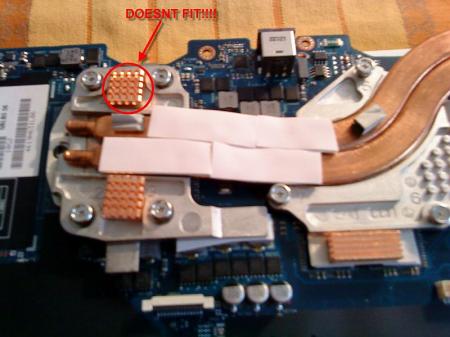
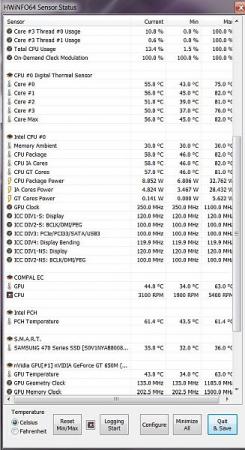
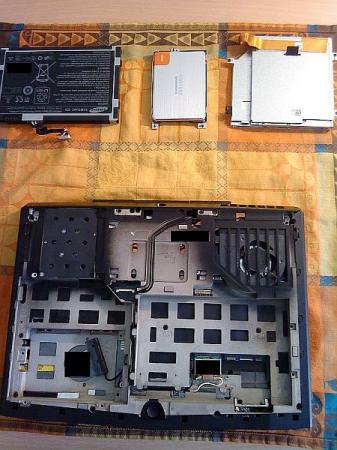
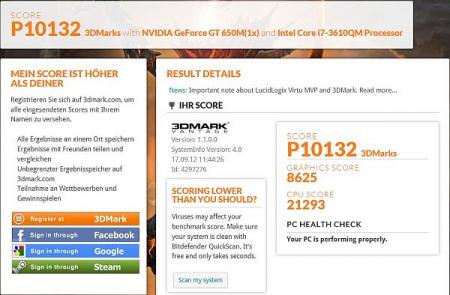
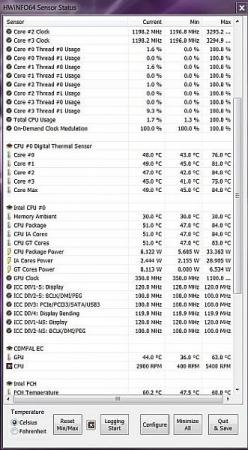
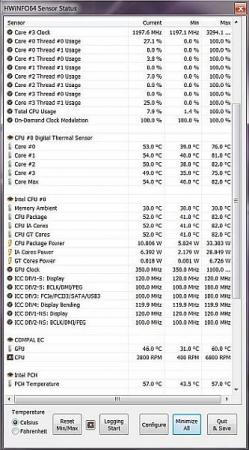
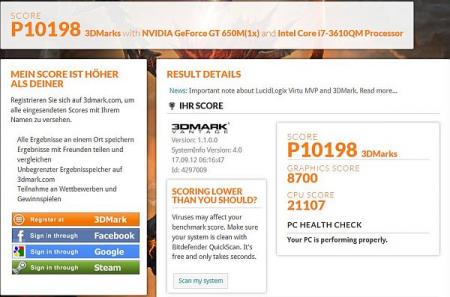
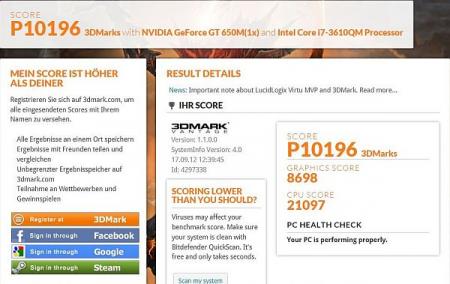
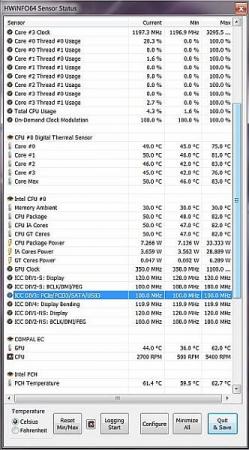
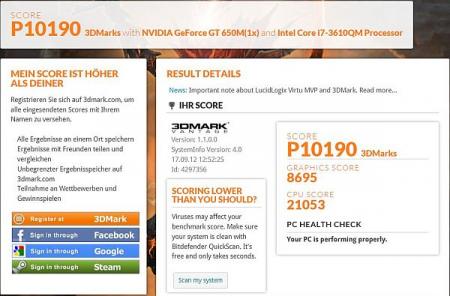
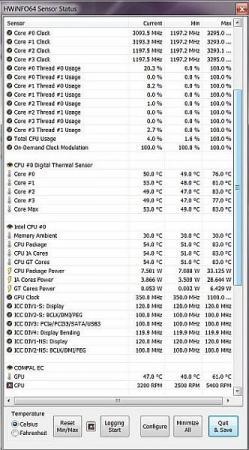
So after gathering different ingredients i did my first "experimental cooling mod" for the M14x R2. The idea was to use this awesome formfactor powerful toy at full performance without disturbing fan noise, too high temperatures and extreme wear off effects. My first idea was to repaste it with better thermal paste since alot of people did this with great success. i used MX4 before and now in this mod IC Diamond for both CPU and GPU. Then i did a PCH cooling mod you can find details about in my thread : http://forum.techinferno.com/alienware-m14x/1874-my-m14x-r2-pch-cooling-mod.html The next step was to cut alot of fitting peaces of 2mm thick 1 w/mk adhesive thermal pads for all voltage converters / chips on the upper mainboard side since heat dissipates upwards and there are alot more surfaces on the upper side of the board (not the GPU / CPU side). Since overclocking also raises temps of these chips and converters + the fact that wear off due to heat is a big issue in all electronic components i thought this wont be a bad idea. After this i cut pieces of 0,5mm thick Phobya 7 w/mk thermal pads for the CPU and GPU so the heat can dissipate also horizontal and reaches more surface of the heatspreader downside. I also added 1 layer for the PCH as an addition for the PCH cooling mod. Then i tried to stick as much copper heatsinks as possible on the heatpipe / heatsink to add more surface as a passive cooling addition. However success was not too great due to the highly compressed vertical design and i ended up only sticking 2 of my bought 16 copper pieces on the heatsink. It wasnt possible to reassemble the chassis with more than these 2 pieces attached to the heatsink or pipes. So i used bigger parts of the 2 mm 1 w/mk thermal pads on top of the CPU end of the heatpipe since it can be pressed to 1/2 of its size. The most trickiest part was the many small thermal pads on chip / converters thingy since you have to be very patient with all the tiny pieces that stick to everything but not the surface you wanted it on. The result of my mod is very good. Now i can use my M14x R2 with Turbo on without the horrible hair dryer mode and no 80 C + temps no matter if i do OC or not. GPU stays at max 62 C in stress tests / 59 C while gaming. CPU never reaches 80 C anymore and stays in the mid 70´s C. The only downside is that the temps do climb down slower now but i think this is a small tradeoff for the fact that i can use Turbo all the time now without noise and heat problems anymore. Plus the fact that my system can survive much more years as with temps of 80 C +. Here is the step by step with result comparison. 1. Preparations and Ingredients 2. Disassembly 3. PCH mod addition before 4. Thermal Pads 1 w/mk 2mm thick upper mainboard voltage converters and chips part 1 closeups: 5. GPU thermal pad 7 w/mk mod + GPU layer mod + IC Diamond Repaste before: 6. CPU + Heatsink mod thermal pads 1 w/mk + 7 w/mk + copper heatsinks (note the upper piece marked in red doesnt fit!!!! check pics and dont try this at home!!!) (Here is a pic just to make sure where you can see which heatsink doesnt fit!) (also note that the liquid metal you can see on the CPU was removed before reassembly and exchanged with IC Diamond) Result comparisons: temps before this mod using Turbo + max OC + PCH cooling mod part 1 temps after this mod using Turbo + max OC + PCH cooling mod part 2 The 9900 rpm fanspeed is a bug i dont know why but the max fanspeed was 4200 rpm at 74 C but mostly it was max at 3800 rpm which is very quiet compared to before 5400 rpm hairdryer mode. Before my first repaste and without this mod it even reached 89 C and the fan hit 5800 rpm which was extreme disturbing. So i can say this mod was very successful in addition to a simply repaste and my PCH cooling mod. Im looking forward to use my M14x now for years without the need to open it again. Pros +lower temps and noise even when extreme OCing +better longlivity Contra -temps go down slower but not very significant I hope my results help you to figure your own awesome mod out that helps you with your system to achieve max performance gains by a DIY way. edit: as always this is my way to contribute for all the helpful work of svl7, mw86, StamatisX and all the productive, competent and helpful users in this forum.- 27 replies
-
- 12
-

-
Hey sry for the delay. I gave up on lowering the Watts on the R2. There is no amperage control in the advanced BIOS options. I disabled short duration and changed long duration in my tests. Seems no change in these settings do anything at all. About XTU im not going to try this since i only wanted to do it by BIOS options. Thanks for all the attempts @mw86 but i guess if not someone genius can manage to lower it by some trick in the BIOS it wont work at all. Too bad this would have been another way to lower the temps.
- 25 replies
-
I tried to set Short and Long Duration Power Limit on default max of the Short Duration Power Limit. This has no effect also as you can see in my screen. Somehow its not possible to change anything even you can see the options. The Guide doesnt help me since the changes seem to work with M14x R1. Im clueless what to do now. I guess it just dont work and i have to stick to disabling Turbo as only way to decrease temps. CPU Overclocking enabled. 56 Watt Long Duration Power Limit / 56 Watt Short Duration Power Limit enabled.
- 25 replies
-
Here are my results: CPU Overclocking enabled no setting changed. 45 Watt Long Duration Power Limit. CPU Overclocking enabled. 35 Watt Long Duration Power Limit / Short Duration Power Limit disabled. CPU Overclocking enabled. 30 Watt Long Duration Power Limit / Short Duration Power Limit disabled. CPU Overclocking enabled. 10 Watt Long Duration Power Limit / Short Duration Power Limit disabled. As you can it has no influence on anything at all. Any idea why that can be @mw86? My suggestion is the settings are only for Overclocking but Downclocking doesnt work at all.
- 25 replies
-
Thanks for the detailed explanation thats all i was looking for in this thread! I will test the settings as you advised them tomorrow when i got some time for testing and will post the results here now its very late where i live.
- 25 replies
-
@mw86 Sry to quote myself but please could you tell us what numbers will disable the short duration limit? And what else can we set it to for lowering the TDP / heat?
- 25 replies
-
How can i disable the short power limit duration in this setting? And what shall i set the other numbers to? Override Turbo settings Allows you to override CPU turbo mode settings. Long Duration Power Limit Allows you to set the turbo mode power limit 1 value in watts. Long Duration Time Window Allows you to set the turbo mode time 1 value in seconds. Short Duration Power Limit Allows you to enable or disable short duration power limit. Short Duration Time Window I have no clue what numbers for what setting may be correct and im afraid to change numbers i dont know what they will do.
- 25 replies
-
Sry i have no links for specific fans. What you need is a forecon DF... or DC... dunno the number atm. I also dont want to be responsible for failed experiments of you. Apple uses way more expensive Delta Electronics Brushless fans that can mostly ramp up to only 4000rpm. However they are 1. way more expensive than forconns and 2. different form factor and as far as i remember 2-pin or 3-pin connectored. The Deltas are known to be super silent in idle 2000ish rpm. But they will be just as loud as the forcons when they are at the same speed or nearly as loud at least. My idea is actually to cut holes into the chassis of the fan to reduce the noise when the airflow presses to the plastics at the backside. Since this the most extreme noise factor it needs some kind of workaround. Also remember Macbooks are made of Aluminium not plastics like the M14x. So the airflow do not press thru any plastics array which is also a considerable factor.
-
Sure if you can find a more quiet fan of the same size. Actually it has a relative quiet (for Dell) Foreconn fan inside which is a low budget but relative low noise fan compared to other fans Dell put into their notebooks. Sunons are far more noisy and they are more common in Dell notebooks. I couldnt find yet a less noisy fan that can run at 4000-5600rpm with less noise than the current but good luck to you.


