Search the Community
Showing results for tags 'cooling improvement'.
-
I've jus bought a 5750g second hand (i5 2430M 2.4 GHz & nvidia 540M 2GB) and it's running really hot, i'm getting 95+ temperatures on both the cpu and gpu while gaming, so big thermal throttling framerate drops apply. The thing is that the fan looks almost perfectly clean so i'm discarding that option but given the fact that this laptop only have one heatsink for the cpu the gpu and the chipset and that the fan is not providing enough air flow i want to ask you for some cooling tricks to lower the full load temp to 80 or 85. About the fan, it doesn't achieve the same rate under load that the one it gets while booting, just after powering the laptop the fan goes crazy and then drops to it's usual rate and that's not enough. At the moment i'm thinking on: -replacing the stock thermal compound -buying a cooling pad <-not a big fan of this one, i think the system should take care of itself -hacking the fan to bypass the pwm control and soldering it directly to a 5v line, jet engine rpm on demand.
-
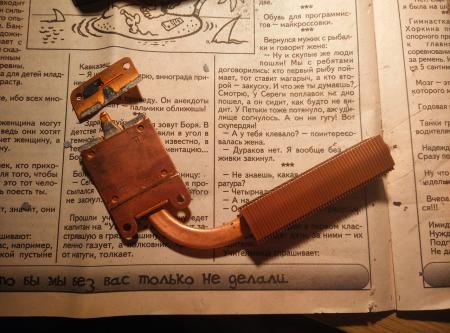
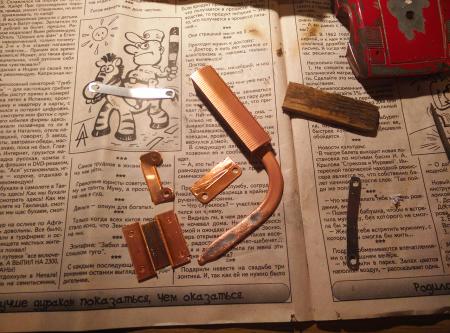
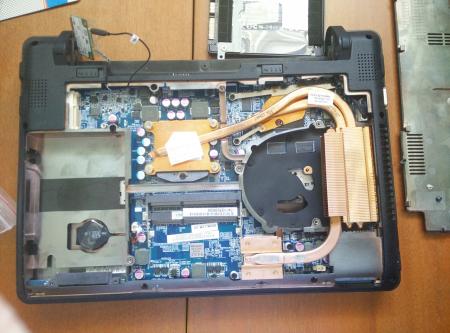
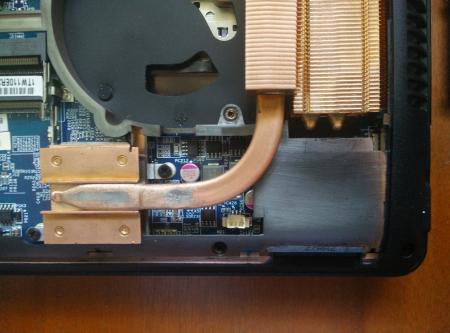
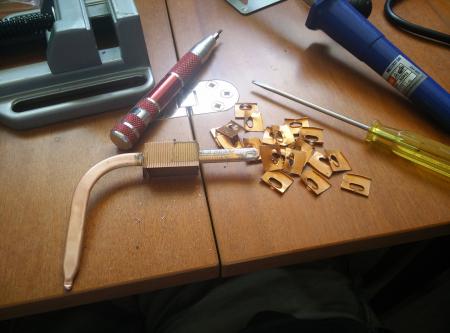
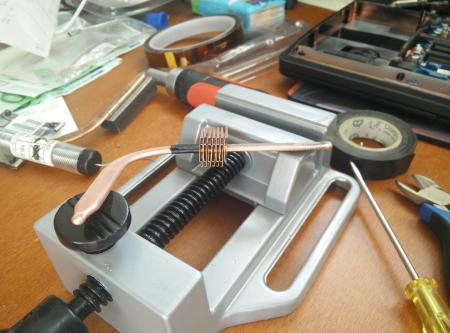
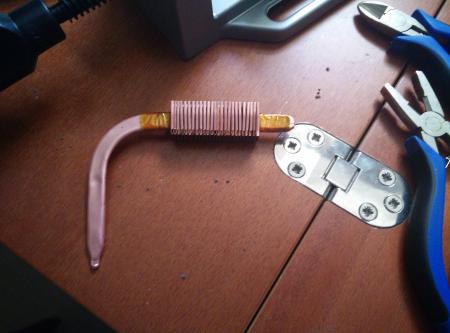
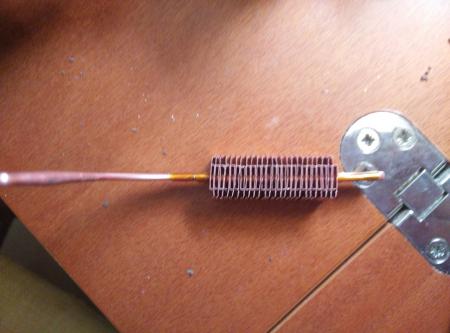
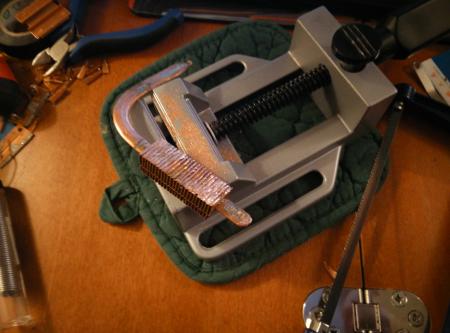
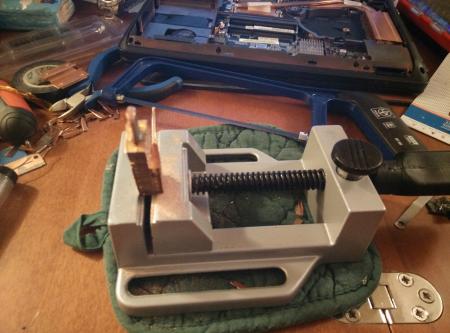
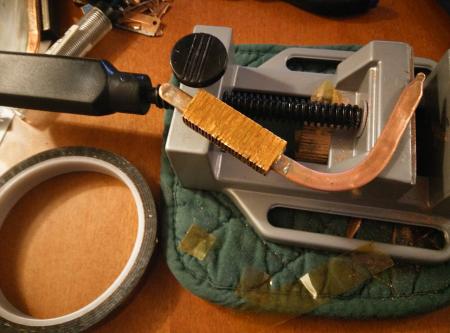
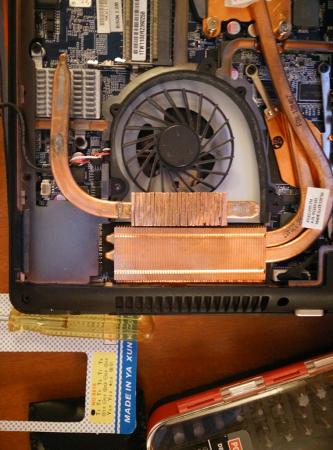
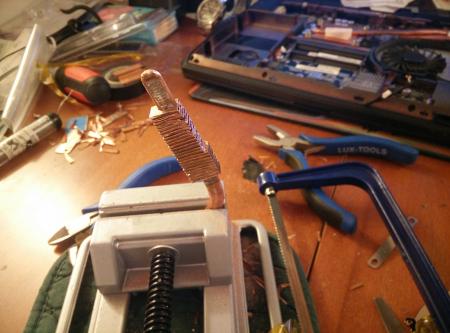
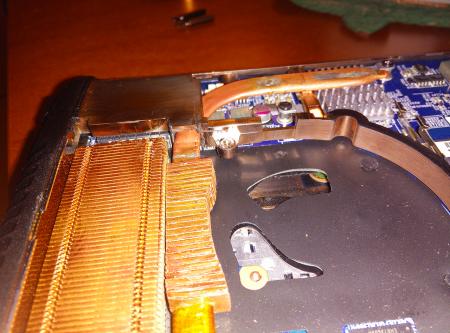
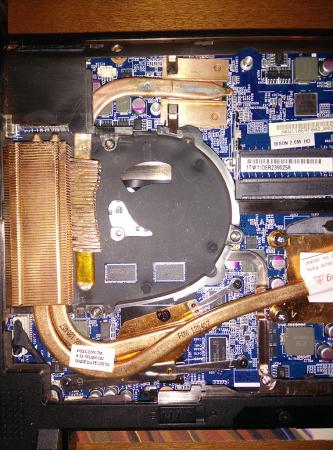
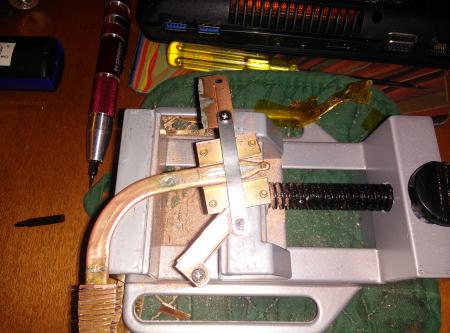
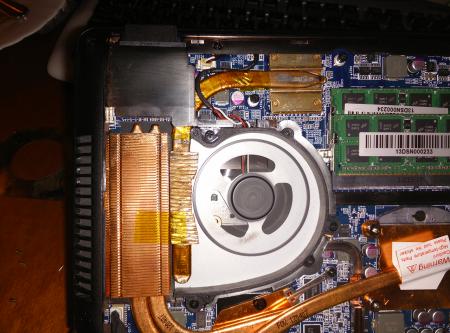
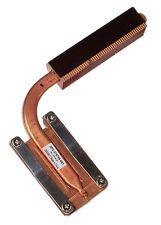
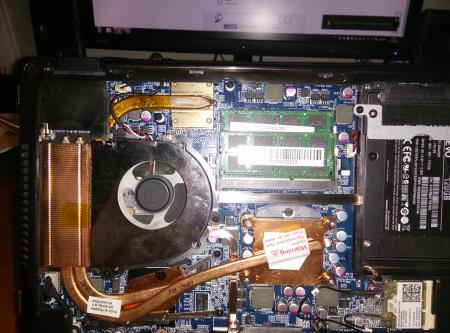
Hi! I was really impressed by Prema's cooling mod and I've decided to make something with PCH in my XMG A102 (Clevo W110ER with i7 3632QM) because it was getting so much that I couldn't hold a finger on it more than 2-3 sec. (there is no thermal sensor in there, so I couldn't measure it) If you are interested only in result please look the second spoiler only. If you are interested in creation process - take a look at the first one also. Creating process: The main idea of my mod is: there must be as few as possible irreversible changes made to notebook. So on the nearest electronic market I've found used heatpipe with radiator from very old HP notebook. Here is the model, if you will want to buy it in internet: SPS: 379799-001. It has perfect size but the platform is on the opposite side and the radiator is too large to place it without cutting. First I wanted to do everything like Prema: attach new heatpipe to Clevo's radiator. But if you will look inside cooler you will see a lot of free void space in there. So I decided to place the new heatpipe with its own radiator right in there between cooler itself and the original radiator so the airflow would blow both radiators. So the first problem was to setup the platform on the opposite side of the heatpipe. I started with cutting on unnecessary parts of the platform because it was to big. After cutting I've decided platform from the heat pipe with heating them and with some force. Here you can see the idea of placing them inside Also I've controlled that no one element would be hurt on the motherboard (here you can see capacitors close to heatpipe) but only plastic. The new heatpipe would be between case and cardreader. Next I had to find a way to cut the radiator so it could feet between cooler and original radiator. After some cups of coffee and about an hour of measurement I decided that the best way to do it is to take off the radiator, reassembly it in a very strange way put it back and cut. Fixed with a thermal scotch and putted on soldering tin wire. After - putted in oven 200 C for 5 min. Cook until ready. After cooking I've started to cut off unnecessary parts. In the end I used the same fixed planks to fix heat pipe to platform, put soldering tin between them and cooked it again to fix them. And here we go. Putted on thermal pad, fixed with notebook case and thermal scotch. Result: After a couple of heavy benchmark tests during the benchmark (no additional cooling). USB ports are all active for heavy copping (including USB 3.0 and cardreader, so SB is busy too): I would like to say many thanks to Prema for his example of using heatpipes. Stay in touch! I am going to do some more mods with my new toy in couple of months. P.S. If you will be really interested in doing something like this yourself, feel free to ask me for help and assistance.
- 4 replies
-
- 2
-

-
- clevo w110er
- cooling improvement
-
(and 2 more)
Tagged with:


