Hello!
Just wanted to share my eGPU project. The goal of this build was to be a small, portable, yet powerful desktop gaming machine.
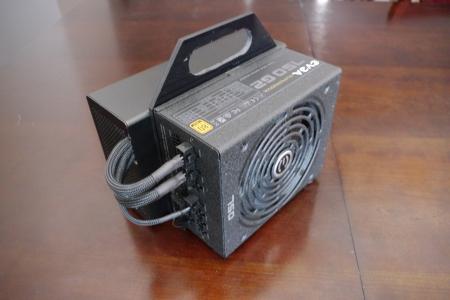
A requirement was to have the smallest possible case with handle for easy transport. My plan was to use the existing AKiTiO Thunder2
case and 'make it work' overcoming any issues that came up.
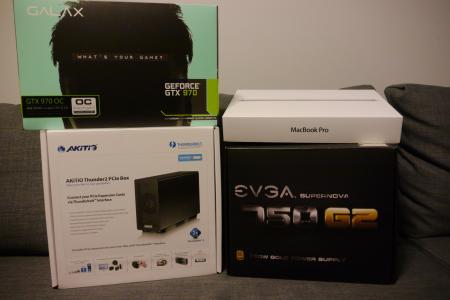
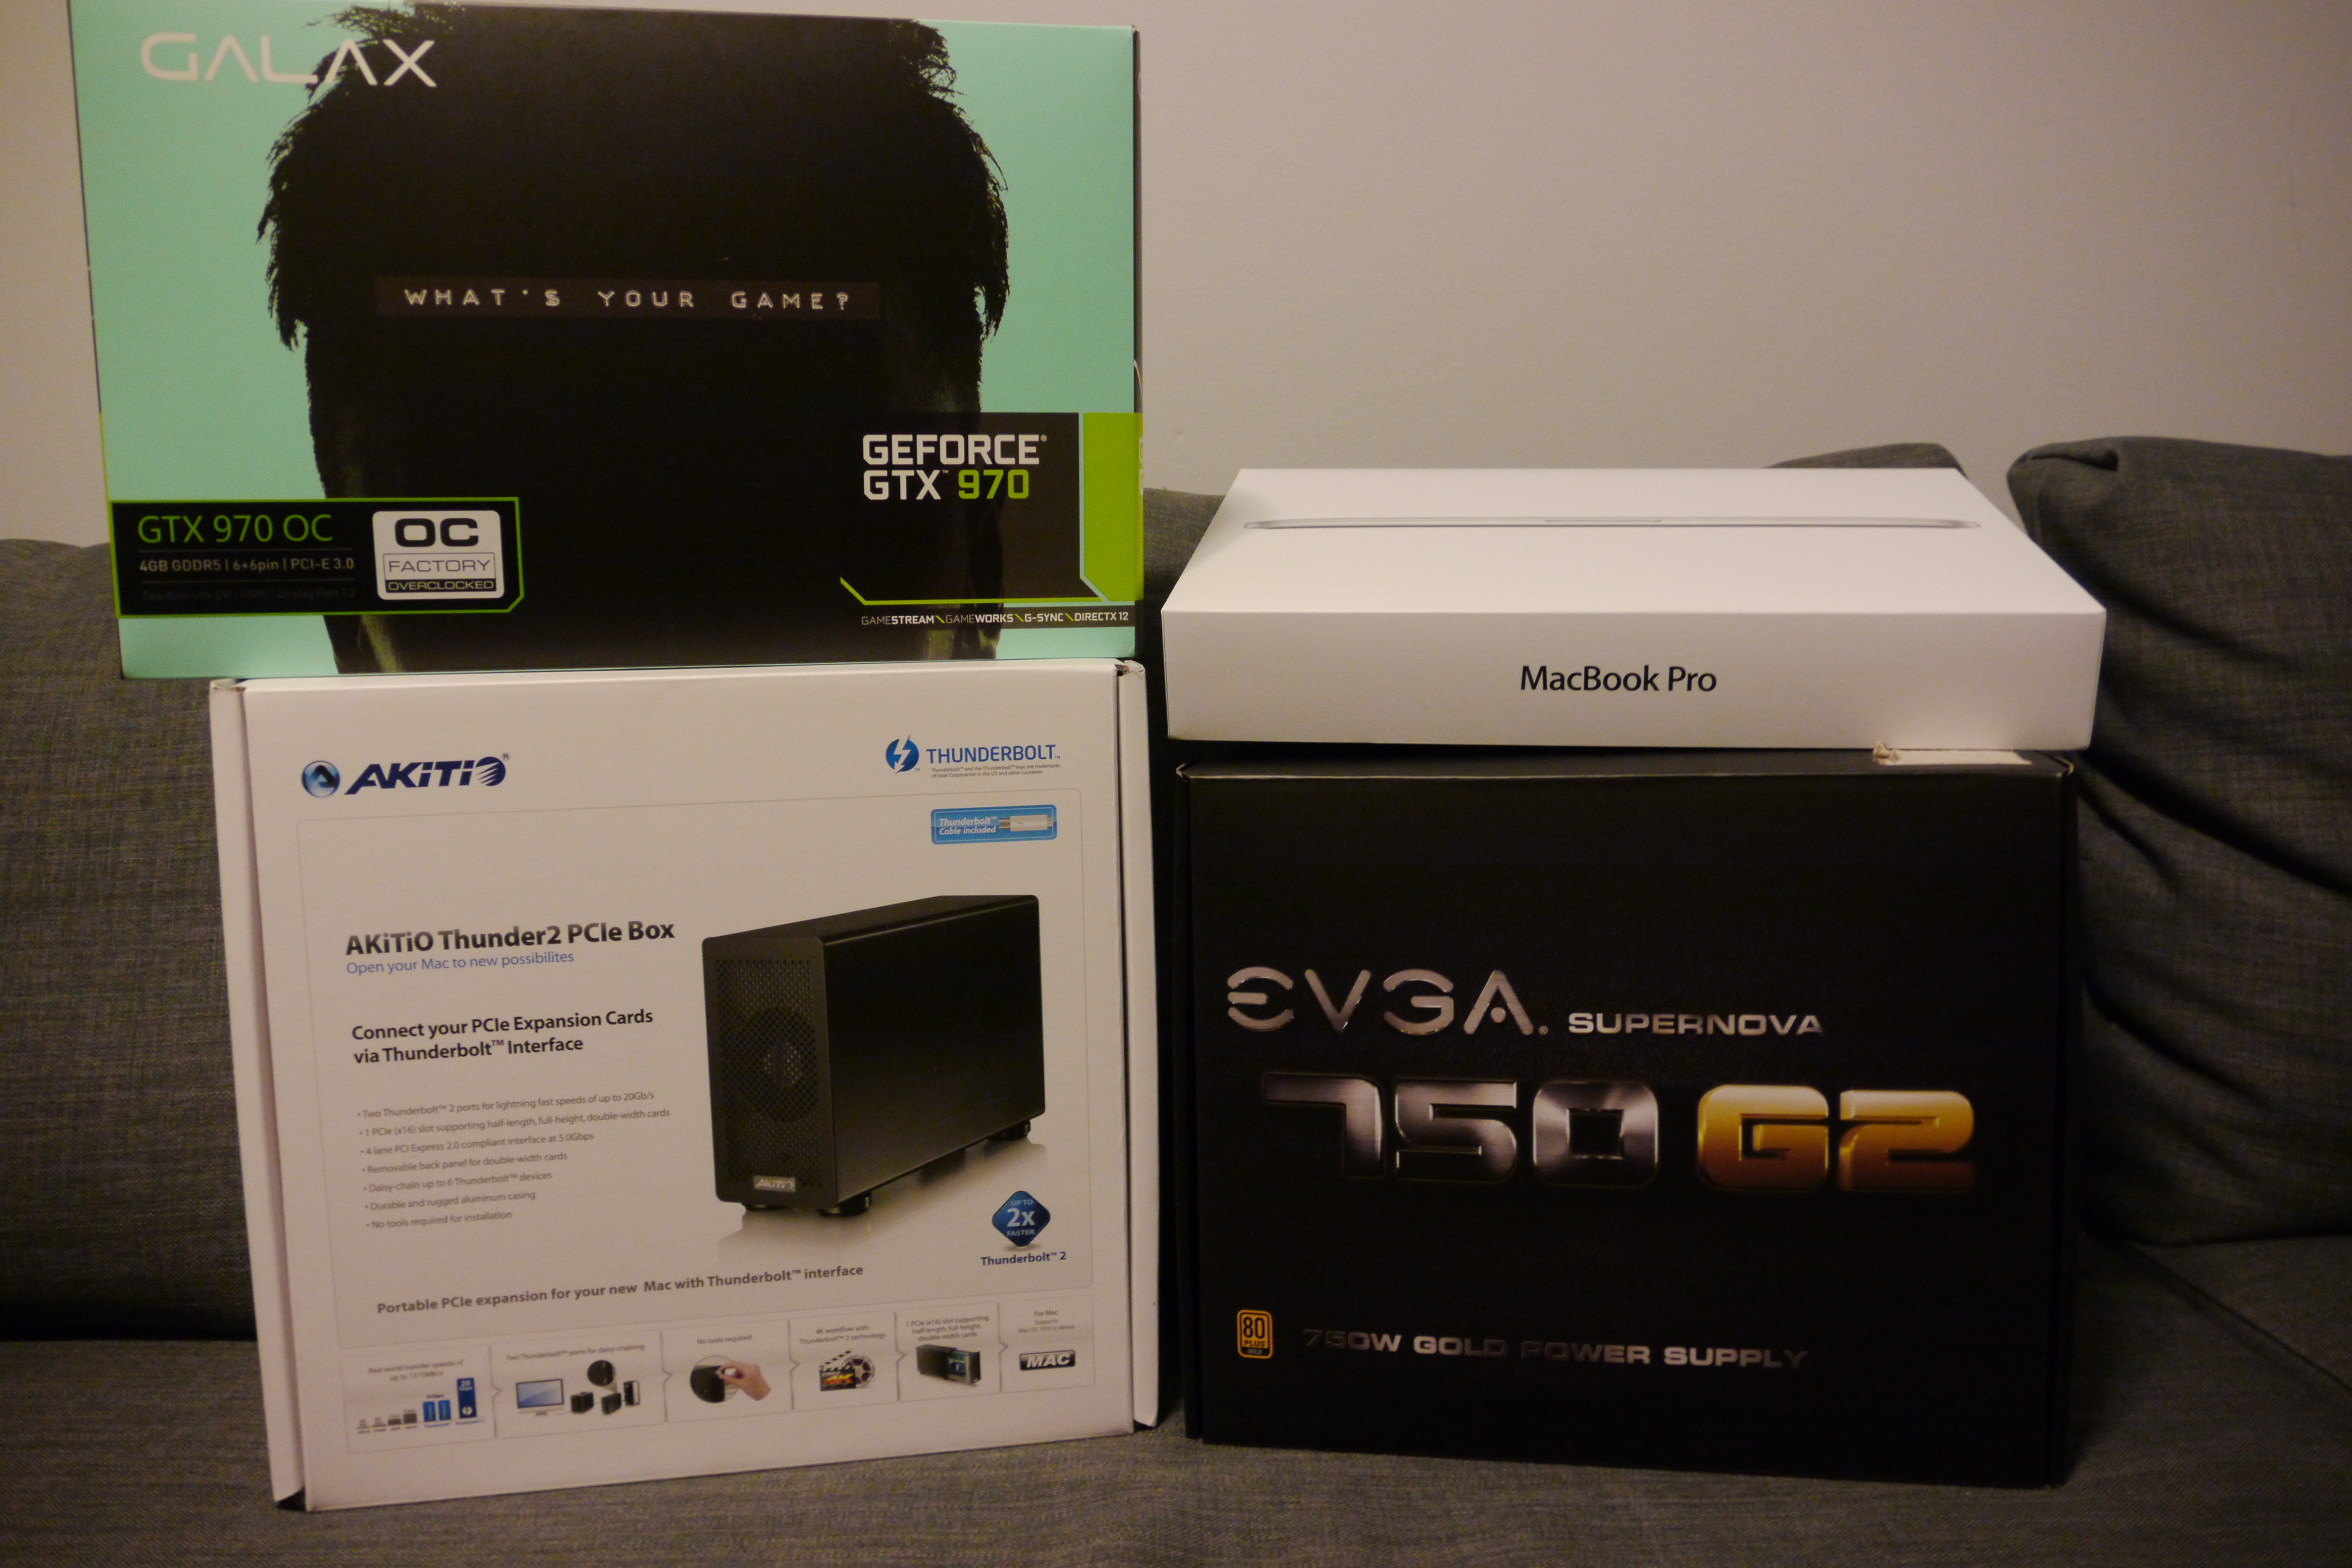
Build list:
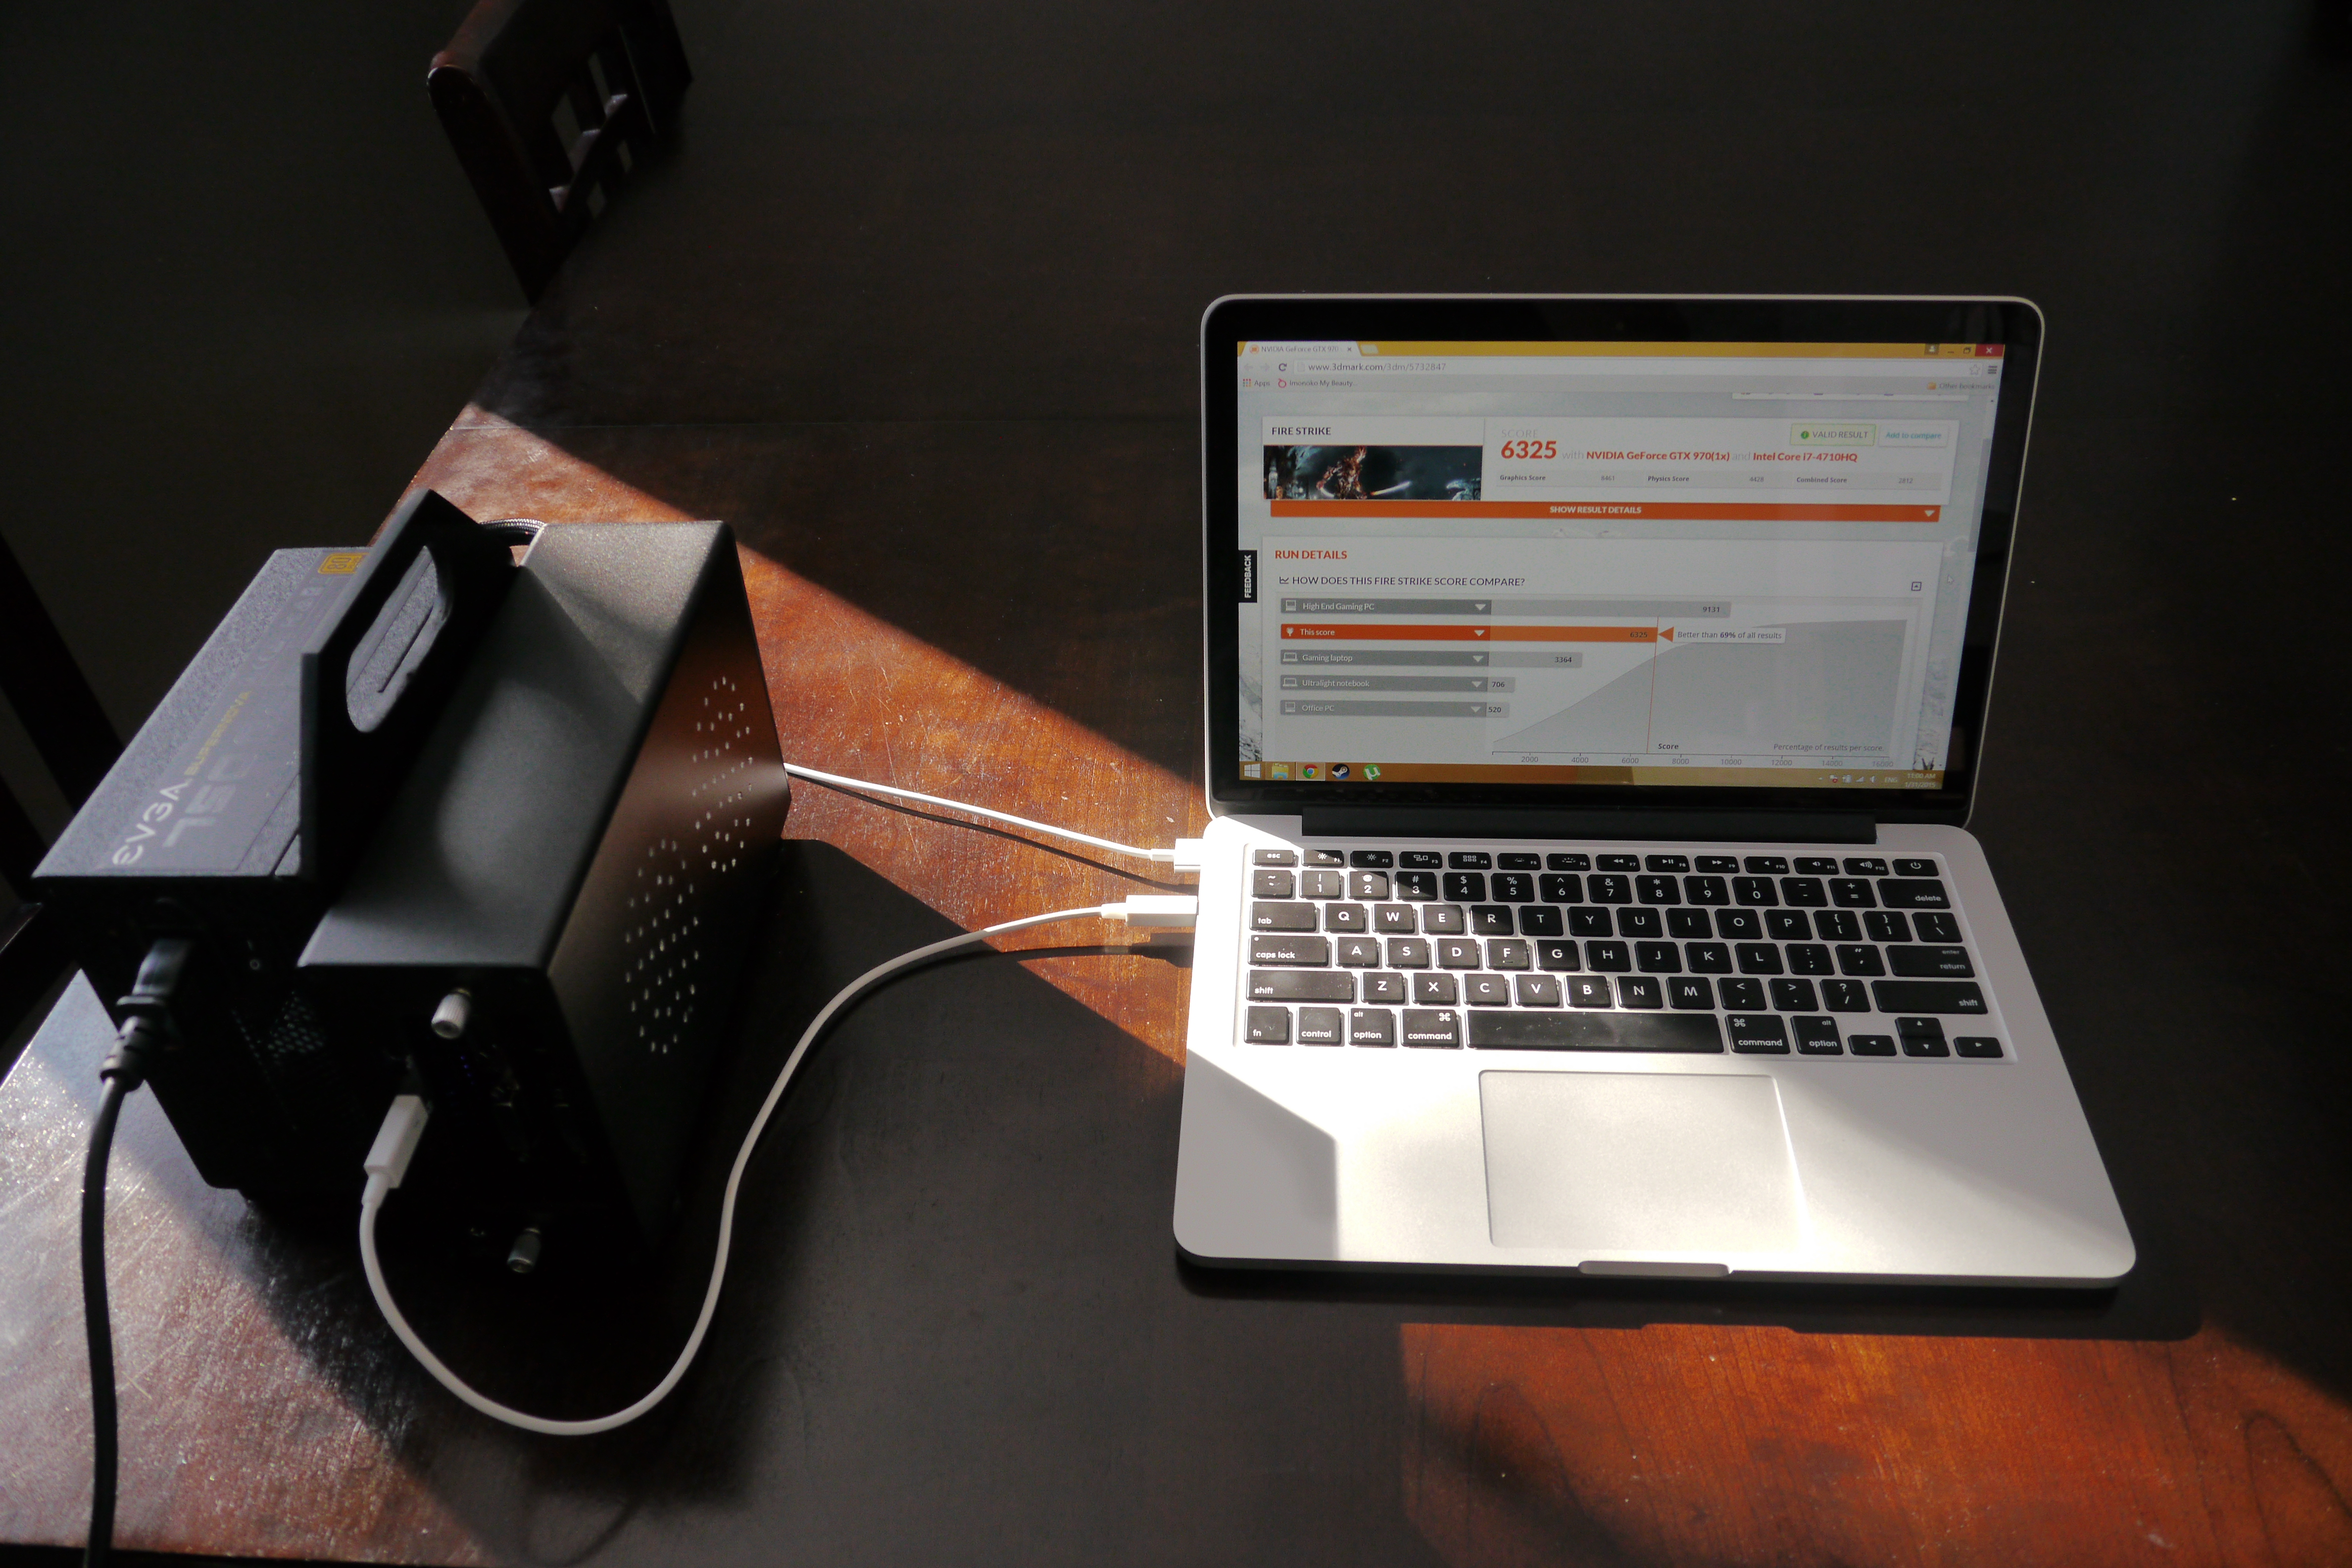
2014 13" Macbook Pro Retina, 2.6GHz dualcore i5, 8GB ram, 256GB storage, Intel Iris Graphics
AKiTiO Thunder2 PCIe Box
EVGA SuperNOVA 750W fully modular power supply
GALAX GTX 970 OC 4GB (179mm length)
18cm x 20cm black plexiglas
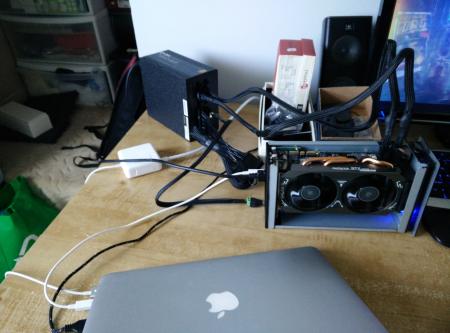
Once getting all the components, I hooked it all up making sure everything works before going ahead with the build process.
I tried without power riser and used a barrel plug while modifying the peripheral 6pin power cable from the PSU.
Everything worked! Great! Now onto the case build. (Note: I didn't take pictures of absolutely everything, but I will upon request)
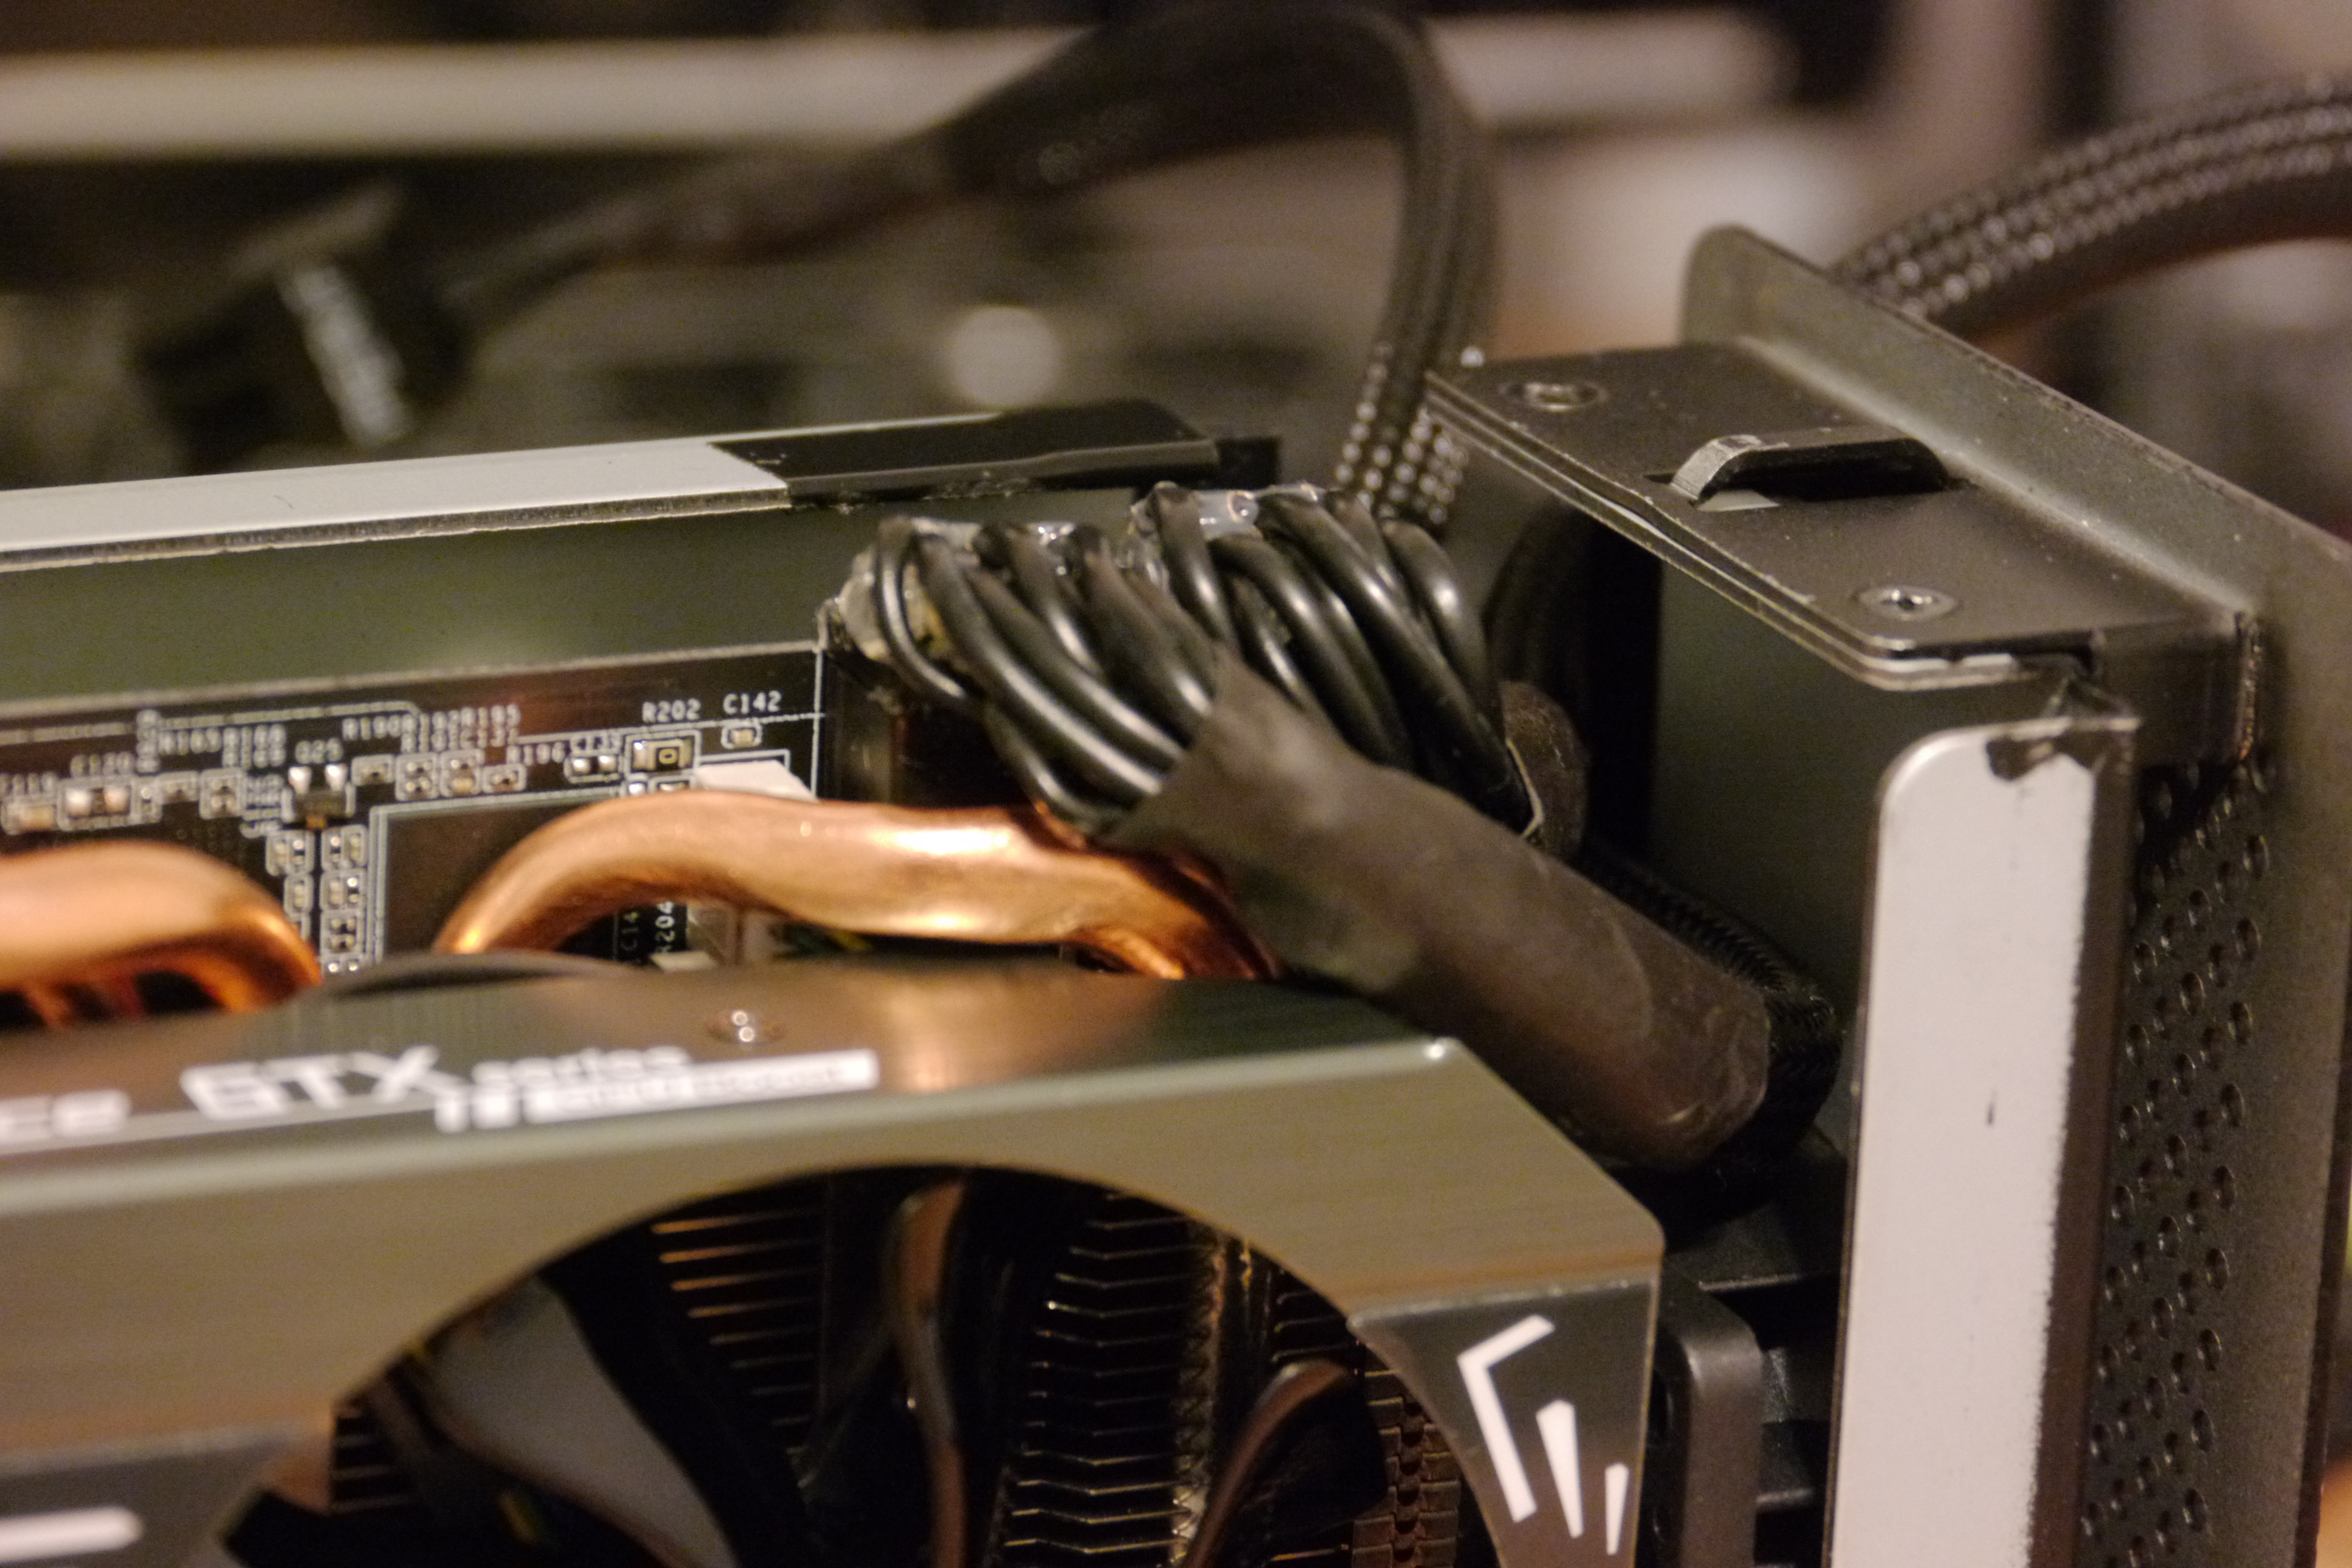
First big problem is the 2x PCIe 6PIN power connectors. They are too tall to allow the shroud of the case to close properly. I searched around for right angle low profile connectors, but could only find some on eBay which were at a ridiculous price and still looked a bit tall.
I decided to try my hand at making my own using the cables I got from the PSU. I removed the pins from the connector and cut it in half with a dremel. Popped a pin back in, but it was still a bit too tall... At this point its either give up and do something drastic like cutting a slot in the shroud to allow the top of the GPU to be exposed or try fiddling around with what I got. I found that giving the pins a slight bend would end up working for me. However because of how the pin is, they can only be bent in one direction (towards the clip of the connector). Bending in any other direction results it becoming too brittle and possibly snapping.
Now I got 6 pins with a slight bend but a bunch of exposed leads (3/4 of the pin sticks out of the connector to allow the bend). Fixed that with some hot glue which also doubles as way of holding the bent pins in place. The inside of the black shroud also has some unnecessary material that is obstructing the path of my pcie cables by a few millimeters, dremeled that down smooth and put down some electrical tape in case of any contact or rubbing.
That done and working, I found a ventilation hole pattern on google, printed it off, and marked the holes on the side of the AKiTiO shroud and drilled them out.
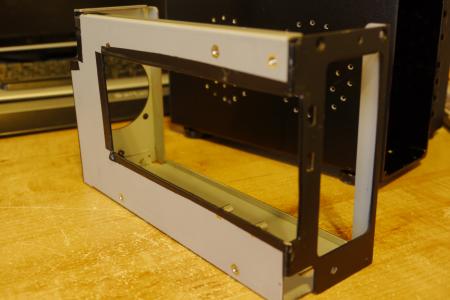
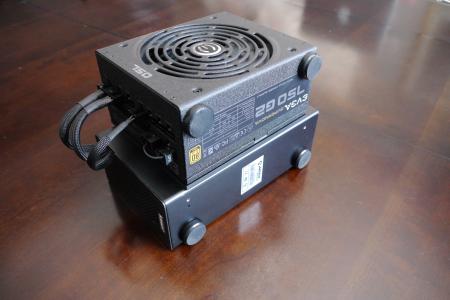
Next is to attach the PSU to the AKiTiO box to have the ultimate compact device. I wanted to also have a sheet of plexiglas between the two with a hole cut into it to act as a handle. But how? There is just not enough clearance between the inner housing and shroud of the AKiTiO box to allow any fasteners. Some ideas were to use three sheets of plexiglas and sandwich the AKiTiO box and PSU together using threaded rod, or use some gluing/epoxy method to have one sheet of plexiglas between them. I realized that I could get the fasteners to work by cutting away some material of the inner housing. Between the shroud and the circuit board, since it is elevated by spacers, there would be plenty of room.
I took apart the PSU to make sure everything was good to put screws through from the inside of that end, through the plexiglas, and into the AiKiTO. Next I got some 1/4" thick plexiglas (black) from a local supplier, cut the corners off of one side for a better look, made my handle hole, and drilled 4 holes in the middle, as well as through the PSU and AKiTiO shroud.Then it was just a matter of finding some proper length screws and nuts.
***WARNING: Please research the dangers of disassembling a power supply, how to discharge capacitors, and when/what is safe to touch***
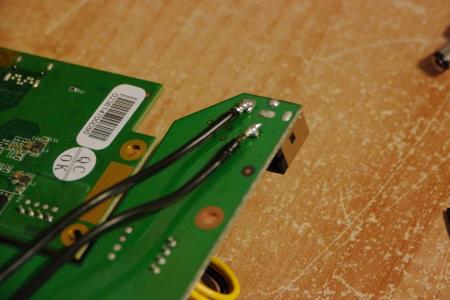
While everything was taken apart, I hardwired the 12V connection to the circuit board to get rid of that ugly barrel connector at the front. I ran the cable through the inside and out the back along with the PCIe cables.
Reassembling everything, I flipped the AKiTiO fan around to become an exhaust fan. Next I needed to shorten the PCIe cables, which required me buying a crimper ($35) and extra pins (can be bought at any cable modding sleeving online shop).
And lastly was the motherboard 24pin cable, which was 24pin at one end and two connectors at the PSU end. I buzzed out the two needed pins and then harvested some unneeded connectors from extra cables that came with the powersupply. Connected them together and hot glued the connectors on. In the end, I still have the the 24pin motherboard cable and another pair of 6+2 PCIe cables if I ever want to re purpose the power supply.
Conclusion:
Firstly, I would have never imagined myself buying a Macbook before finding this forum. Always thought of them as too expensive considering their underpowered gaming ability. But a Macbook is perfect for this project considering what else is available, it has excellent build quality and great battery life for when not gaming. The great battery life comes in part of not having dedicated graphics built in, unlike other Thunderbolt 2 equipped laptops (that also happen to be heavier and run hotter). This build really is the best of both worlds of light use on-the-go notebook and powerful gaming eGPU machine when at home or when LANing.
http://www.3dmark.com/3dm/5732847
Warning: You may void your warranty doing this mod