Search the Community
Showing results for tags 'quadsli'.
-
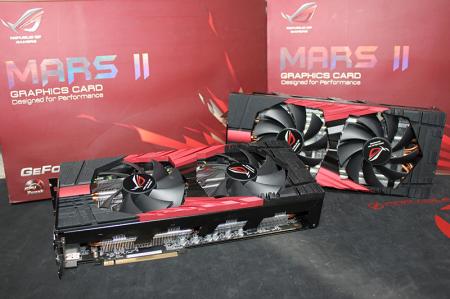
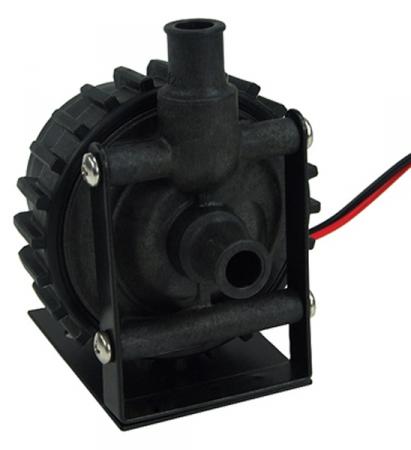
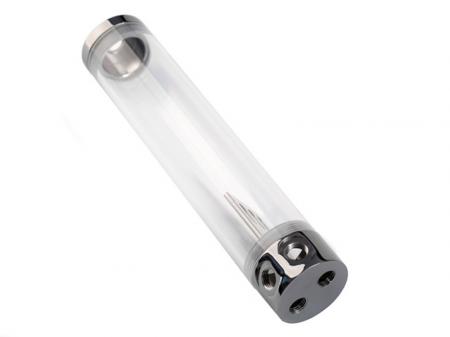
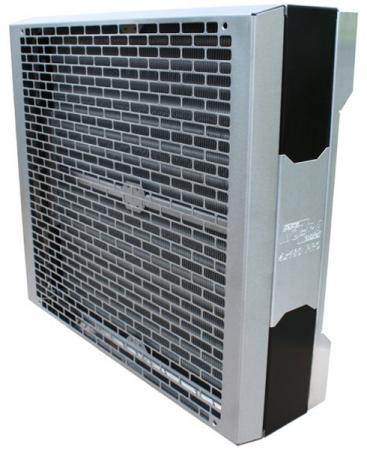
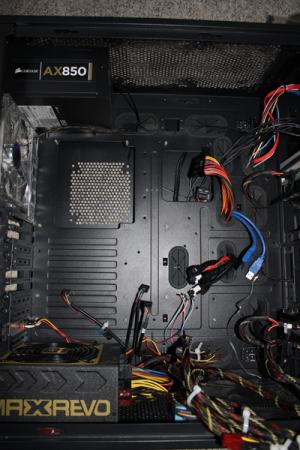
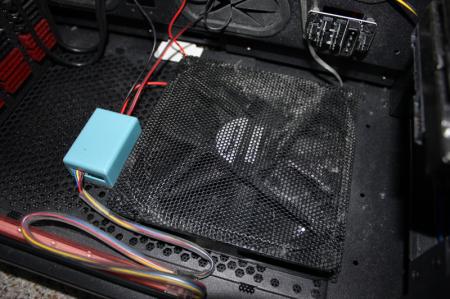
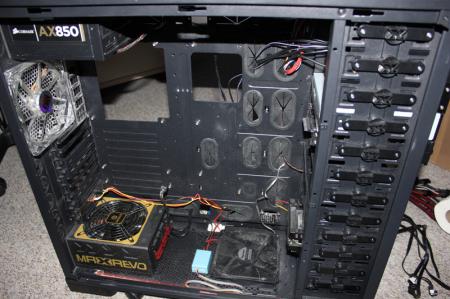
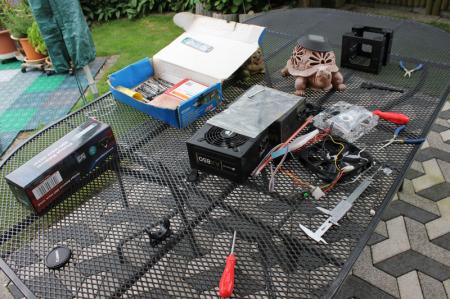
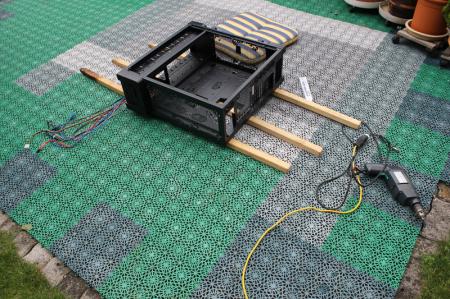
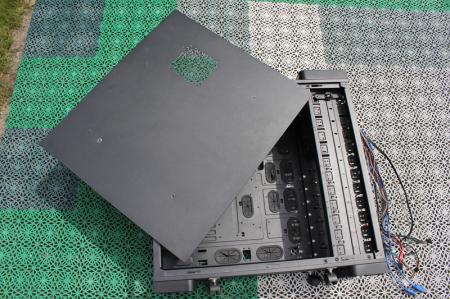
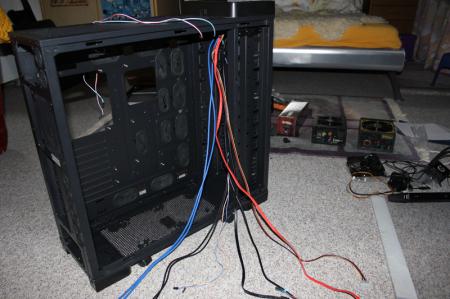
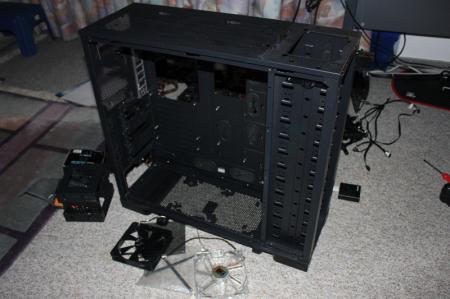
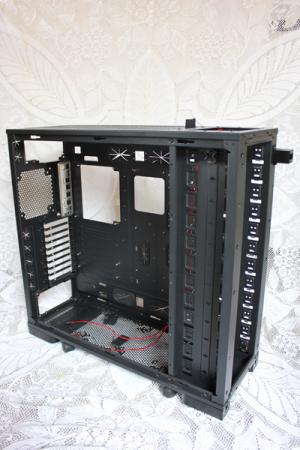
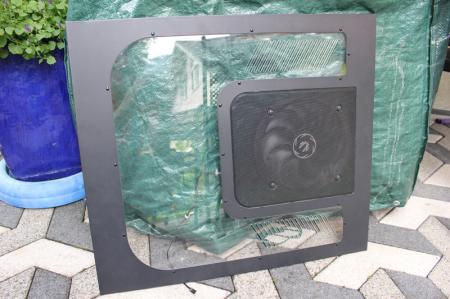
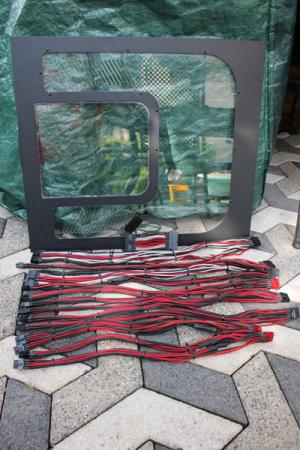
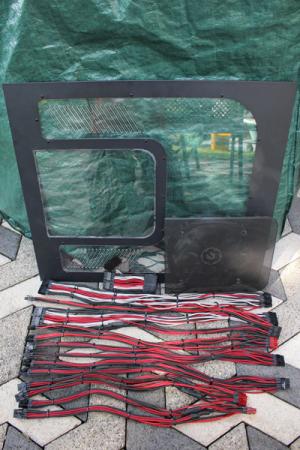
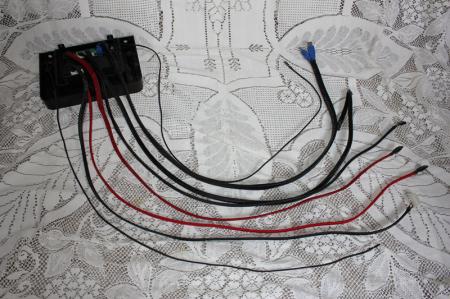
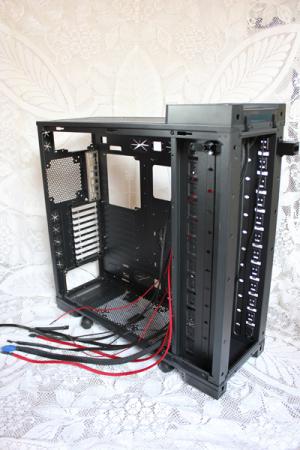
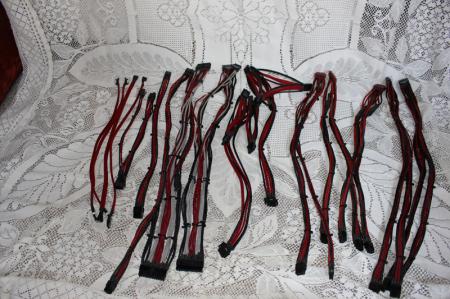
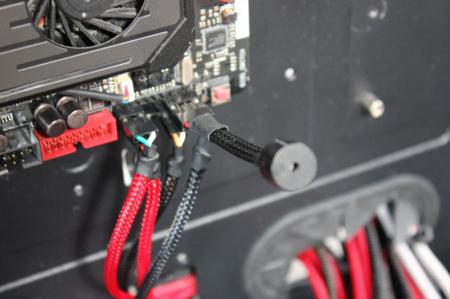
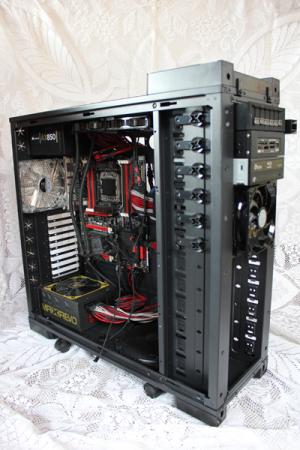
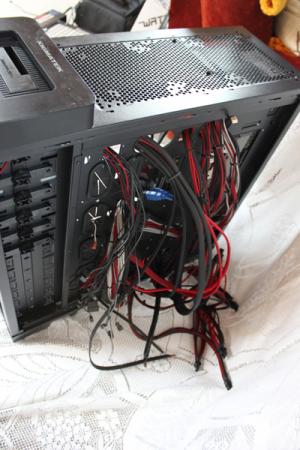
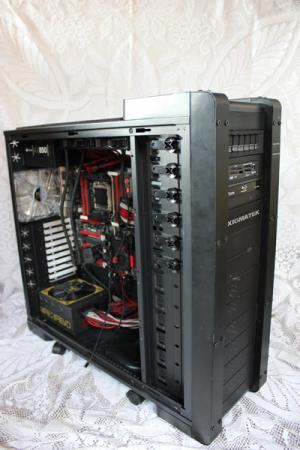
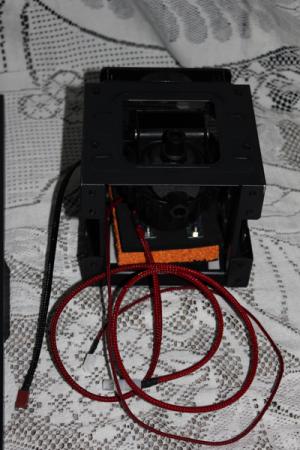
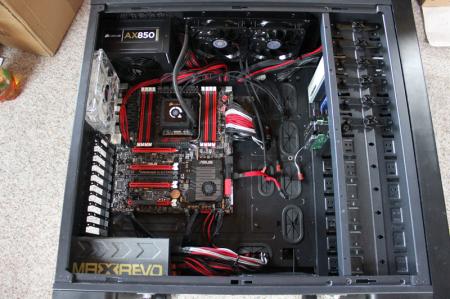
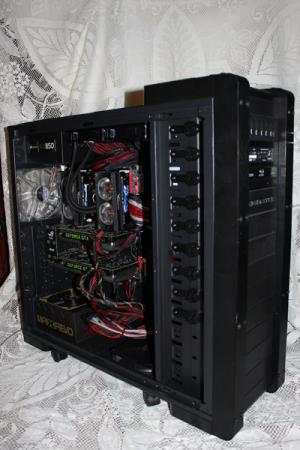
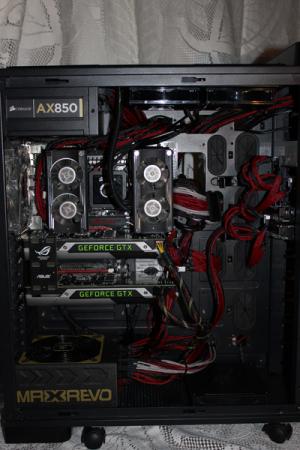
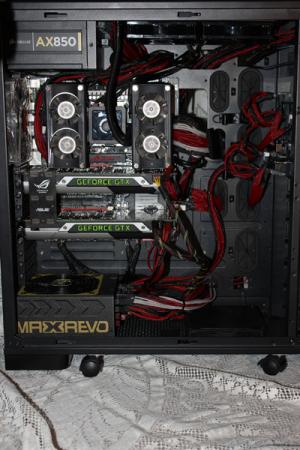
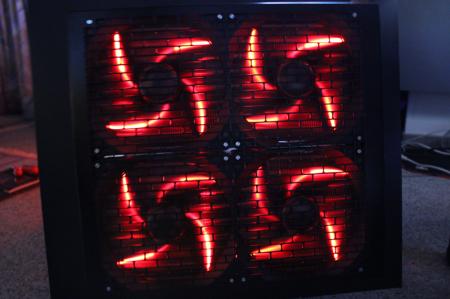
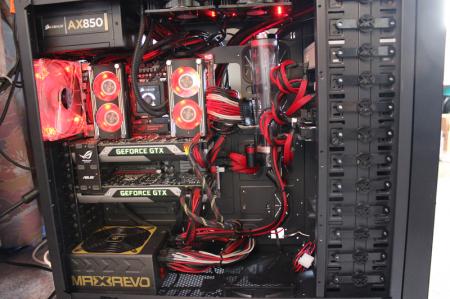
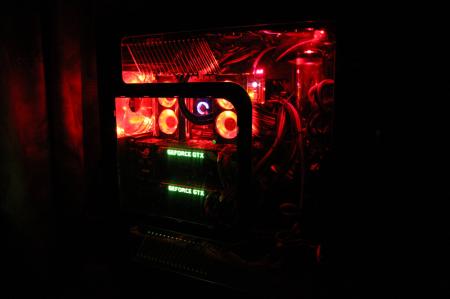
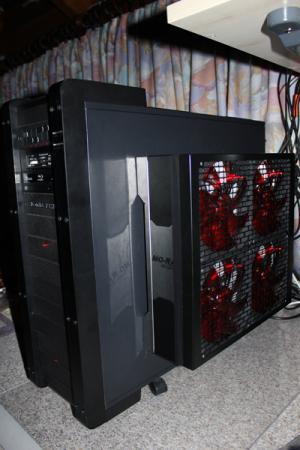
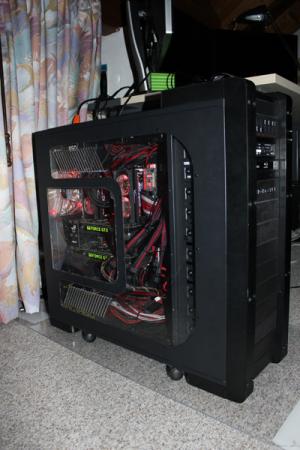
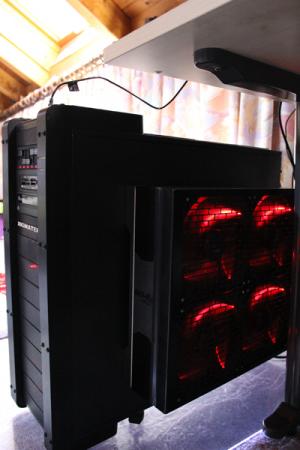
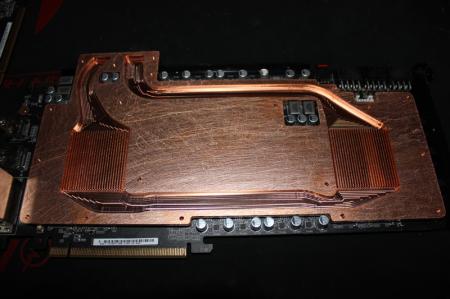
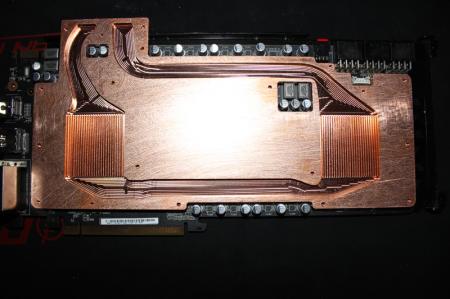
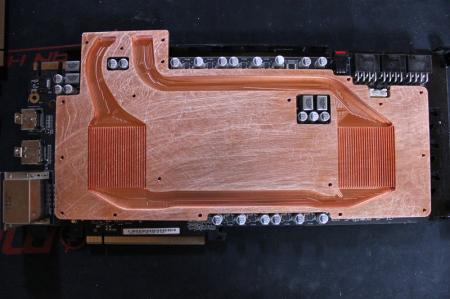
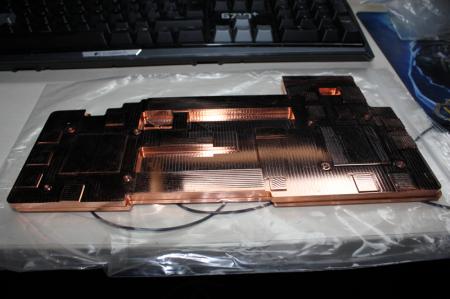
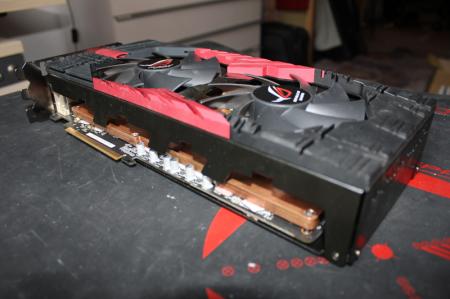
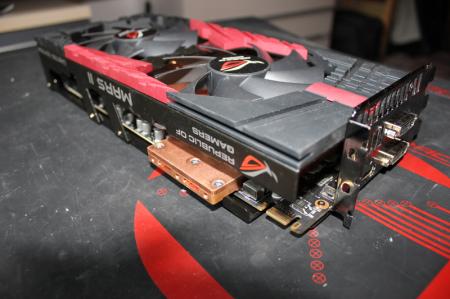
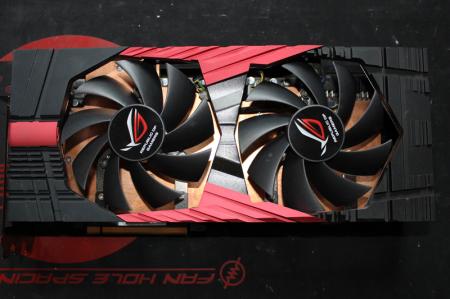
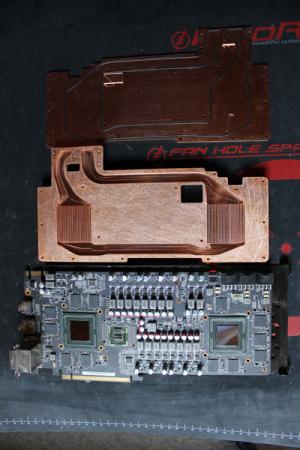
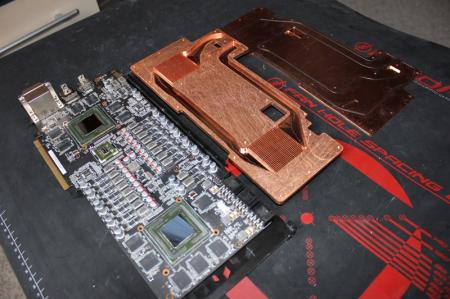
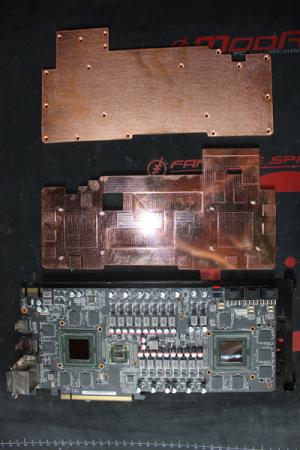
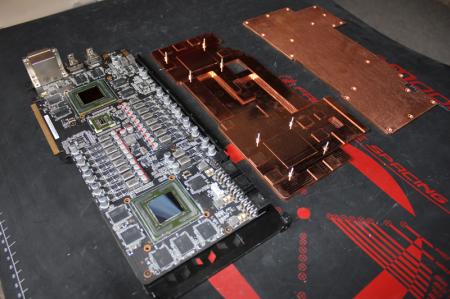
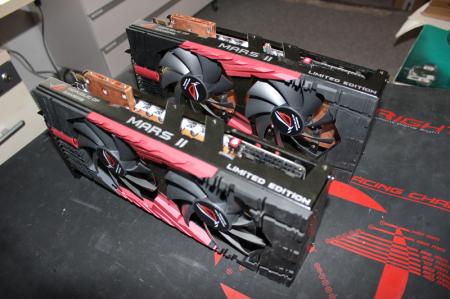
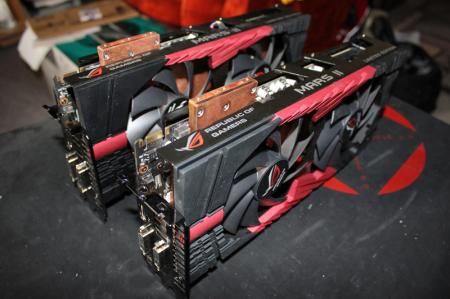
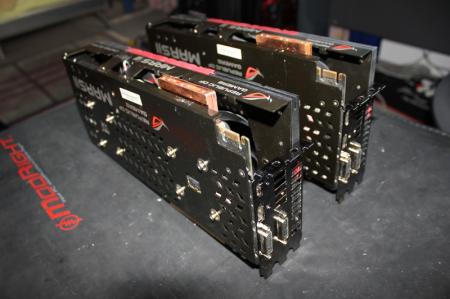
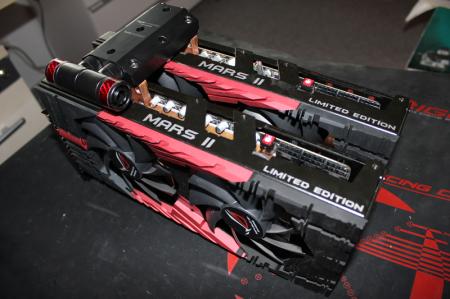
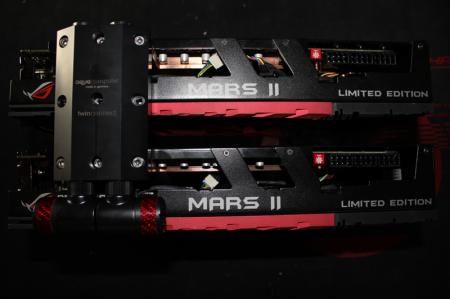
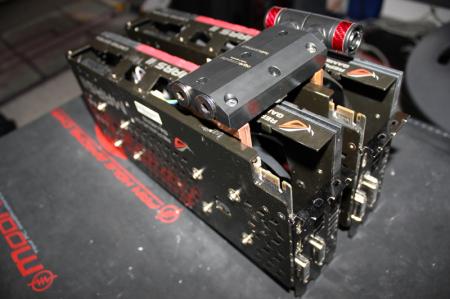
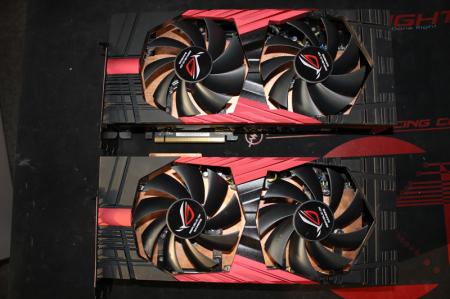
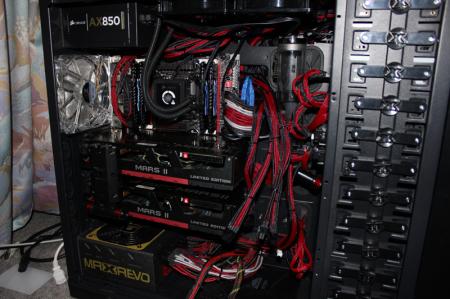
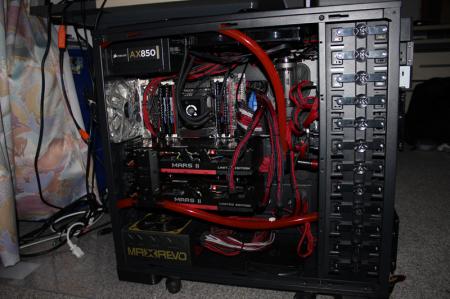
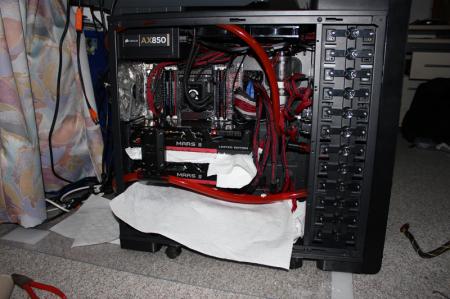
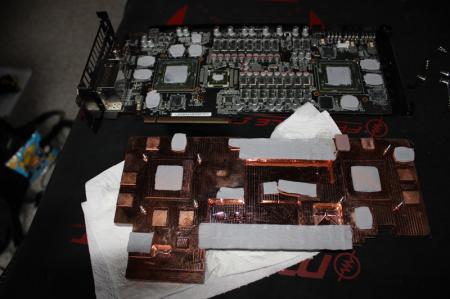
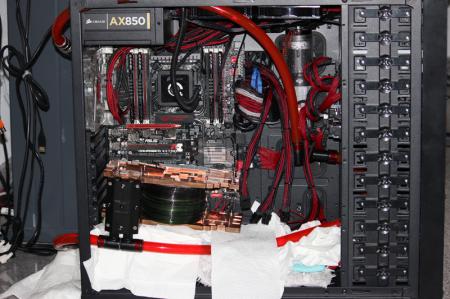
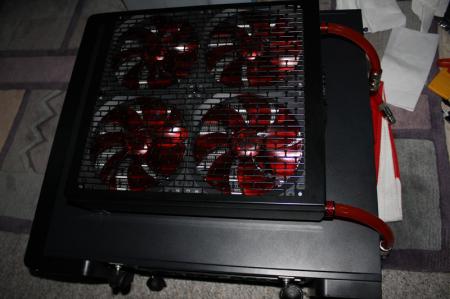
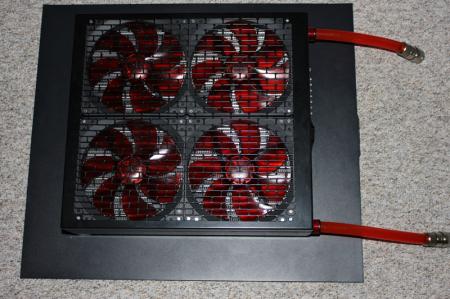
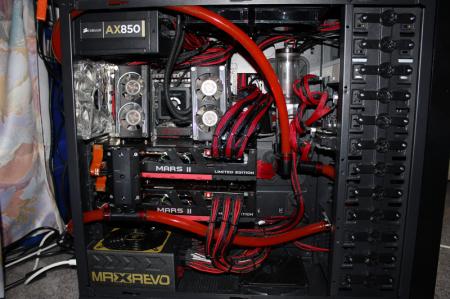
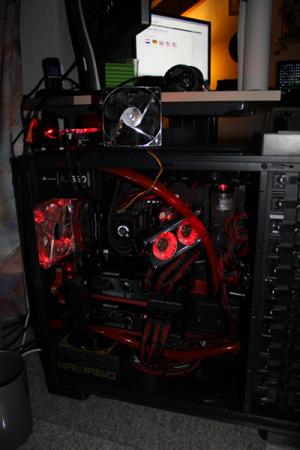
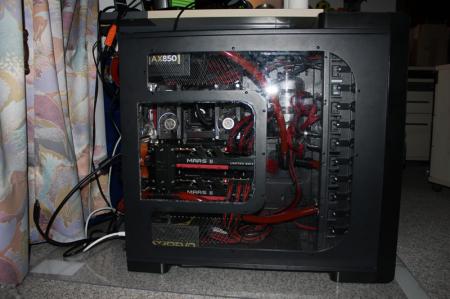
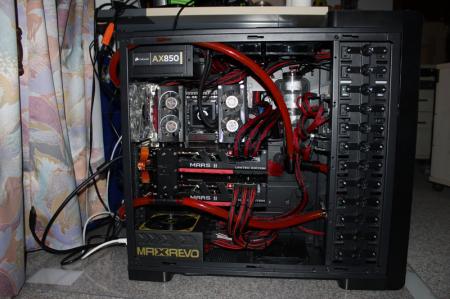
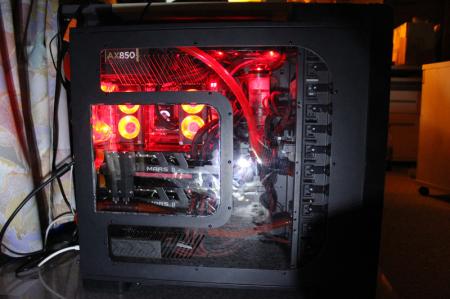
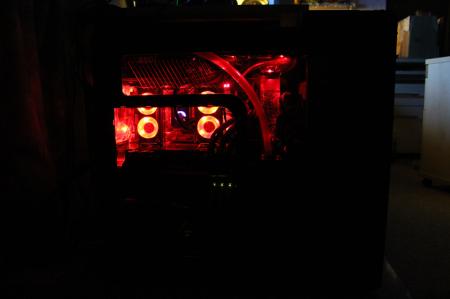
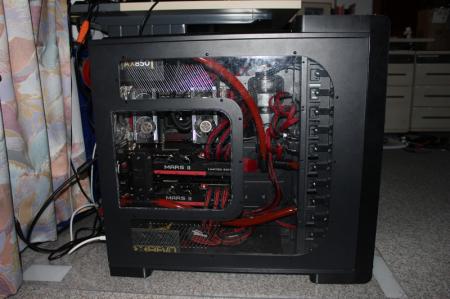
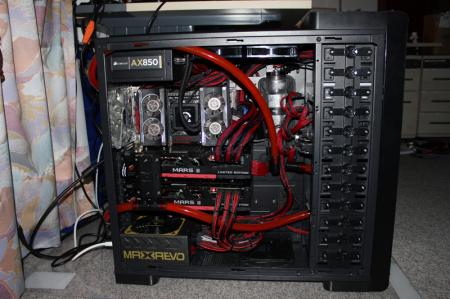
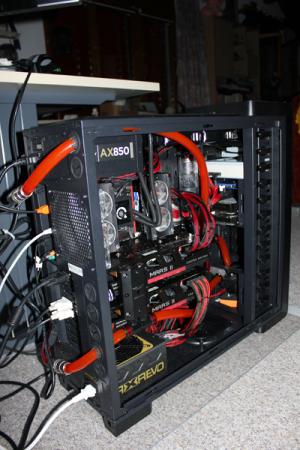
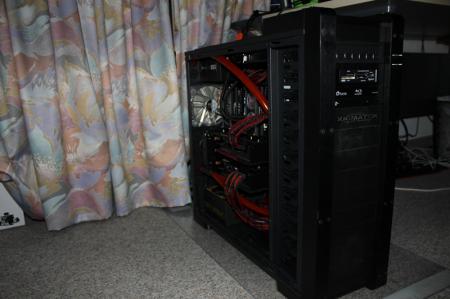
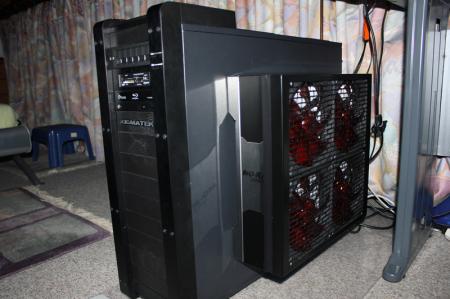
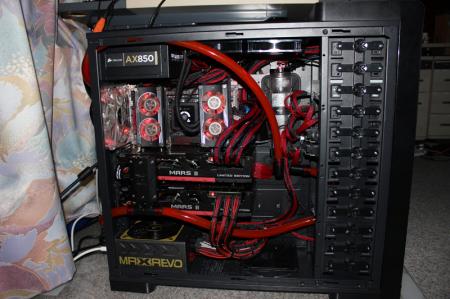
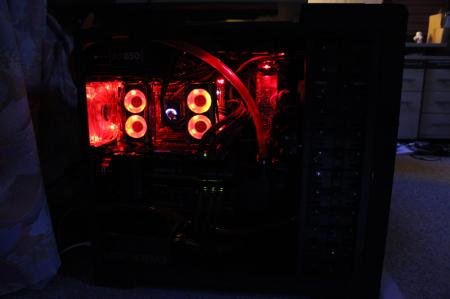
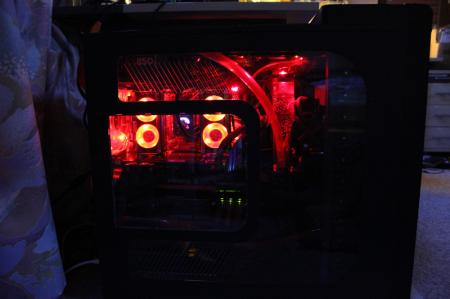
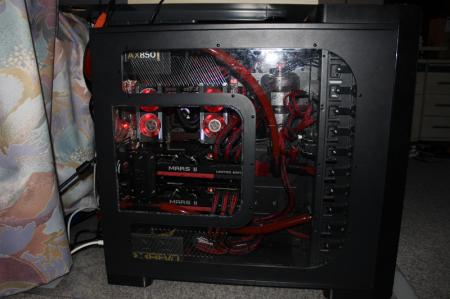
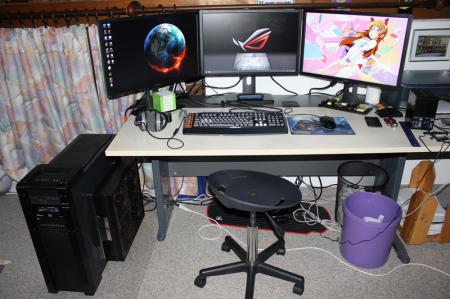
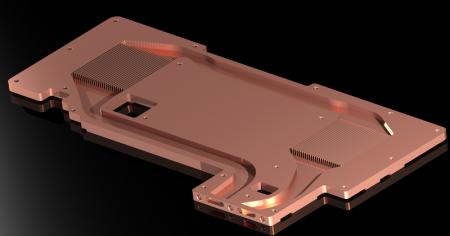
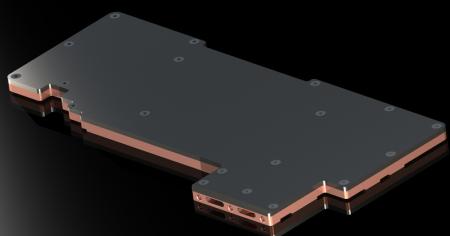
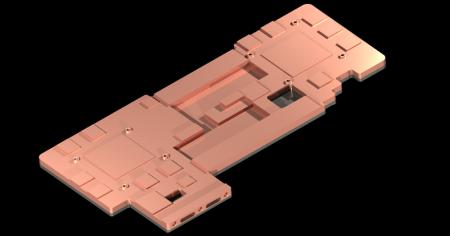
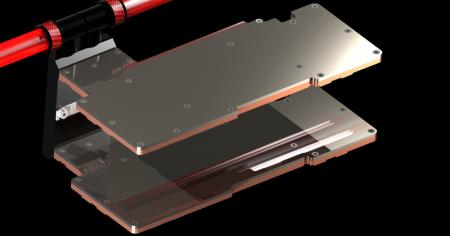
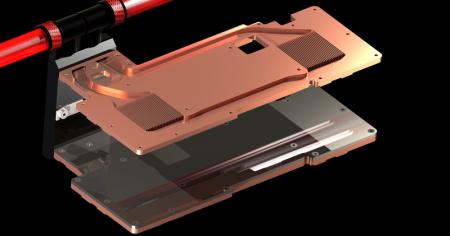
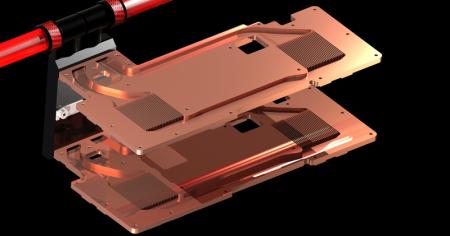
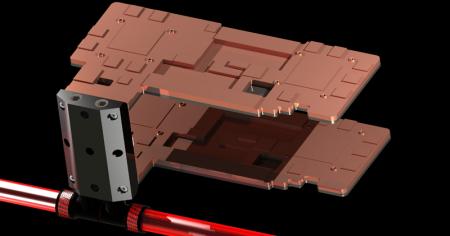
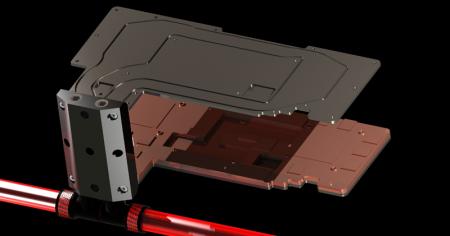
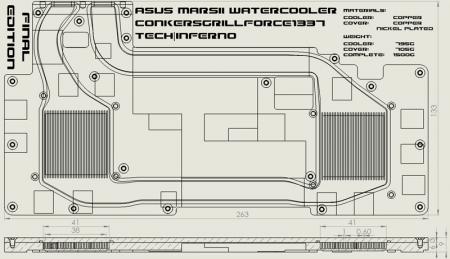
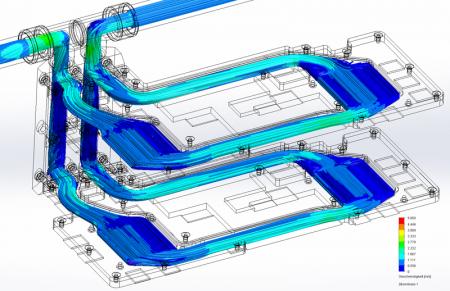
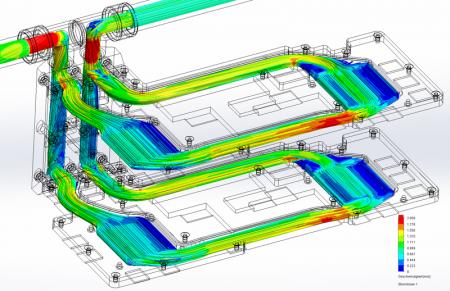
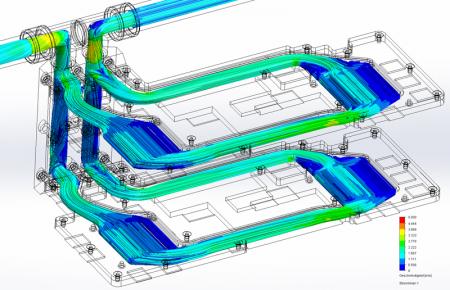
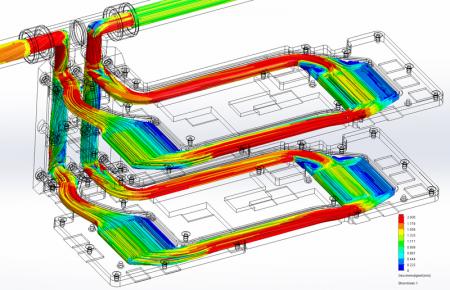
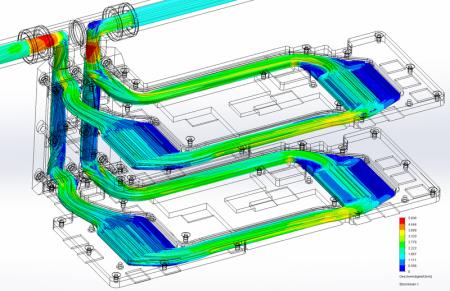
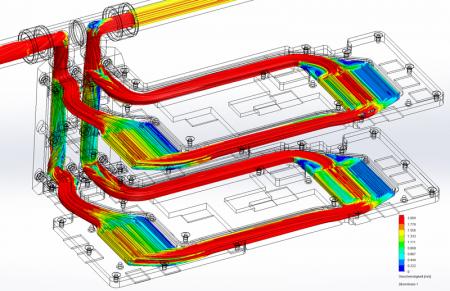
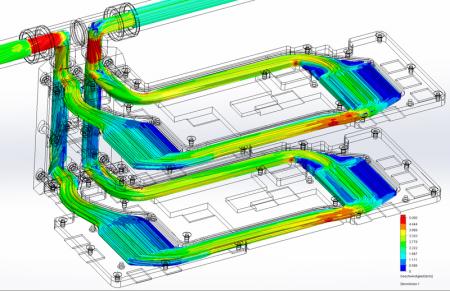
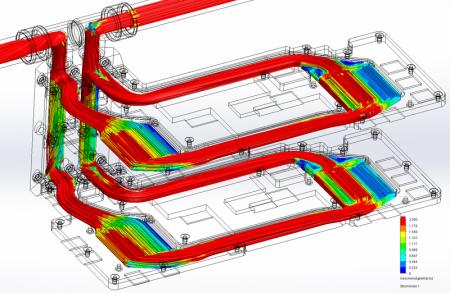
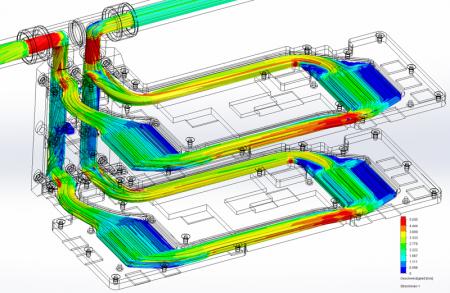
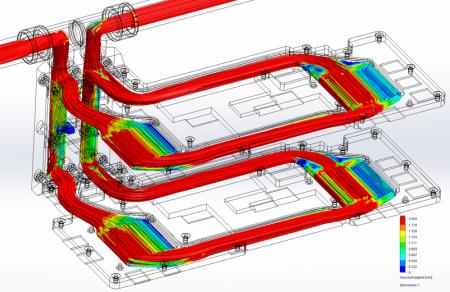
Asus MarsII QuadSLI Watercooled by ConkersGrillforce1337 Let's resurrect the graphic gods... Here it is, my next project, a self-designed watercooler especially for my Asus MarsII cards. Waterblock Design The existing heat sink of the Asus MarsII will be slightly modified so that the two watercoolers can be connected to the TwinConnect bridge respectively the circulation. The original look of the Asus MarsII is kept, because the design is awesome. As mentioned earlier, removing the IHSs of both GTX580s on each Asus MarsII has brought some benefits in terms of cooler design. I have been able to reduce the copper block of 1cm to 6mm, the thickness of the cover remains the same, because I want to hide the screws. The reduction of the height of the copper block makes itself felt especially in weight. Flow Simulations using Solidworks Flow Simulation 2013 (with 1000 flow lines) Stage 1: 1800RPM Stage 2: 2550RPM Stage 3: 3300RPM Stage 4: 4050RPM Stage 5: 4800RPM FullRes: Click here Hardware components Case: Xigmatek Elysium PSU: Enermax MaxRevo1500 + Corsair A850 Mainboard: Asus Rampage IV Extreme CPU: Intel Core i7-3960X RAM: 4x2Gb G.Skill RipjawsX 1866Mhz GPU: 2x Asus MarsII in QuadSLI Cooling components CPU: Corsair H100 RAM: Kingston HyperX Coolers GPU: self-designed watercooler Watercooling components Pump: Alphacool VPP655-T12 Reservoir: Phobya Balancer 250 Radiator: Watercool Mo-Ra3 360 PRO Tubing: Masterkleer 19/13mm Disassembly During the months of May and June, I got my Xigmatek Elysium case disassembled piece by piece. On one hand, it was necessary to clean the case completely after nearly two years of operation, on the other hand to get access to all the cables, which I wanted to sleeve. In addition, the mounting holes for the radiator and the reservoir had to be drilled. FullRes: Click here Sleeving + front door modding This I had never done before and it was a tedious piece of work. Two power supplies, various internal cables, pump cables, fan connectors,…everything should shine with red and black sleeving, respectively the 24pin ATX cables in red, black and silver sleeving . In addition, I removed the fan grill on the front door of the Xigmatek Elysium case and replaced it with clear plexiglass. FullRes: Click here Reassembly After the sleeving process was complete and everything was cleaned, I started the reassembly. At this time, the two MarsII waterblocks had not yet been delivered, so I installed my two GTX Titans to test the system and clean install Windows. FullRes: Click here Asus MarsII waterblocks A few days later it was time, the two water coolers were delivered. I made some checks and fortunately everything seemed to fit. In the production, there was a difference of 4/10mm in the direction of the inputs/ outlets, fortunately, this difference is not a problem provided. However, I noticed that one VRam-„isle“ was missing, I contacted Liquid-Extasy what went wrong, I have received no answer until now. This production error was also not a problem, as I still had excess 2mm pads from the rear Vrams. FullRes: Click here Looptest The time had come, the two GTX Titans were on temporary retirement. The first loop test I made with complete installation, the first test was pretty promising. Basically everything was tight after 8 hours of continuous operation of the loop except one of the two water blocks. The fact that one was dry, let me suggest that the second was not screwed on correctly. I made a second loop test with a rather unconventional installation, which was over 6 hours in operation. The result was convincing, no leaks. FullRes: Click here Let's resurrect the gods Now there was no holding back, the gods are not to rest on. I assembled both Asus MarsII cards, at the last check, I noticed that one graphics card had only partially contact between the 580 dies and the copper surface. I disassembled the card and used thermal pads instead of thermal compound as a temporary solution. I installed everything and after solving some BIOS error messages, I managed to get the system up and running. At idle, all four chips run at temperatures between 30-37 °C, that’s ok with a roomtemperature of 24°C. Under full load, the weakness of thermal pads makes massively noticeable, while the chips with MX-4 paste run at max 48°C, the chips with thermal pads heat up to 78°C. Btw, the entire system weighs 37,6kg. FullRes: Click here It's not over yet...thin copper plates are on the way to replace the thermal pads...
-
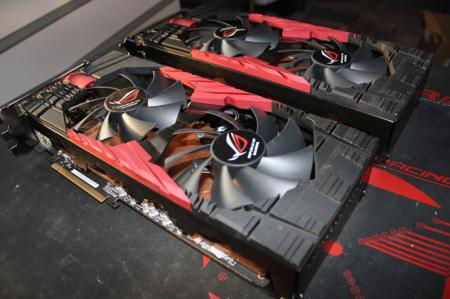
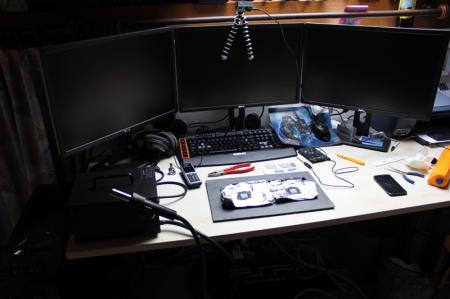
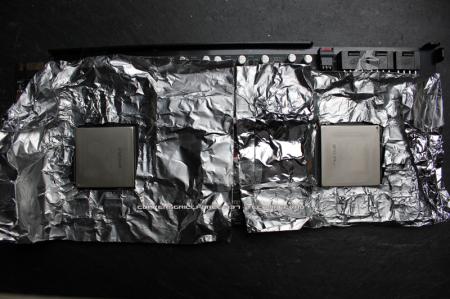
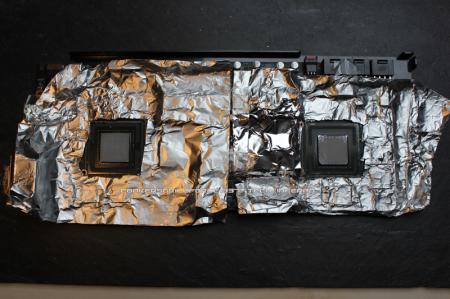
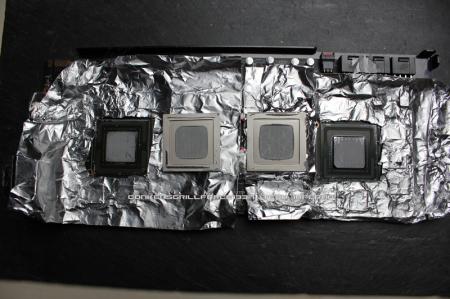
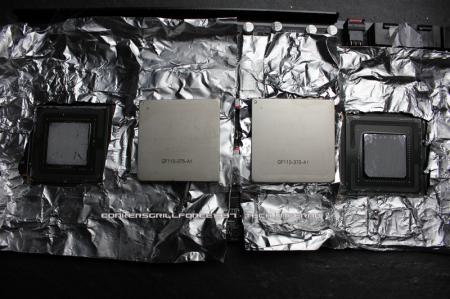
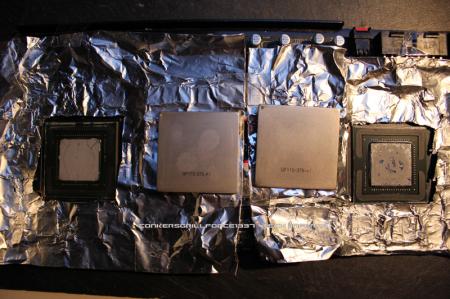
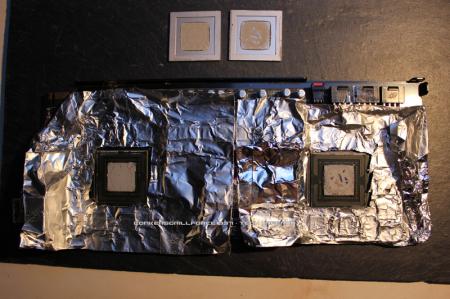
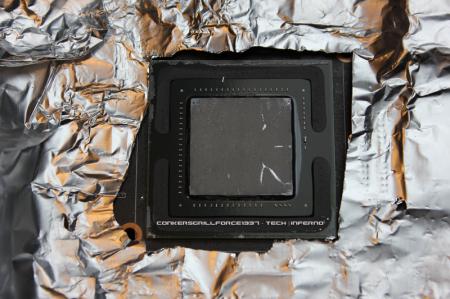
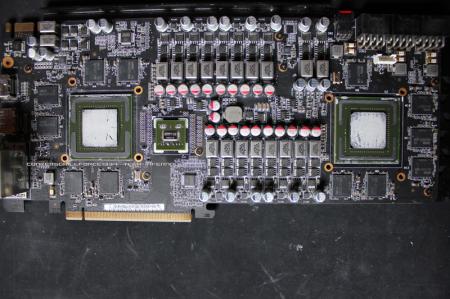
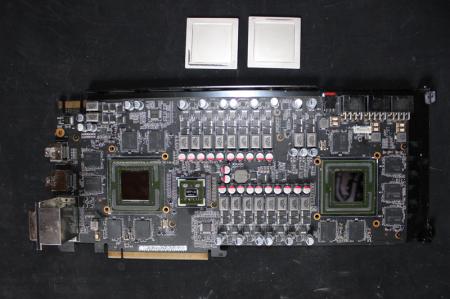
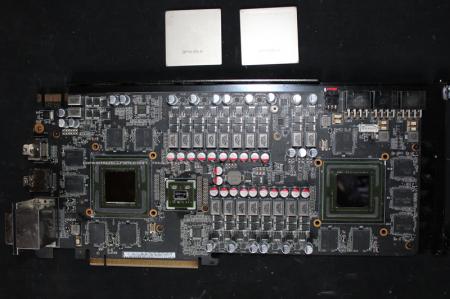
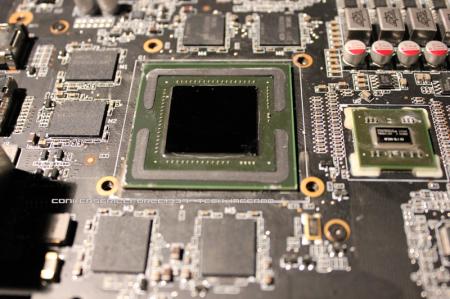
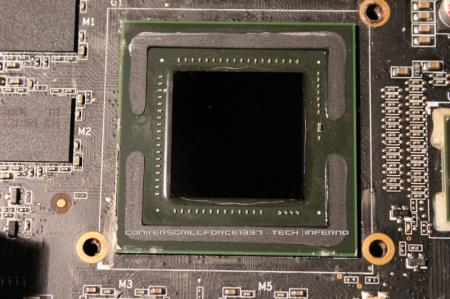
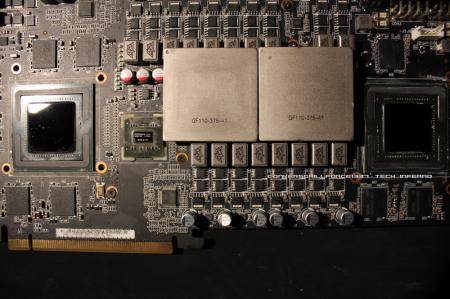
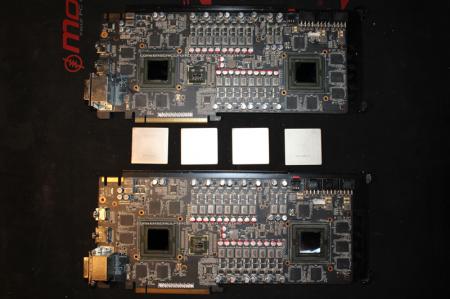
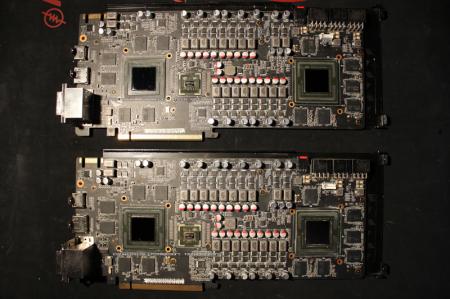
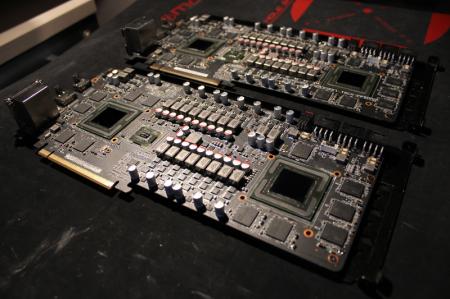
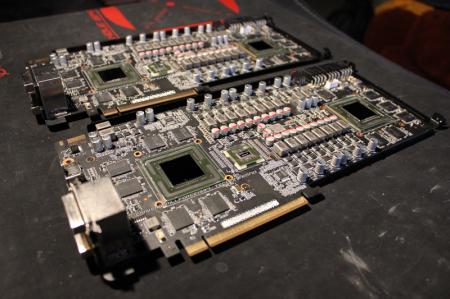
World Exclusive Naked Asus MarsII It's done. Here's the result, two Asus MarsII cards with removed IHSs.:triumphant: The first time I did this, the process went smoothly. The heating of the IHSs using a hot air gun, has delivered great benefits. FullRes: Click here Thanks to @svl7 for providing the hot air gun
- 14 replies
-
- 6
-

-
- asus
- ihs removal
-
(and 3 more)
Tagged with:


