


thementallydeceased
-
Posts
47 -
Joined
-
Last visited
Content Type
Profiles
Forums
Downloads
Posts posted by thementallydeceased
-
-
11 minutes ago, Aspire said:
Am I the only one who cant download the modified vbios for the second graphic card? It just says error 404

I am able to download the files fine, are you new? if so see this post. https://www.techinferno.com/index.php?/announcement/4-user-account-promotions-please-read/
-
48 minutes ago, bbumeri said:
I spent the 6$ like you and boom up and running with my intel 7260! I will have to give up subway for a day I guess
")
very nice !!
Liking the TI Elite badge -
 1
1
-
-
2 minutes ago, bbumeri said:
I have another question about flashing this bios. As all the y500 came pre-installed with Win 8; Is there an issue with flashing the bios after reformatting and installing a clean Win 7 version?
Are there any other issues or items that should be noted before flashing this modded bios?
There would not be an issue with windows 7 being installed. however , your bios settings may change so if windows 7 no longer boots it may have re enabled the options for windows 8. I doubt you have anything to worry about if, it no longer boots just reply to the forum ill see how i can help.
5 minutes ago, bbumeri said:I have another question about flashing this bios. As all the y500 came pre-installed with Win 8; Is there an issue with flashing the bios after reformatting and installing a clean Win 7 version?
Are there any other issues or items that should be noted before flashing this modded bios?
I think you just persuaded me to do the same! After spending a few bucks on a few parts, $5 won't hurt! LOL.
Which card did you install? I have an INTEL 7260 ready to be popped in again.
I installed the same intel 7260. and no $5 dont hurt at all i spend more on food.
-
1 hour ago, bbumeri said:
Everyone who has attempted to flash their y500 with the mod, has anyone got bricked yet?
Mine is going strong. have not bricked
-
4 hours ago, Grant said:
wohaa
yeah, even with that many games i have nothing to play

-
Just now, th3xeroeagle said:
thanks for your help again! i just did it and it was successful
")
very cool
-
11 minutes ago, th3xeroeagle said:
are you on windows 10 or 8.1?
the tools dont work for me on win10 :\ i get errors and i dont even have the backup.bat file
I am on windows 10 64bit pro , I couldnt find the backup.bat file either go here and download http://rghost.net/56333188 when you run it , it will give you two backup files, the larger one will be your bios backup.
-
1
-
-
1 hour ago, iloveb00bs said:
just realize i still got a copy of Batman™: Arkham City GOTY Edition.
first to shoot me a pm with their email gets it!
says you cant receive messages
-
2 hours ago, reishin said:
Worked like a charm with one note, "fix for error104" were needed for me, everything else done without any problem.
For the part of creating bootable dos usb - more simpler to use "Rufus" with included FreeDOS, rather than HP util and looking for the dos system files.
the "fix for error104" was need for me as well, i too used rufus
-
6 hours ago, th3xeroeagle said:
once we unlock the bios can we put any wireless card? i see that newegg says that the 7260 has an updated version
the 7260 will work, thats what i installed in mine after bios mod.
-
37 minutes ago, th3xeroeagle said:
great thank you for your reply! now waiting for that 5 posts unlock hehe! im doing it mostly for the wifi cause the stock card is really bad
I couldnt wait for it so i paid the $5 bucks for elite member well worth the money , it unlocks so many options and i popped in a dual band intel wifi card and it works awesome!
-
14 hours ago, th3xeroeagle said:
My BIOS version is already 2.04 will this mod work? can't find a search button on the forum to see if this was posted before sorry.
Mine was also already 2.04 worked fine.
-
5 minutes ago, Slaughterised said:
I wanna do this so badly but damn this forum restricts everything from new users.
Thats why i paid $5
-
ok scratch my last comment. i found this http://rghost.net/56333188 which i downloaded and ran and it basically did the same thing. however it created two .bin files.. i used the .bin that was bigger which was my bios backup. i then followed the turtorial (very well written by the way) also i then ran into the issue where you ran the prr.exe command and figured out it was actually prr2.exe from what i downloaded. then i continued on and everything worked flawlessly. I am now running a modified bios and successfully installed a Dual Band intel wifi card. Props to you Good sir !!
-
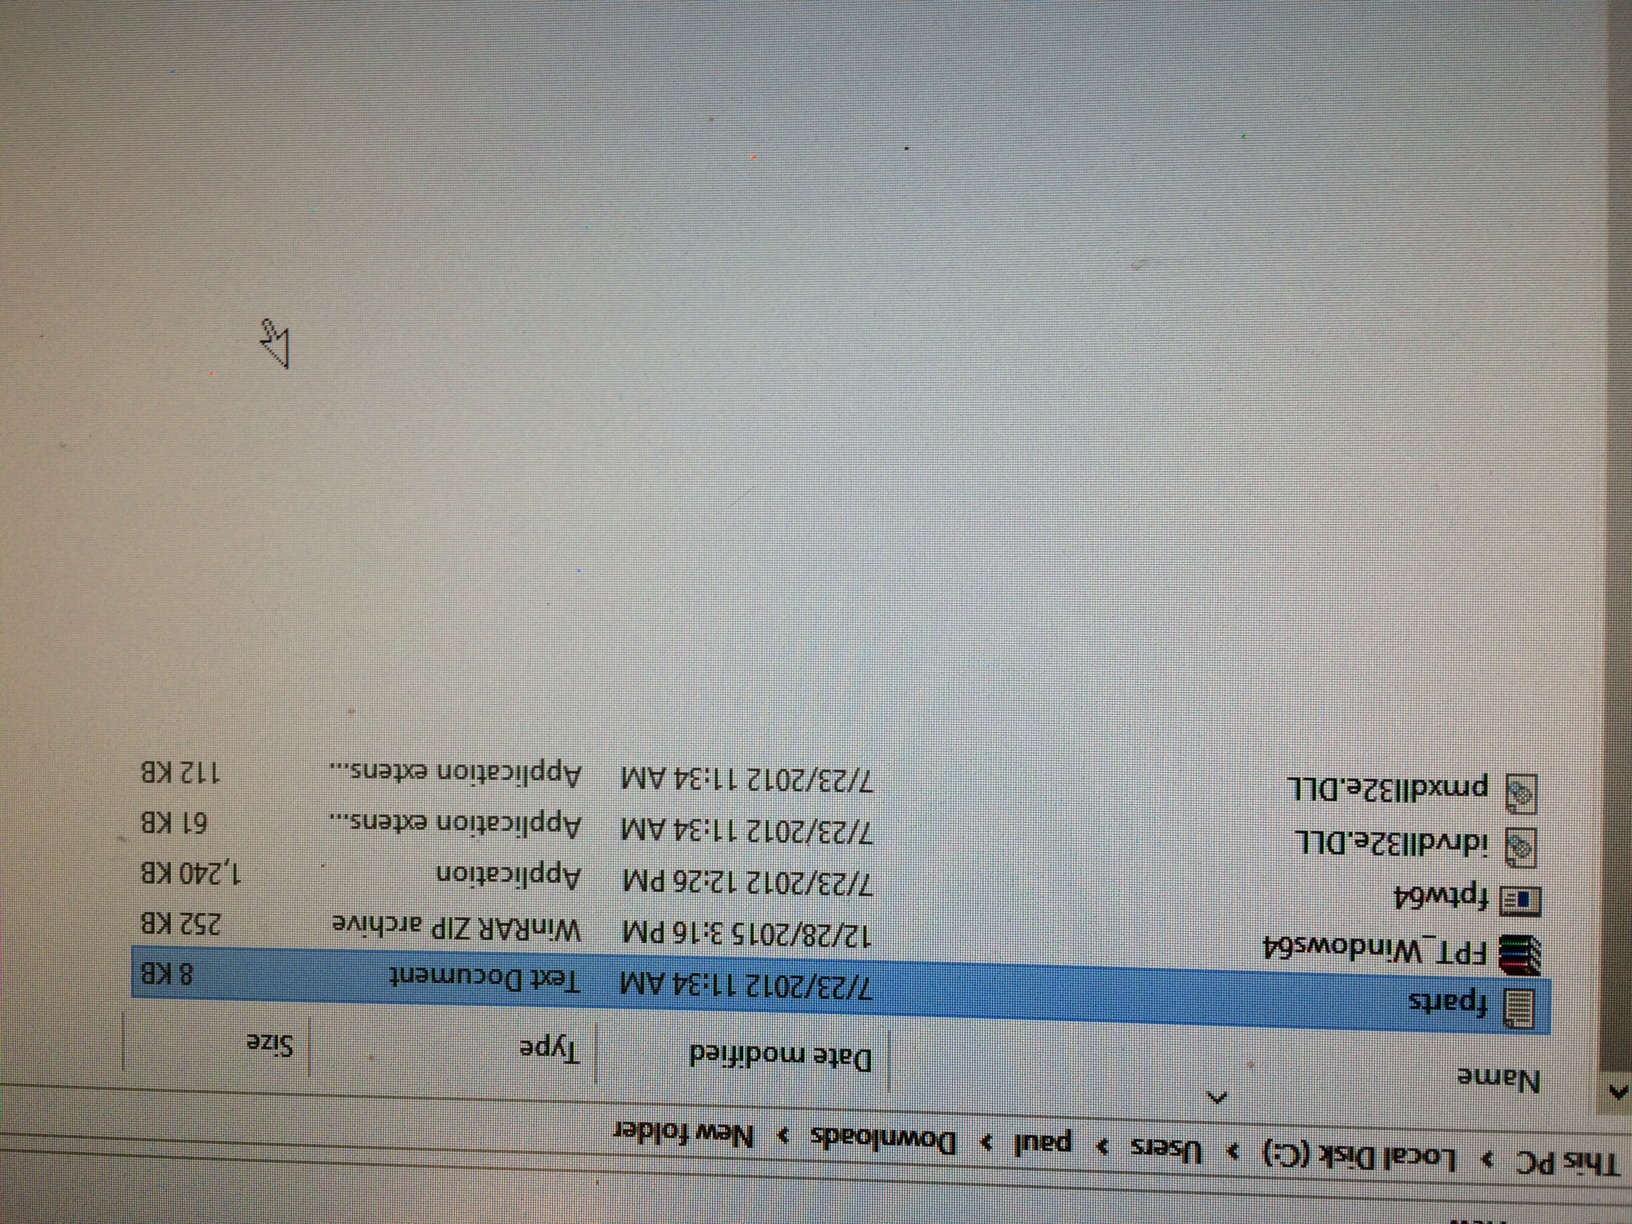
I have downloaded the FPT_ windows64 file and extracted it however, It does not contain the backup.Bat file needed to backup my bios. Any help would be great
-
On 1/25/2015 at 8:51 PM, pixma21 said:
[h=4]Before You Begin:[/h]
- Install disk imaging software. I recommend Macrium Reflect free which we used for this tutorial.
- Create a full backup of your system on an external drive. Using Macrium Reflect Free, you can simply select your hard drive under the Create a backup tab, click “Image this disk” and then choose a folder on the external drive for storing the image files.
- Clear space on your hard drive. Make sure you don’t have more data on your hard drive than the mSATA drive can accommodate. If you bought a 128GB mSATA SSD and your hard drive has 250GB of data on it, you’ll need to delete unnecessary files and temporarily move large media files onto external drives as necessary.
- Install EASY BCD, a free application that helps you control which drive is your boot drive.
- Make sure you have admin rights. The Windows account you use to perform the upgrade must have administrator privileges. If it’s the only or main account on the laptop, it probably already is an administrative account. To check, launch the User Accounts app in the Windows Control Panel and the word “Administrator” should appear next to your username either on the first screen or after you click the “Manage user accounts” or “Manage another account” links. If not, log in to the administrative account, before you proceed.
[h=4]Physical Installation:[/h]
- Open the your notebook’s upgrade panel and locate the PCIe slot. A thin slot that’s made to accommodate a stick the size of a piece of gum, the PCIe slot is usually located next to the RAM. If your notebook doesn’t have an upgrade panel on its back side, you may have to check its service manual on the manufacturer’s website to find out how to access the PCIe slot.
- Remove the existing cache driveif your notebook came with one installed. If the slot is empty, skip this step.
- Unscrew the mounting screwand put it to the side.
- Insert your mSATA SSDinto the slot. Because of a groove in the slot, you cannot insert it upside down.
- Reattach the mounting screwto hold the mSATA drive in place.
-
Replace the upgrade panel or close any other parts of the chassis you had to open.After you install the drive, it should mount and appear as a drive letter on your computer. If you don’t see the drive, check Windows’ Disk Management Utility, which appears under Computer Management in the control panel’s Administrative Tools section. If you don’t see it there, check to make sure it’s connected properly.
[h=4]Make the mSATA Drive Your Boot Drive:[/h]- Launch Windows Disk Management which appears as an option in the Computer Management control panel app.
- Shrink the main partition on your hard drive so that it’s the same size or smaller than your mSATA drive. To shrink the partition, right click on it and select Shrink Volume. Then click the Shrink button in the dialog box that appears.
- Clone your hard drive to the mSATA SSD. In Macrium Reflect Free, click “Clone this disk” and select the mSATA disk as your destination and follow the prompts. If the mSATA drive has any existing partitions on it, delete them when given the option. This process could take anywhere from 10 minutes to half an hour.
- After cloning, your mSATA drive’s partitions will appear as drive letters with the same volume labels and data as the primary hard drive. However, the mSATA drive’s main partition will probably not be the C drive, which will cause all kinds of problems until you follow the steps below to fix it. If the mSATA drive already labeled as C, you can skip to step 22.
- Restart your PC and Enter your BIOS. To access the BIOS setup menu, interrupt the startup by hitting the appropriate key for your notebook, which is usually one of the function keys (F1 on our ThinkPad).
- Change the boot order in your BIOS setup menu and rank the mSATA drive higher than the hard drive. The boot order submenu appears in different plac on different notebooks, but on our ThinkPad, it was located under the Startup Tab.
- Launch EasyBCD in Windows.
- Click BCD Backup / Repair
- Select “change boot drive” and click Perform Action.
- Select the mSATA drive’s Windows drive letter on the menu that appears. Usually this will be drive D or E, because the old hard drive still has letter C.
- Click Edit Boot Menu.
- Delete all the entries by highlighting each and clicking Delete.
- Click Add New Entry
- Enter “New Windows Drive” as Name and make sure Select Windows Vista/7/8 is selected on the Type pulldown.
- Select the mSATA drive’s drive letter and Click Add Entry.
- Make sure that the mSATA drive is both the boot device and Windows drive by clicking View Settings in EasyBCD.
- Reboot the PC.
- Launch Regedit. Either hit Windows + R and type Regedit into the Run box or find the program by searching.
- Navigate to HKEY_LOCAL_MACHINE\SYSTEM\MountedDevices
- Rename the \DosDevices\C: to \DosDevices\Z: so that the hard drive’s Windows partition will now be the Z drive. If the hard drive has any other partitions with drive letters, change their letters to lower-alphabet letters also.
- Rename the key associated with the mSATA drive’s Windows partition (ex: \DosDevices\D or \DosDevices\E:) to \DosDevices\C:. Rename any the keys for any other partitions on the mSATA drive to reflect the drive letters the original partitions used on the hard drive.
- Close Regedit and Reboot your PC. If you did everything correctly, the laptop will now boot off the mSATA drive, which will also be the C drive.
- Open the Disk Management tool and verify that the mSATA drive’s Windows partition is now the C drive.
- Extend the Windows partition on the mSATA drive so it uses all available space. To expand the partition, simply right click on it, select Extend and click Next a couple of times so Windows adds all available unallocated space to it.
- Delete all of the partitions on the hard drive. To delete a partition, right click on it and select Delete Volume.
-
Create a brand new partition on the hard drive, using all available space.To create a new partition, right click on the unallocated space and click Create New Volume then follow the prompts.Your laptop should now boot off of the mSATA drive with its Windows partition showing as your C drive. The hard drive will be a huge blank partition you can use for data.
I just wanted to confirm that this works great. I did this on my Y500 when adding an Msata drive. it worked flawlessly. I am using a 64gb Msata as OS and 1TB HDD for storage.
-
On 12/2/2015 at 11:25 PM, Gost_dog said:
All right... I know this may sound stupid but I need a hand here...
This is my situation,
I Have a home network with a NAS attached to it...
My computer as mapped drive... and I want to be able to access it when im not on my home network.
SO I was thinking VPN is one option...
And the other one could be to use DDNS, convert my NAS ip to a fix domain name... and then map the domain name.
The issue,
I have no clue how a VPN works or is configured...
I have no clue how a DDNS works or is configured...
I run WIN7 ultimate X64.
And my router/modem is provided from my ISP model: Cisco DPC3848V DOCSIS 3.0 Gateway (I think there is no built-in VPN but I see there is a DDNS option were I would switch ON and then select the provider (DYNdns) and then log in info + domain name...
And my NAS drive is FTP+SSH enabled
Any help would be appreciated...
If you're just looking to do a remote session, I like teamviewer from www.teamviewer.com It has a great interface thats very easy to use, and you can do file transfer in case you need something from your computer/nas. It is free for private use.
-
On 10/23/2015 at 7:41 AM, Michael said:
Never thought it's that hard to find this kind of a machine.
My friend wants a windows workstation, graphical performance is a non-issue
His minimum requirements are
1. i7 CPU
2. 16GB memory
3. 3K or more screen
4. Lightweight as possible
5. 13 to 15 inch
6. Preferably aluminum or other high quality body.
7. SSD of 512GB or a magnetic drive that is upgradable.
8. Under 2K USD would be nice.
We've only been able to configure the Lenovo Thinkpad W with such a configuration.
Any other options out there ?
How about a Thinkpad Carbon X1 ? http://shop.lenovo.com/us/en/laptops/thinkpad/x-series/x1-carbon/ you can customize it to have 16gb ram and with 512gb ssd. keep in mind with this particular system the Ram is integrated into the mainboard so you would wanna buy the biggest config for ram , however the ssd is an M2 drive so you could go with the stock drive and perhpas find a cheaper 512 m2 drive to pop in.
-
1
-
-
-
I usually use, Getdataback https://www.runtime.org/data-recovery-software.htm , PC inspector http://www.pcinspector.de/?language=1 , Recuva https://www.piriform.com/recuva , or one of my favorites on MAC os (works on pc too) is Boomerang https://www.boomdrs.com/
-
You may also just need some missing codecs. I usually use Klite codec pack you can find it here http://www.codecguide.com/download_kl.htm
-
hello,
I am Paul , Electronics guru and PC repair tech. here for good conversation and advice on modified y500 bios.
I also do a ton of gaming.
-
I love the DMC series. #3 has to be my all time favorite though
-
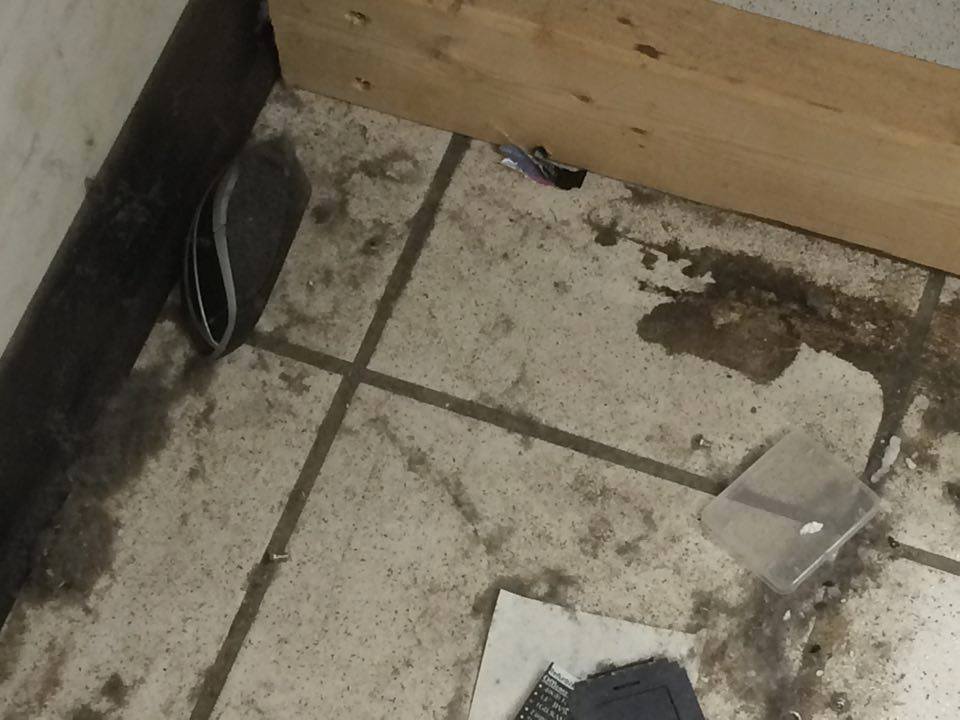
Cleaned up my work area, found a dead mouse
Lenovo Y400 / Y500 - unlocked BIOS / wlan whitelist mod
in Lenovo
Posted
welcome , if you wish to bypass the wait time you can spend $6 and be able to get the files you need https://www.techinferno.com/index.php?/store/ i do not know of a list to which shows what cards will work however, the intel 7260 is a dual band card and works great!! i highly recomend getting that one.