sangemaru
-
Posts
157 -
Joined
-
Last visited
-
Days Won
1
Content Type
Profiles
Forums
Downloads
Everything posted by sangemaru
-
No, if i remember correctly, the three jumper pins for the fan cable connection to the mobo normally represent: Voltage-in, modulated through PWM, so it spins the fan by giving it more or less voltage, at higher or lower pulse frequency. Then you have Mass, and then you have some kind of line out to the mobo (not sure if it's actually voltage out with the mass being there to prevent shorts, or if it's some kind of sensor). Either way, the custom controller doesn't care about feedback. It takes the temp readings from the sensors, it takes voltage from the 5V line solder, and then it sends voltage at a predefined pulse frequency to determine fan speed. When median between the two sensors reaches around 70 degrees, it kicks in full speed. Since both components tend to run very hot, that happens pretty fast, although i have to admit i would have preffered if it decided its speed based on maximum temp recorded from either sensor instead of a median. Still, it works well. I don't think your switch solution is clumsy at all. I would suggest using a simple circuit breaker button, one taking the voltage from the mobo by way of the default fan jumper, and one taking voltage from whatever 5V line you want, and when you press the button, you would switch between them. This would give you the benefit of having some form of variable speed on the fan and also not having it turn off completely if you're not running it full speed. At least the way I see it. I'm actually not educated in electronic tinkering
-
Well, here's the thing: If I remember correctly we either used a USB line or a SATA power line. I remember we found a grand total of 2 lines supplying 5V, and one of them (the USB) had the inconvenience of not shutting down unless the laptop was unplugged from the main power outlet. Otherwise it would still supply charge to the USB ports and thus, power the fan. Thing is, like I said, the fan worked at a speed in relation to the temperature recorded by the thermal sensors we'd glued to the heatpipes, so if the laptop was cool, it would eventually settle at a very low spin, barely audible. Now i'm not sure if the pictures show it properly, but the thing is, we only cut away from the fan wires the fan dealing with power-in (since it's a pwm fan). The mass and the wire transmitting the signal to the bios reporting on fan speed was left connected, and the bios would pick up on it. It just wouldn't matter, since it couldn't alter the speed in anyway. I don't actually know whether or not the bios cares whether it detects the fan spinning or not (it might not power on if it doesn't get that info), so make sure you leave the line sending signal to the mobo intact. You just have to replace the one powering the fan in the first place, because 3.3V max is nowhere near enough, especially since the laptop doesn't even bother sending a full speed signal.
-
Yea, MX-2 is also pretty decent. Regarding the controller, if I'm understanding things correctly, his controller consisted of a self-designed board using a chip as a pwm. It wasn't actually designed to be a fan controller, he just programmed it to take temp readings and to then deliver pulsed voltage to the fan, with pulse frequency set up based on recorded temps. I can ask him for more details, if you want.
-
Yes, it works. My custom controller can do up to 19V, but there's no point in using that much on it. What matters is the IC of the fan, and I can confirm it takes 5V no problem, but do consider that the noise is enormous. Yes, they run extremely hot, but with some IC Diamond or PK1, lapping the heatsink and making sure that the amount of TIM is just perfect enough for contact but no waste, you can get to below 80 under full load and even have room for some overclock. Good luck
-
Thanks. An important clue is the Bios flashing. If the IC really couldn't take full 5V load, i doubt that during BIOS flashes Acer would allow full voltage (which they do). Therefore the restriction must be arbitrary or motivated by other factors. And I'm pretty sure it's about how loud this bastard is This laptop could do with a better fan anyway, so if it dies, i'll just upgrade it to a maglev or something.
-
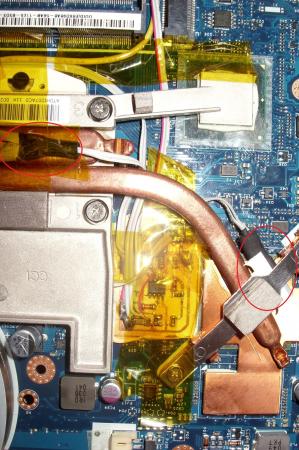
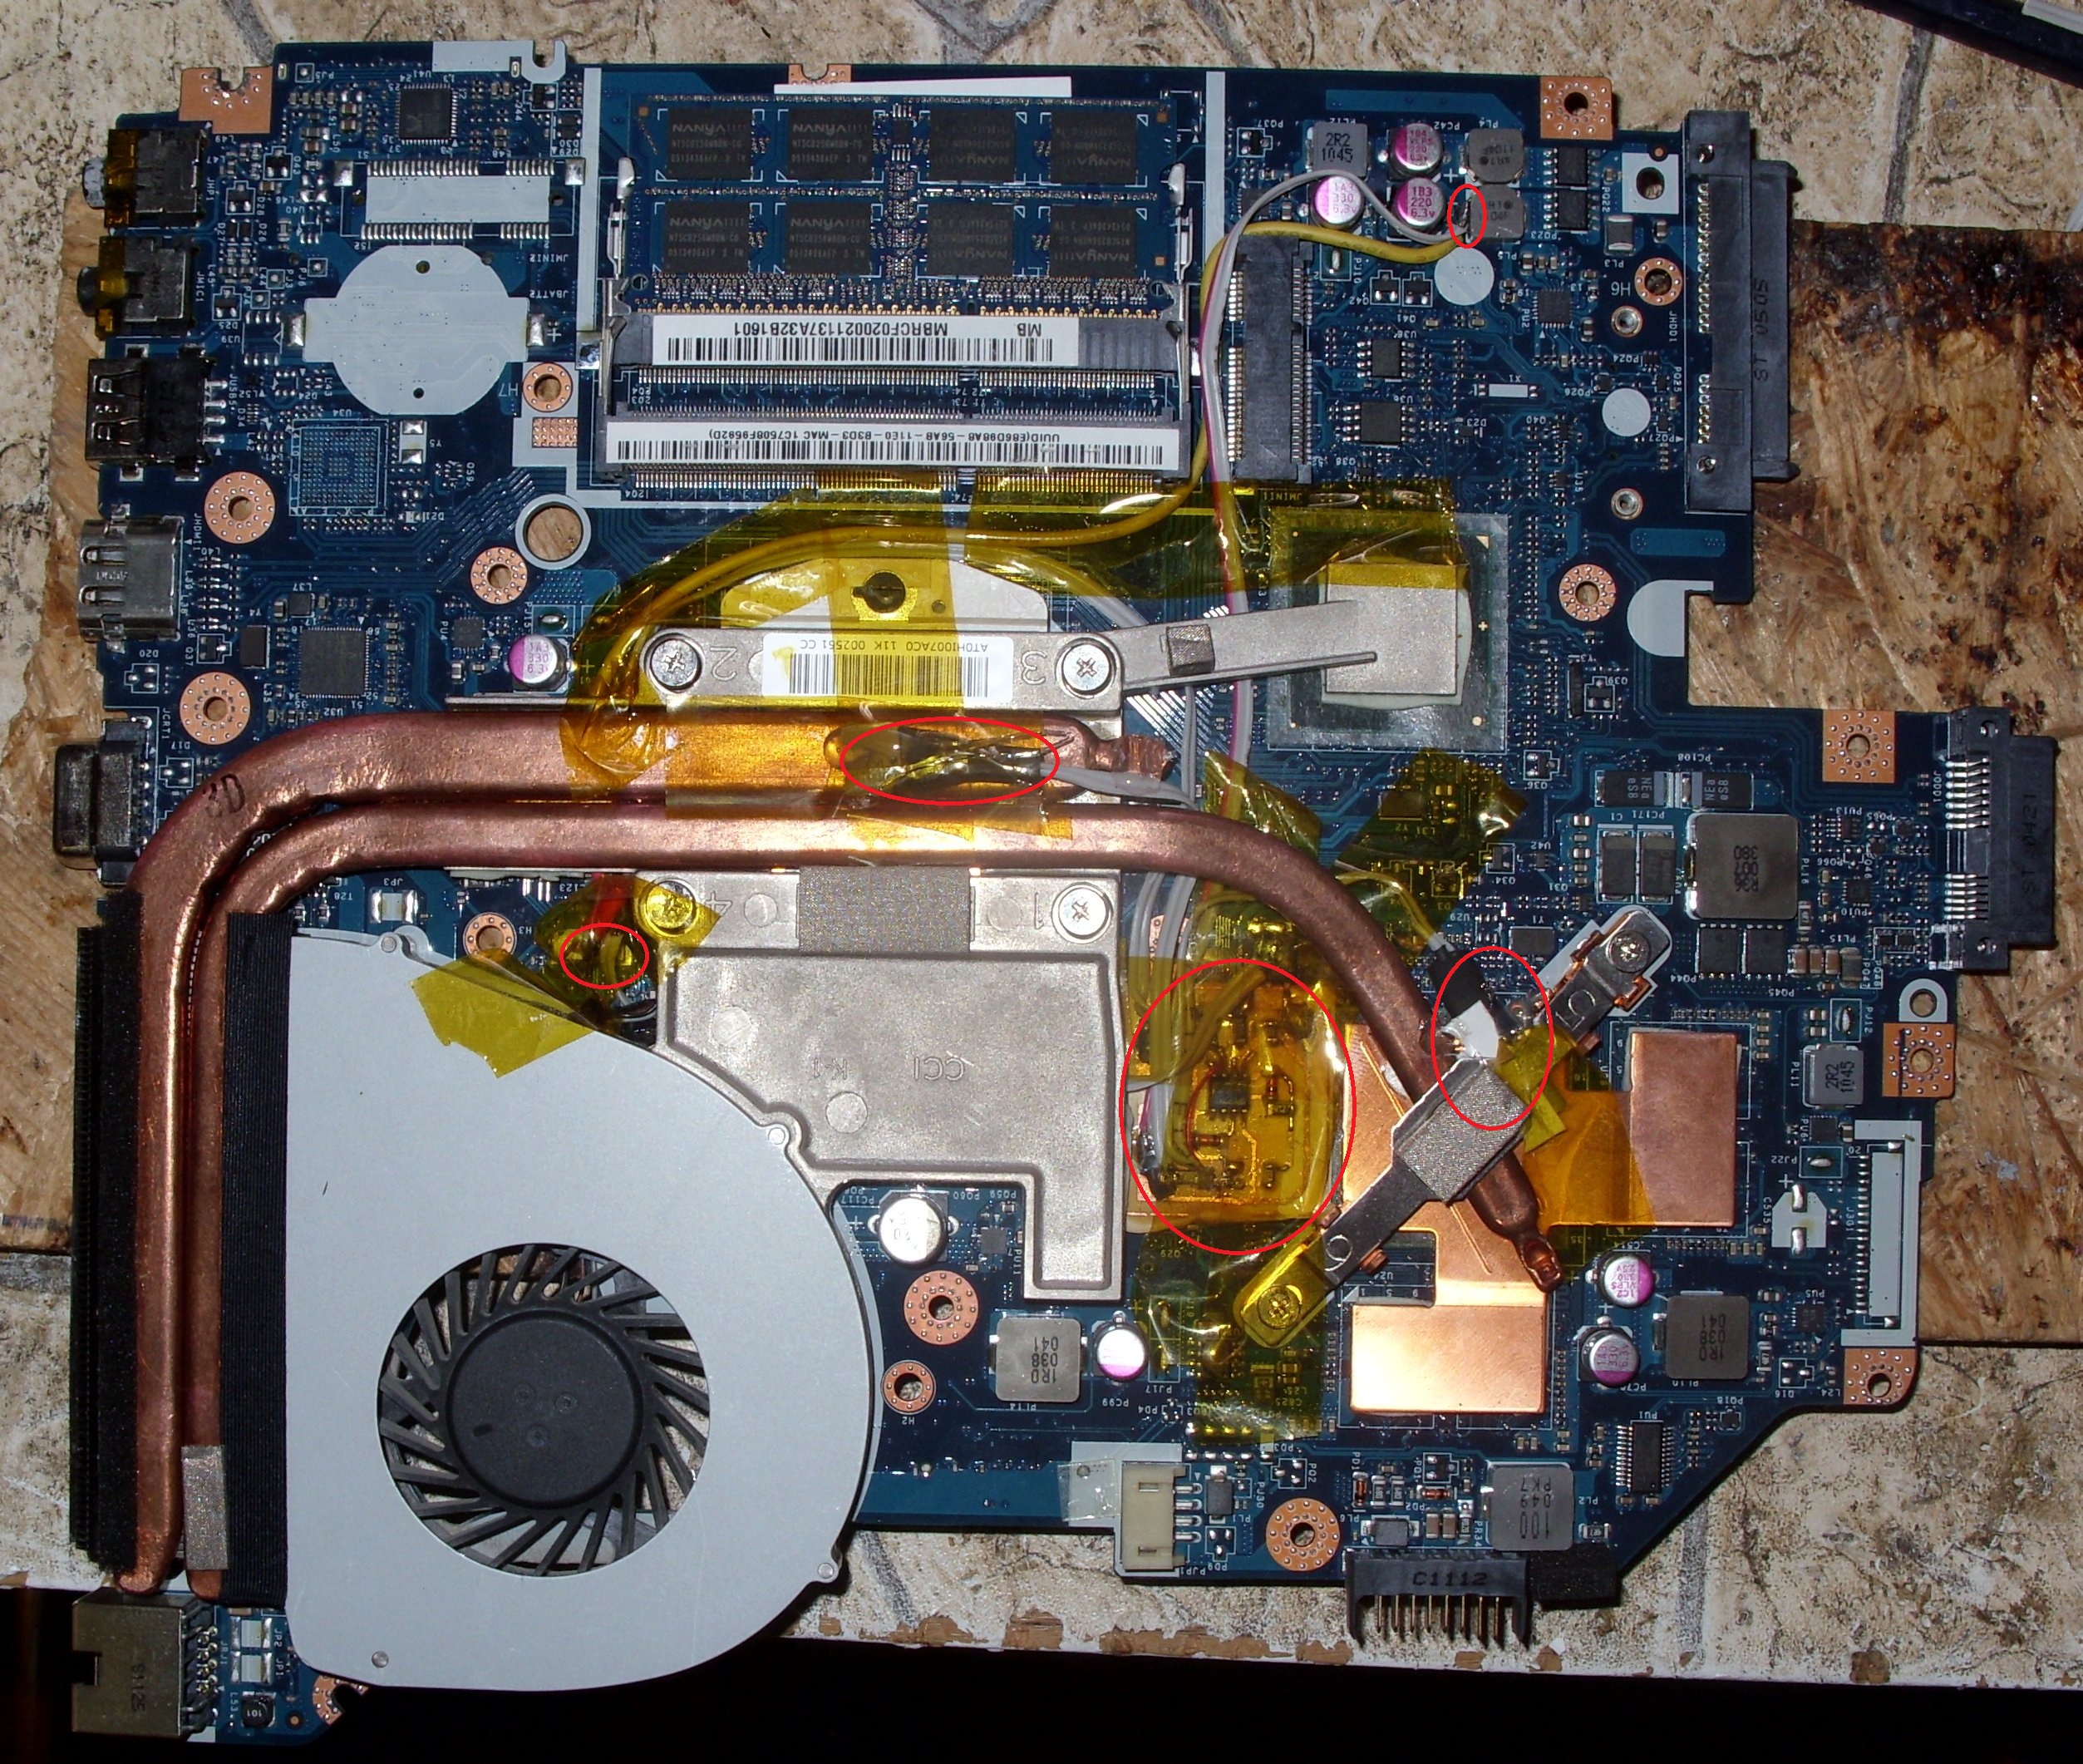
So, since the Acer section is very empty and sad, and because success stories are worth sharing, and because because a lot of 5750G complain about overheat issues, i decided to share my little intervention on my 5750G. The problem, as we all know, is that this laptop fan has a speed at the level of snail. As far as I can tell, it's never gone above 40% under stock settings. Everyone that bothered actually flashing their BIOS on this machine knows how fast that fan can spin, but it never does. The problems this caused, were as such: Turbo-boost on the CPU was always unusable. Under load, the CPU would quickly go 90+, throttle, the machine would slow down... it sucked. Second issue: The GPU would go 95+ on stock speeds under load, the GPU would crash during gaming, not fun. This resulted in having to use lower clock speeds on the CPU and/or GPU, and generally game at lower settings all the time. It was a waste for such a machine. In a twisted turn of good fortune, my desktop mobo shorted out a MOSFET during overclocking (retarded AUTO-PLL on ASUS mobo...). Looking for someone to repair the mobo, I found a guy handy with a solder hammer and heat gun, who told me about his ongoing little mods and tweaks, among which was a self-made fan controller (he'd made about 10 pieces) for over-riding fan control settings on retarded implementations. I jumped for joy. We got to it, and the results are in the attached pics. ---- Actual results: Under Furmark, with the GT-540M GPU overclocked to 850 / 1050 , furmark achieved a max temp of 93 degrees celsius, after which it settled down to 91 degrees. Under full load in prime95, the i7-2630qm CPU maxed out with turbo-boost at a temperature of around 77 degrees (down from 95+ !!!!) With both prime95 and furmark running at those parameters, the maximum gpu temp was a stable 93 degrees, with the CPU going to about 84 degrees celsius. Unfortunately, this GPU overclock was not stable enough for Starcraft 2, which, even though it games wonderfully (I use full extreme settings at 1366x768 resolution with Anti-Aliasing enabled - it stays within 35-50 fps), it absolutely NUKES the GPU, having it rise steadily to 93-94-95 and then it crashes the GPU. Leaving the GPU at stock speeds will keep it stable at about 91 degrees, but you can no longer max out the quality without taking a performance hit . It is however, unimaginable compared to stock settings. ---- About the fan and controller: The fan appears to be PWM-type, receiving an actual max voltage of 3.3V (even though it's rated for 5V !!!). I have no idea why Acer pulled such a complete dick move, except for one: it IS loud. It's a very noisy fan even at 60-70% speed. When hitting 100% speed, it's a goddamn turbine. The airflow, is NOT impressive. While at max speed, if you put your hand near the vent, you'll feel a gentle hot flow. I expected a moderate wave, at least. It would be a very good idea to install a higher-performance fan. Regarding the controller: The controller was made by my new friend. He has multiple pieces, and can build more. I don't currently know exactly what the design is, but if you're interested, I can ask him. Potential buyers could consider having him send you one, I don't know. The controller draws power from a 5V line (i'm assuming USB, but I'm not sure. It's the cables going up to the right-top side of the mobo in the bigger picture) because the dedicated line only supplies 3.3V. The controller has been designed to take input from two heat-sensors (i circled them in the pic) placed on the heatsinks for the cpu and GPU. It takes a mean average of the temp and increases fan speed based on it. It then forwards impulse to the fan. Well, that's about it. If you have any questions, just ask